
To make an air dry clay trinket dish, roll clay to 5 mm thick, drape it over a plastic-wrap-covered bowl, trim the rim, and let it dry for 48 hours. Sand lightly once dry, then paint with acrylics and a clear sealer. Total hands-on time is under an hour.
Air dry clay is one of the most forgiving craft materials you can work with. Our favourite block is DAS Air Hardening Clay – it has a smooth texture and consistent drying time. No kiln, no special equipment: just clay, a bowl, and a few hours of patience. A trinket dish makes the perfect first project because it is small, practical, and finished in a weekend.
Browse all our air dry clay tutorials for more ideas once you have mastered this one.
Materials
- 100 g air dry clay
- Plastic wrap
- Acrylic paint in your chosen colour
- Clear acrylic sealer, spray or brush-on
Tools
- Small bowl 8 to 12 cm diameter, used as a mold
- Rolling pin or smooth glass bottle
- Craft knife or sharp scissors
- 220-grit sandpaper
- Soft paintbrush
Is air dry clay good for trinket dishes?
Yes – air dry clay is an excellent choice for decorative trinket dishes. It dries rock-hard without firing, holds its shape well, and accepts paint beautifully once sealed. It is not food-safe or waterproof on its own, but for a bedside ring dish or a desk catch-all it performs brilliantly.
Compared to polymer clay, which requires oven baking, air dry clay is far more accessible for beginners. There is no heat involved, so you can work at the kitchen table and let younger helpers join in. The trade-off is that air dry clay is more brittle than fired clay, so it is best suited to pieces that will not take rough handling.
Air dry clay is also inexpensive. A 500 g block costs a few dollars and contains enough material for five or six dishes of this size, making it ideal for batch gifting over a weekend.
How do you make a trinket dish step by step?
Total time: 1 hour
1Condition the clay
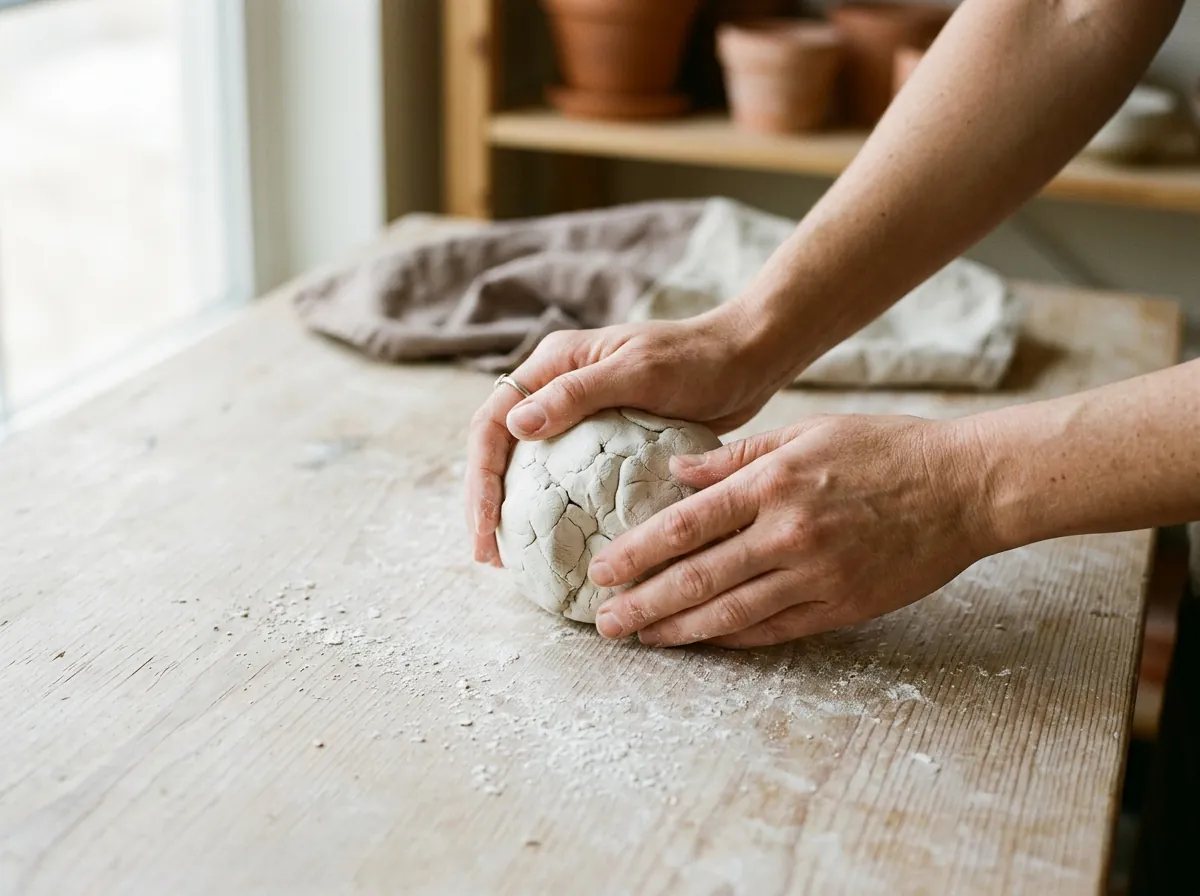
Tear off about 100 g of clay – roughly the size of a golf ball. Knead it firmly for two to three minutes until it feels smooth and pliable with no cracks at the edges. If the clay feels stiff, press a few drops of water into the surface and keep working it in. Well-conditioned clay is much easier to roll evenly and far less likely to crack as it dries.
2Roll it flat
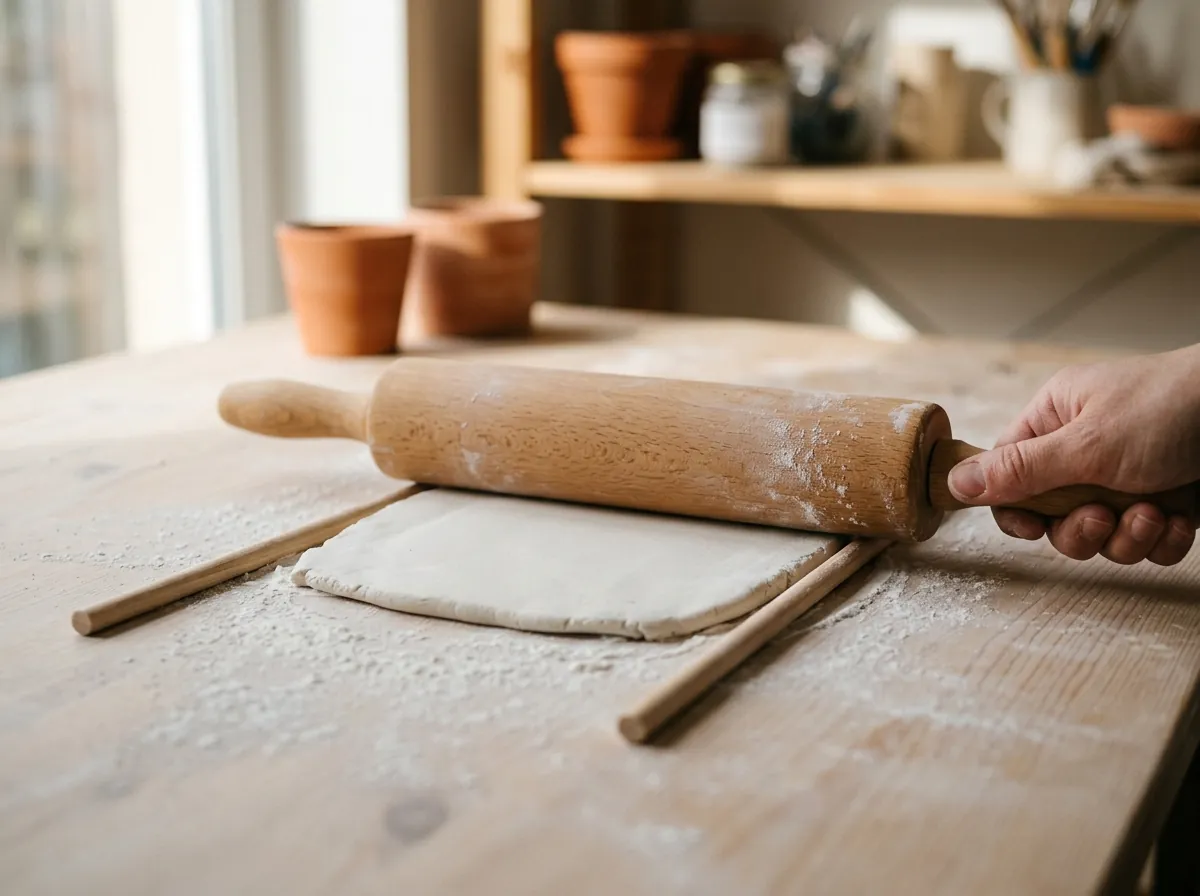
Dust your work surface lightly with cornstarch to prevent sticking, or work on a non-stick silicone mat. Roll the clay to approximately 5 mm thickness, rotating the sheet a quarter-turn every few passes to keep it even. Uneven thickness is the main cause of warping, so take your time here. Two wooden dowels of equal height placed either side of your clay make useful thickness guides.
3Shape over the mold
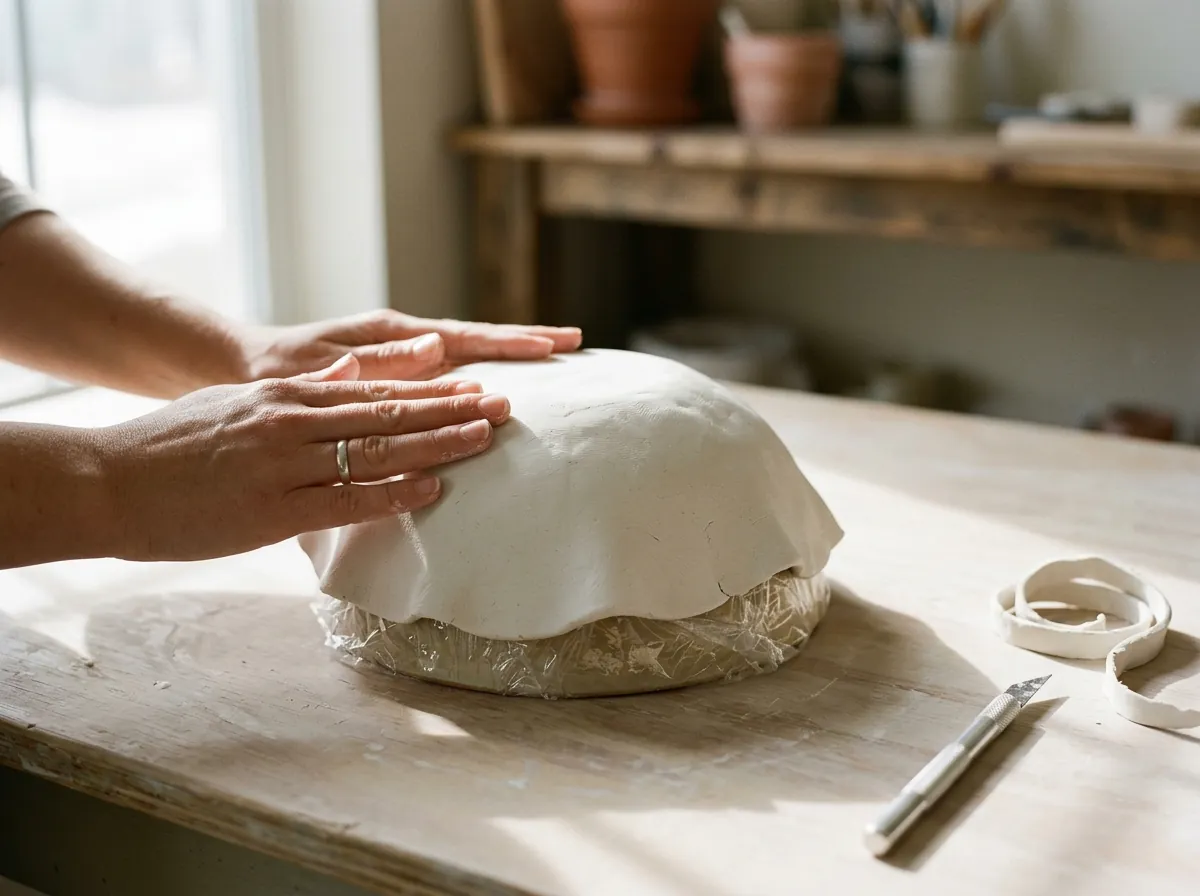
Cover the outside of your bowl with plastic wrap, pressing it smooth so there are no wrinkles. Lift the clay sheet and drape it gently over the upturned base of the bowl. Press it down with your palms, smoothing from the centre outward. Use a craft knife to trim a clean rim around the edge, keeping the cut perpendicular to the surface for a neat finish once dry.
Leave the clay on the mold undisturbed for 24 hours. After that, slide the dish off and allow the inside to air-dry for another 24 hours on a flat wire rack. Rushing the drying step is the most common reason dishes warp or crack.
Once fully dry, sand the rim and any rough spots with 220-grit sandpaper. Wipe away the dust with a barely-damp cloth. Apply two thin coats of acrylic paint, letting each coat dry completely before adding the next. Finish with two coats of clear sealer to protect the paint and add a professional look. For more finishing ideas, see our sealing and painting guide.
If it goes wrong
| Problem | Likely cause | How to fix it |
|---|---|---|
| Edges crack while shaping | Clay dried out before you finished working | Mist the surface lightly with water, cover with plastic wrap for ten minutes, then continue. |
| Dish warps during drying | One side dried faster than the other, usually from being taken off the mold too soon | Keep the dish on the mold for the full first 24 hours and finish drying on a flat wire rack. |
What paint works best on air dry clay?
Regular acrylic craft paint is the easiest choice and is widely available. It adheres well to sanded clay, dries quickly, and comes in hundreds of colours. Apply it in thin layers rather than one thick coat – thick coats can peel as the clay continues to cure beneath.
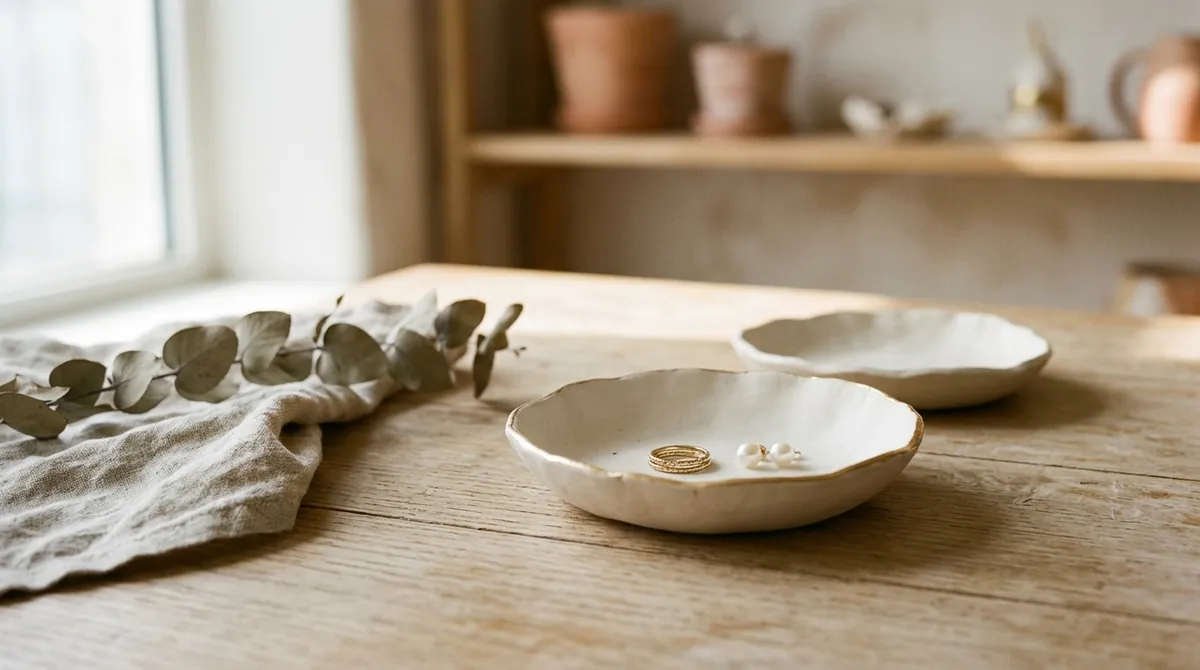
For a gold rim, the look shown in the photo at the top, use a fine brush and metallic acrylic paint after the base coat is fully dry. Keep the brush almost dry and apply with a light dragging motion along the rim edge.
Always seal the finished piece. Unsealed air dry clay is porous and will absorb moisture over time, which causes the paint to flake. A simple spray sealer from any craft shop takes less than five minutes to apply and makes the dish last for years.
Can an air dry clay dish hold water?
It cannot hold standing water without a specialised waterproofing treatment. Air dry clay is porous by nature, and standard acrylic sealer only slows moisture absorption rather than stopping it entirely. For a dish that holds dry items such as rings, hair clips, or small coins, the standard sealer is more than adequate. If you want to pot a succulent inside the dish, use a separate waterproof liner.
Frequently asked questions
How long does air dry clay take to dry for a trinket dish?
A 5 mm thick dish takes approximately 48 hours to dry fully at room temperature. Dry it in a well-ventilated area away from direct sunlight, which can cause uneven drying and surface cracks.
Do I need to seal an air dry clay trinket dish?
Yes. Sealing is essential if you want the paint to last. Without a sealer, paint can flake as the clay absorbs moisture from the air. Two coats of clear acrylic varnish are sufficient for a decorative piece.
Can I use a hair dryer to speed up drying?
Use a hair dryer on a low, cool setting for the first hour to remove surface moisture, but avoid high heat. Too much heat too fast causes the outside to dry while the inside remains wet, which leads to cracking.