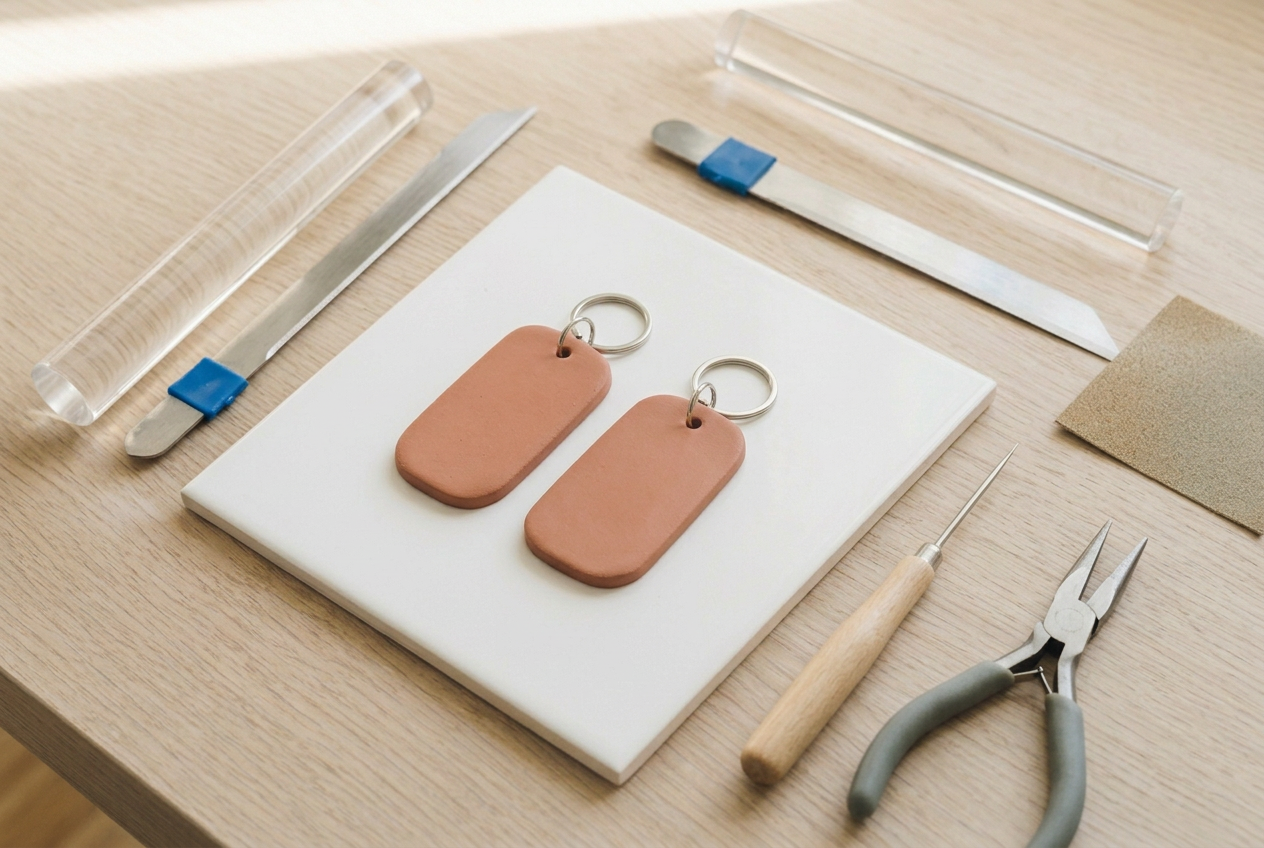
A polymer clay keychain lives a harder life than anything else you make from the material, and it always fails at the hole. Roll a 4mm sheet, cut a tag about 5cm long, punch the hole a clear five millimetres in from the edge, and fit a jump ring.
A polymer clay keychain lives in a pocket with a set of keys, which is a harder life than anything else you will make from this material. It gets bent, scraped and dropped, and the place it fails is always the hole.
Two things fix that. Roll thicker than you would for earrings, and punch the hole a clear five millimetres in from the edge. The polymer clay hub covers conditioning and baking if either is new.
The rest is a shape, an oven and a jump ring.
Materials
- Polymer clay, one block makes several
- Plain metal jump rings, 8mm
- Plain metal split rings
- Wet and dry sandpaper
Tools
- Clear acrylic roller or pasta machine
- Long tissue blade
- White ceramic tile
- Fine needle tool
- Small flat-nose pliers
- Oven thermometer
- Aluminium foil
An hour, including half of it in the oven and cooling.
How do you make a polymer clay keychain?
Condition the clay, roll a 4mm sheet, cut a tag about 5cm long, punch a hole at least 5mm in from the edge, bake at the temperature on the block, then sand the edges and fit a jump ring and split ring.
1Set out what you need
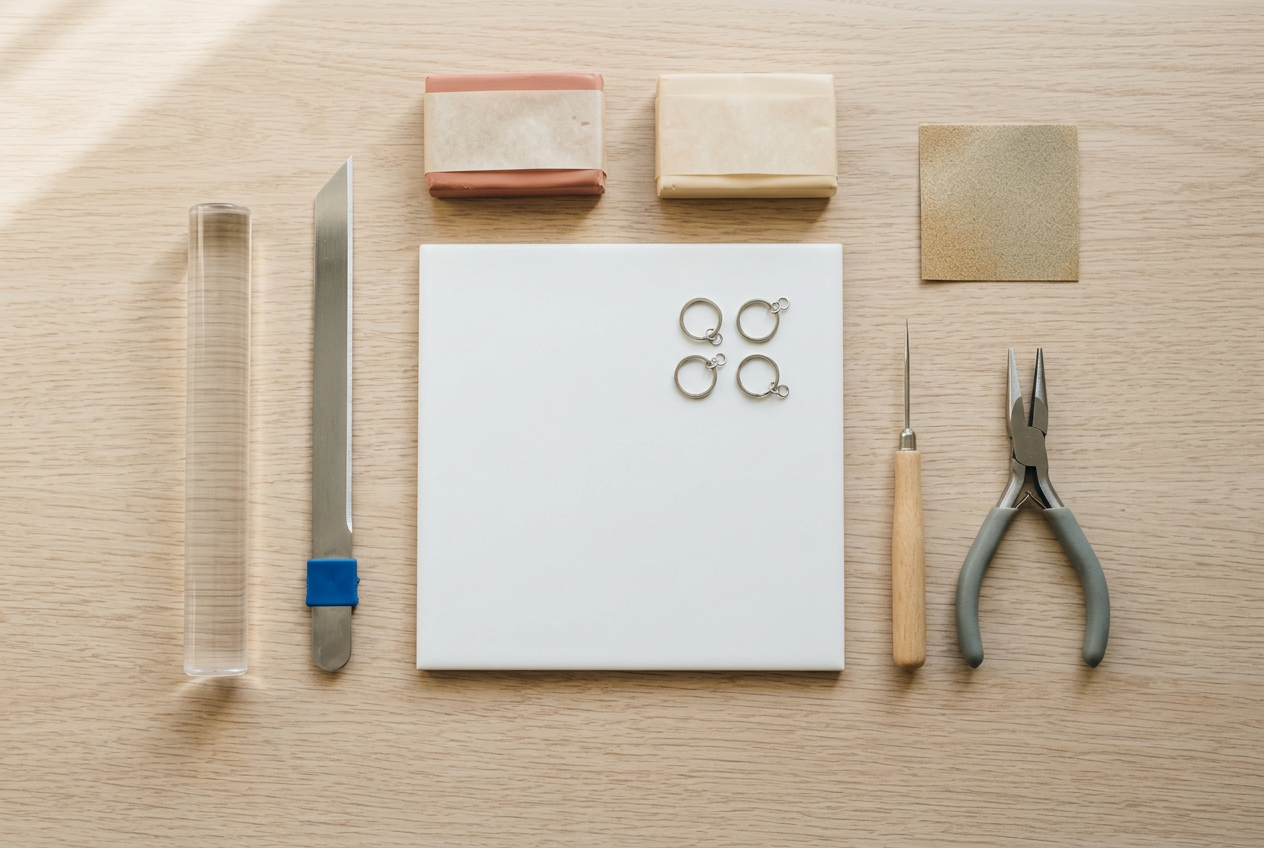
The findings are worth a moment. A jump ring between the clay and the split ring is what stops the thick split ring sawing at the hole every time the keys are picked up.
Small flat-nose pliers open a jump ring properly, twisting it sideways rather than pulling it apart. A jump ring levered open loses its shape and never closes flush again.
2Roll a 4mm sheet

Condition until a folded strip bends without cracking, then roll to about 4mm. That is noticeably thicker than a pair of earrings, and deliberately so.
A keychain gets levered sideways every time it is pulled out of a pocket. At 2mm it snaps within a month; at 4mm it survives being sat on.
Let the sheet rest on the cool tile for five minutes before cutting. Warm clay stretches as it is lifted, and a tag cut warm arrives at the oven a different shape.
3Cut the tag
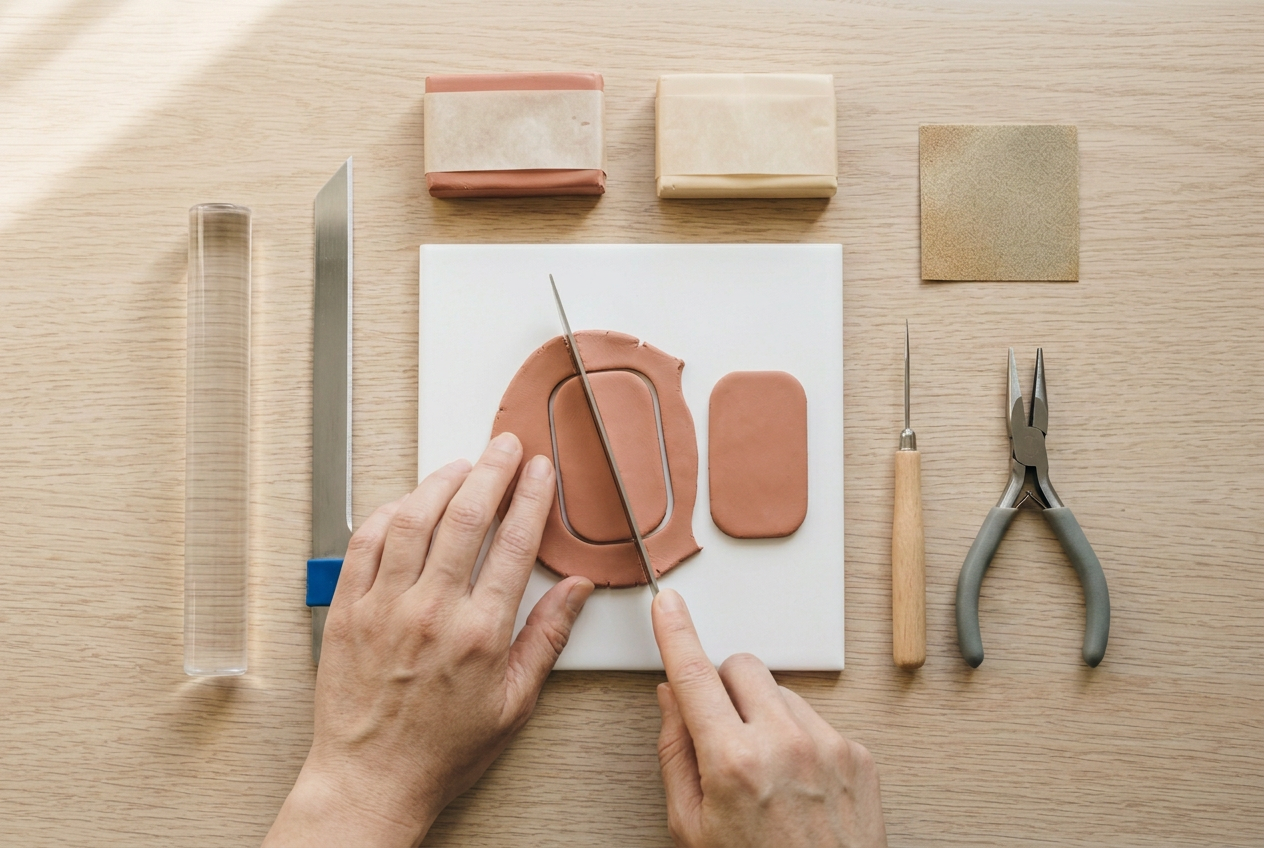
About 5cm long and 3cm wide is a good size: big enough to find by feel in a bag, small enough not to bulge a pocket.
Round the corners. A square corner on a keychain is the first thing to chip, and it is the part that catches on a lining.
Press the blade straight down rather than dragging it. A dragged cut rounds the edge over and leaves a lip that shows after sanding.
4Punch the hole well in from the edge
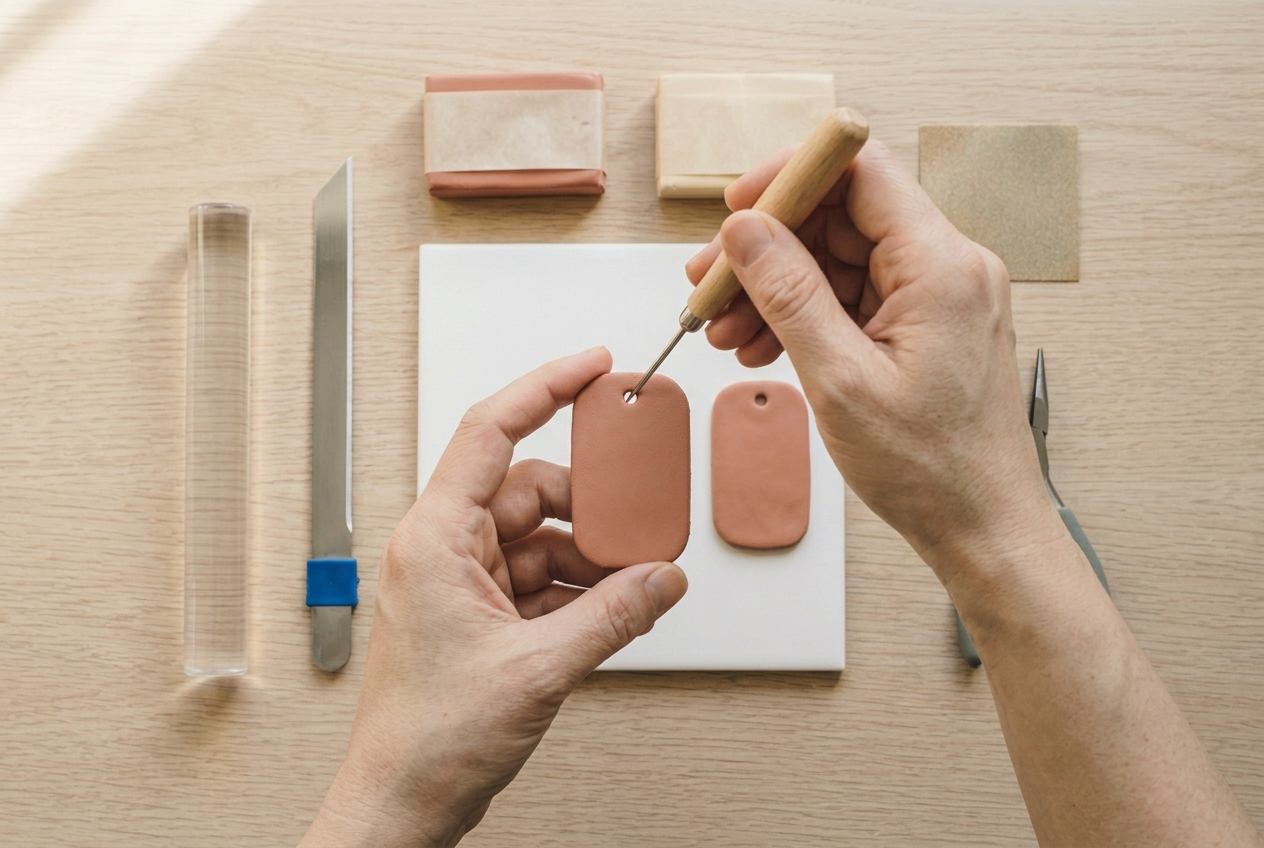
This is the step that decides whether the keychain lasts. Five millimetres of clay between the hole and the edge, minimum.
A hole punched close to the rim leaves a thin bridge, and that bridge takes the entire weight of the keys through a single narrow section. It breaks, always, usually within weeks and usually in a car park.
Push the needle straight down into the tile rather than at an angle, then twist it as it comes back out so the hole stays round. Make the hole slightly larger than the jump ring needs; the clay does not shrink, but a tight hole means the ring rubs one spot forever.
5Bake on the tile
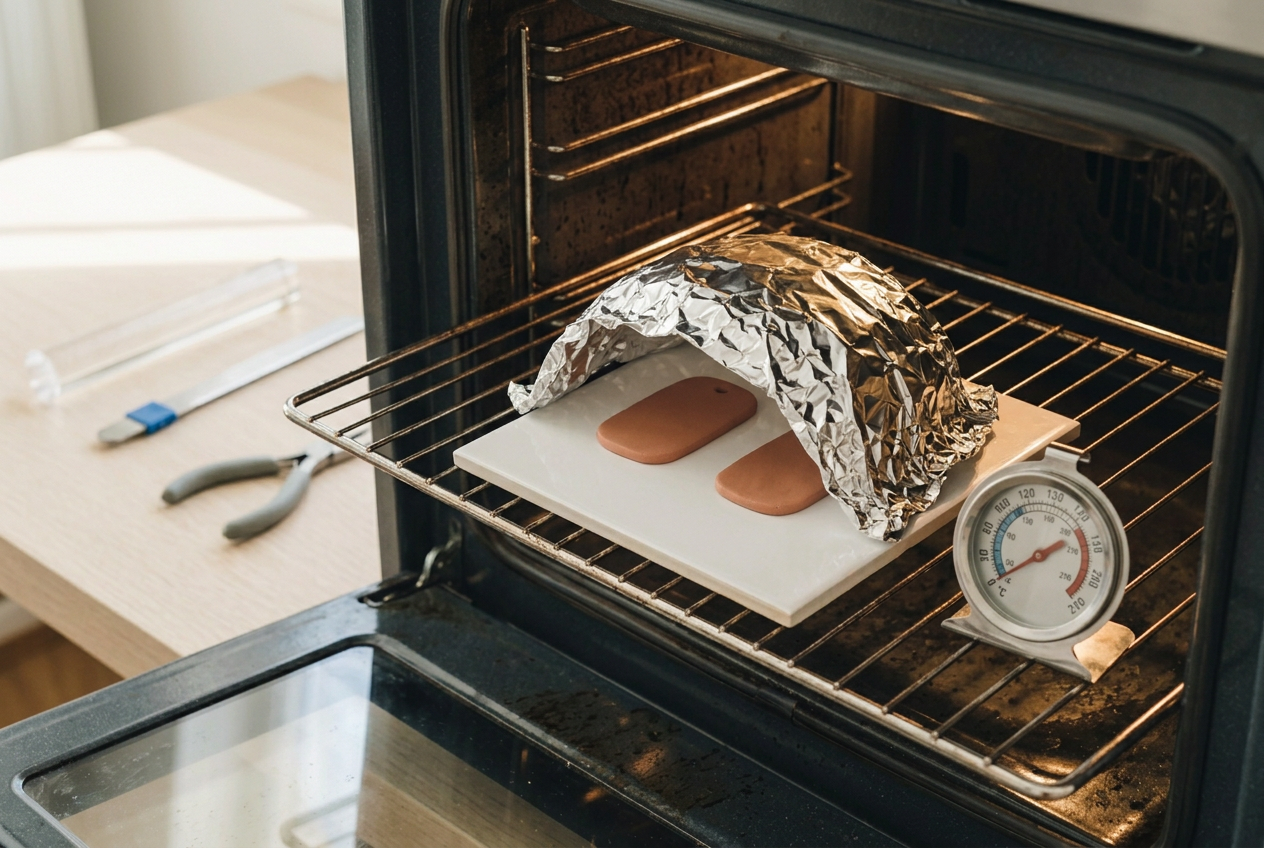
Thirty minutes at the temperature printed on the block, usually between 110C and 130C, with a loose foil tent so the top element cannot scorch the surface.
Bake it longer rather than hotter. Underbaked polymer clay is brittle, and brittle is exactly the wrong property for something that lives on a keyring. An extra ten minutes costs nothing.
Use an oven thermometer rather than the dial, and let everything cool on the tile before touching it. Polymer clay only reaches full strength cold.
6Sand the edges, then fit the ring
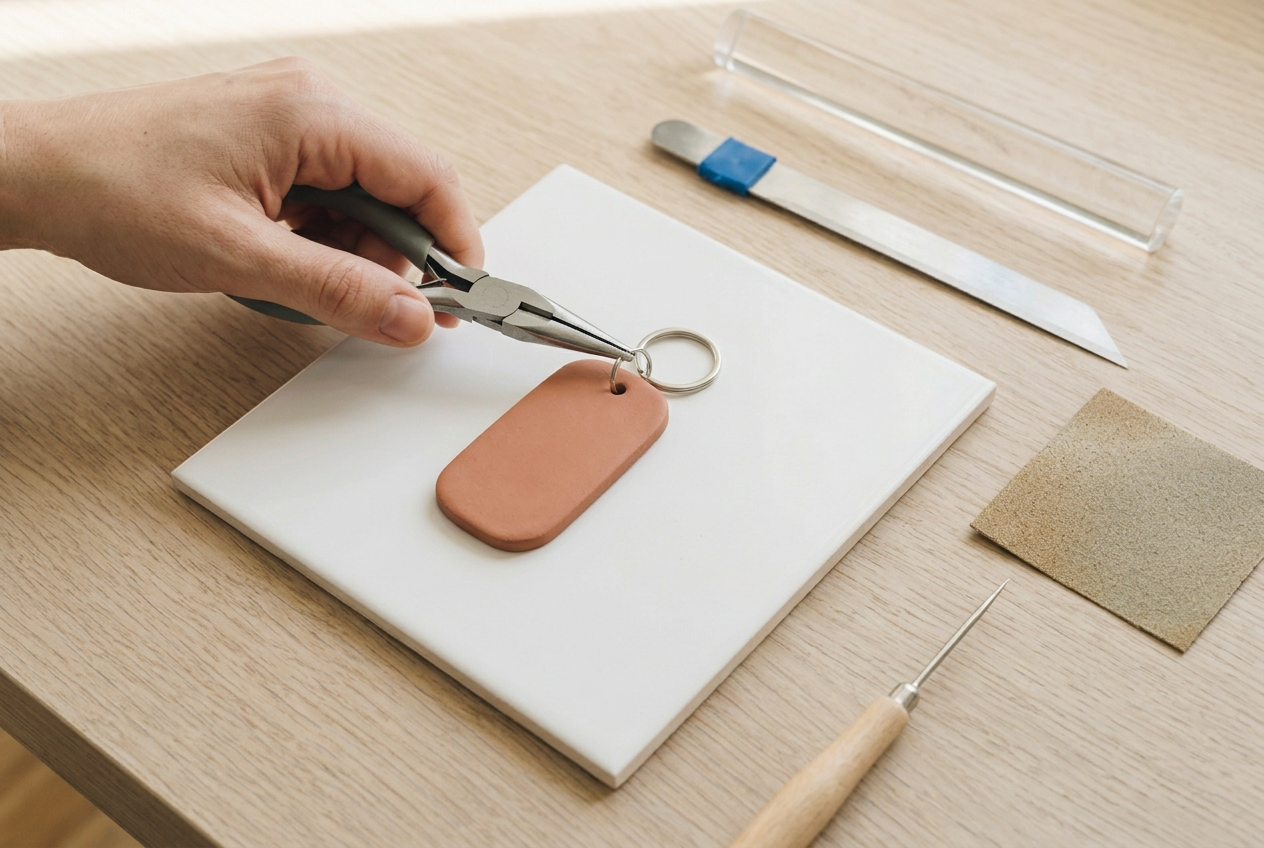
Wet sand the edges through the grits and buff on a soft cloth. A keychain is handled constantly, so a sharp edge is felt rather than seen, and cured clay takes a real sheen from buffing alone. The finishing guides cover when a glaze is worth adding over that.
Then open a jump ring by twisting the ends past each other sideways, hook it through the clay and the split ring, and twist it closed until the ends meet flush.
Never put the split ring straight through the clay. Its cut end acts like a small chisel every time the keys turn over, and it will work its way out through the edge in a year. The clay jewellery hub covers findings in more detail.
If it goes wrong
| Problem | Likely cause | How to fix it |
|---|---|---|
| The tag snapped off at the hole | The hole was punched too close to the edge, leaving a narrow bridge to carry the weight of the keys | Remake it with the hole a clear 5mm in from the rim. On a thick tag you can also bake a small metal eyelet into the clay for extra strength. |
| The hole has worn oval and rough | A split ring was fitted straight through the clay, and its cut end abrades one spot every time the keys turn | Fit a jump ring between the clay and the split ring. It spreads the movement onto metal rather than clay. |
| The keychain feels bendy and eventually cracked | The sheet was rolled too thin, or the piece was underbaked so it never reached full strength | Roll a measured 4mm and bake for the full time at a verified temperature. Polymer clay can be rebaked safely if you suspect it was underdone. |
| The surface went shiny in patches after a few weeks | A glaze was applied and is abrading unevenly in a pocket | Sand the coating back and buff the bare clay instead. Plain baked polymer clay needs no sealer and wears far better without one. |
Why do polymer clay keychains break?
Because the hole was too close to the edge, or the clay was too thin, or both.
The hole is the weak point by definition: it is the only place where the full weight of a set of keys passes through a narrow section of material. Put it 2mm from the rim and that section is a bridge of clay a couple of millimetres wide, being flexed a dozen times a day. Put it 5mm in and there is enough material either side to spread the load.
Thickness is the other half. A 2mm tag flexes visibly when it is pulled from a pocket, and polymer clay does not enjoy being flexed repeatedly. Four millimetres barely moves.
Underbaking multiplies both problems. Clay that has had twenty minutes at a temperature the oven never actually reached is brittle all the way through, and it snaps at the first thing that stresses it, which is the hole.
Do you need to seal a polymer clay keychain?
No, and sealing can make it worse.
Baked polymer clay is a solid plastic. It is waterproof, it does not absorb anything, and a sanded and buffed surface has a soft sheen without any coating at all. A keychain in a pocket is abraded constantly, and a glaze is a thin layer that abrades first, going cloudy and patchy in a way bare clay never does.
The exception is surface decoration. Mica powder, chalk pastel, metallic leaf or painted detail all sit on top of the clay and will rub off within days on a keyring, so those need a hard-wearing glaze made for polymer clay.
If you want gloss on plain clay, sand up through the grits to 1000 and buff hard on a soft cloth. It lasts as long as the piece does.
Frequently asked questions
How thick should a polymer clay keychain be?
About 4mm. Earring thickness of 2mm to 3mm flexes every time the keys are pulled from a pocket, and repeated flexing is what cracks cured clay.
How big should the hole be in a clay keychain?
Slightly larger than the jump ring passing through it, and set at least 5mm in from the edge. A tight hole means the ring wears one spot; a close hole means the clay breaks.
Do polymer clay keychains need sealing?
No. Baked polymer clay is waterproof and hard-wearing on its own, and a glaze usually abrades first in a pocket. Only surface treatments like mica or pastel need a protective coat.
Can you bake polymer clay with the metal ring already in it?
You can bake an eyelet or an embedded finding, and it makes for a very strong keychain. Do not bake a split ring or anything plated that you would rather not discolour.