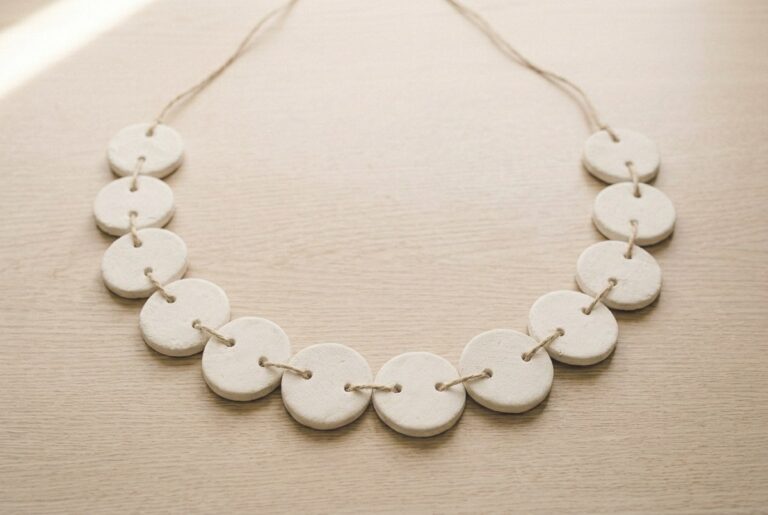
Air dry clay Christmas ornaments are rolled to about 6mm, cut with cookie cutters and left to dry flat for two to three days. Punch the hanging hole before drying, turn them daily so both faces shrink evenly, and seal them once painted.
Air dry clay makes a sturdier ornament than salt dough and a lighter one than polymer. It also has the one failure mode neither of the others really shares: it warps. A flat disc left to dry on one side comes back curved, and a curved ornament will not sit against a tree branch.
Almost everything below is about keeping them flat.
If you have never worked with the material, the air dry clay hub covers how it behaves. For the traditional cheaper version of this project, the salt dough section has the baked alternative.
Materials
- 500g air dry clay
- Natural twine, for hanging
- Matt acrylic sealer
- Acrylic paint (optional)
- Coarse lace or hessian, for texture
Tools
- Rolling pin
- Two 6mm guide strips
- Cookie cutters
- A drinking straw, for the hanging hole
- Damp sponge
- Fine sandpaper
- Two flat boards and baking parchment
- Soft brush, for sealing
Active time is about 40 minutes for a batch of eight. Drying is two to three days, so start at least a week before you need them.
How do you make air dry clay Christmas ornaments?
Roll the clay to an even 6mm between guide strips, press in a texture, cut your shapes, punch the hanging hole, then dry them flat between two boards.
1Set out your materials
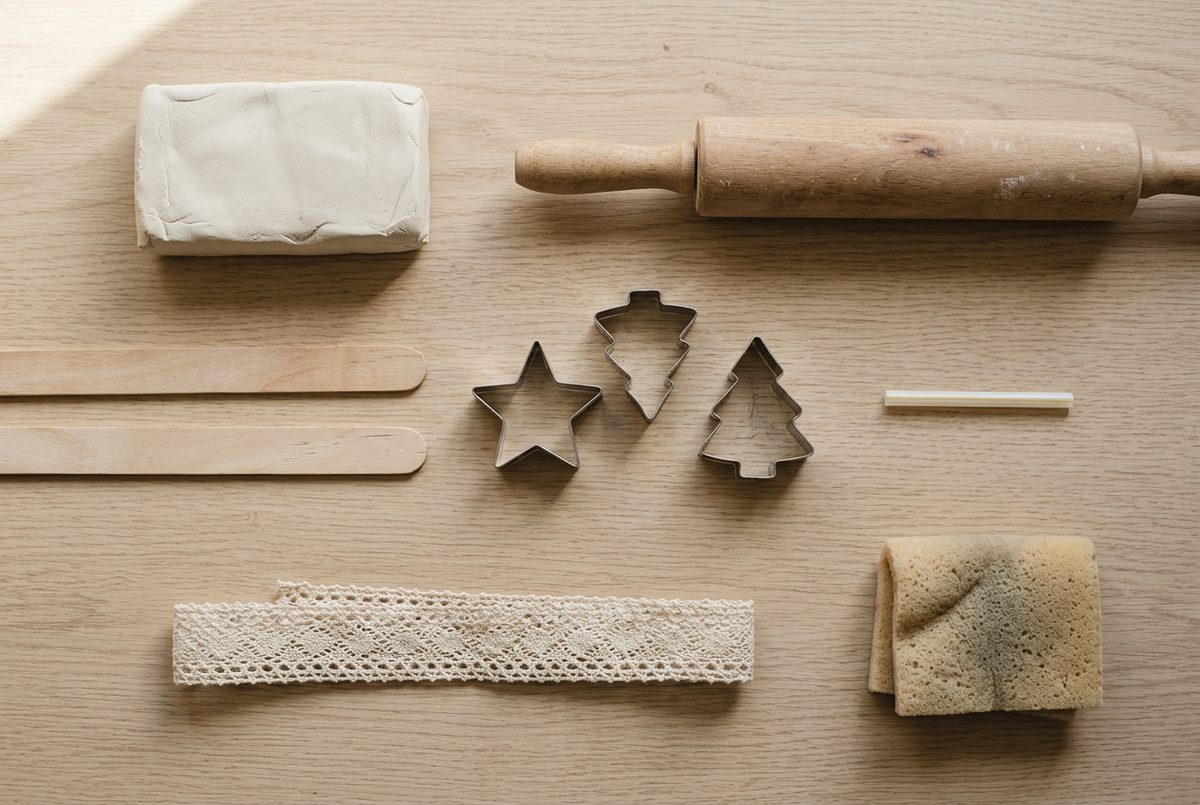
The two guide strips are the whole trick. Roll between them and every piece comes out the same thickness, which is what stops half a batch warping while the other half is fine.
Anything 6mm thick works: two wooden rulers, two lolly sticks stacked, two lengths of thin batten.
2Condition the clay
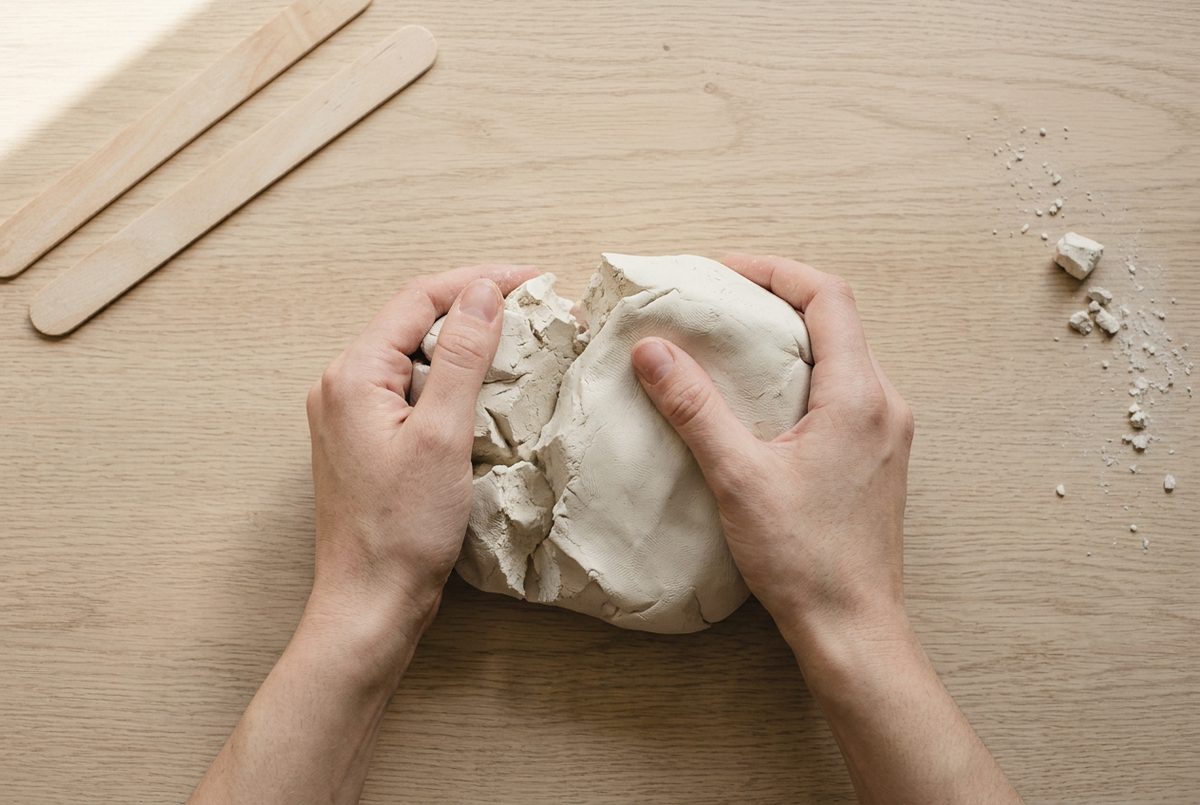
Two or three minutes of kneading until it is even all the way through. Straight from the packet it has hard patches, and those dry at a different rate to the soft ones.
Keep the rest of the block wrapped while you work. Air dry clay skins over faster than people expect, and a skinned surface will not take a clean texture.
3Roll to an even 6mm
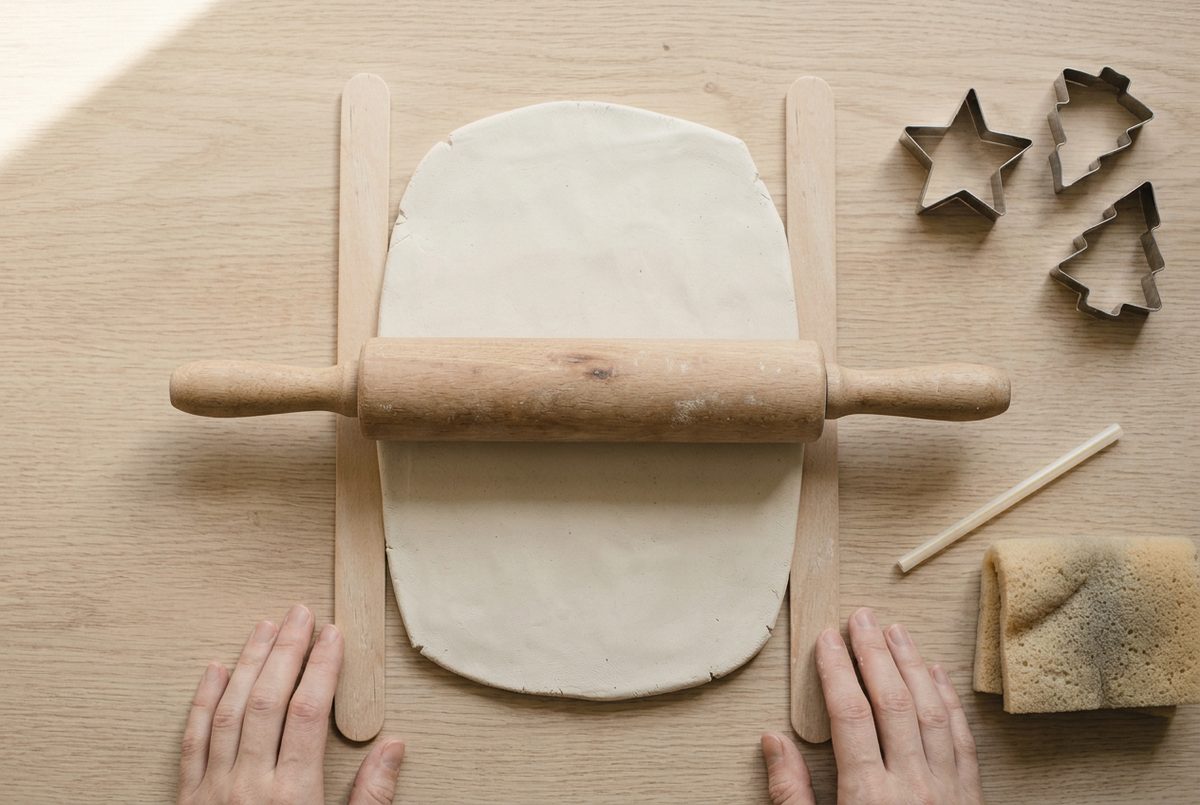
Roll with the pin riding on both strips, turning the slab a quarter turn every few passes so it spreads evenly rather than stretching in one direction.
Six millimetres is the number worth hitting. Thinner and the shapes go brittle and snap at the hanging hole; thicker and the middle is still damp days after the edges have gone hard, which is exactly the tension that warps a flat piece.
4Press in the texture
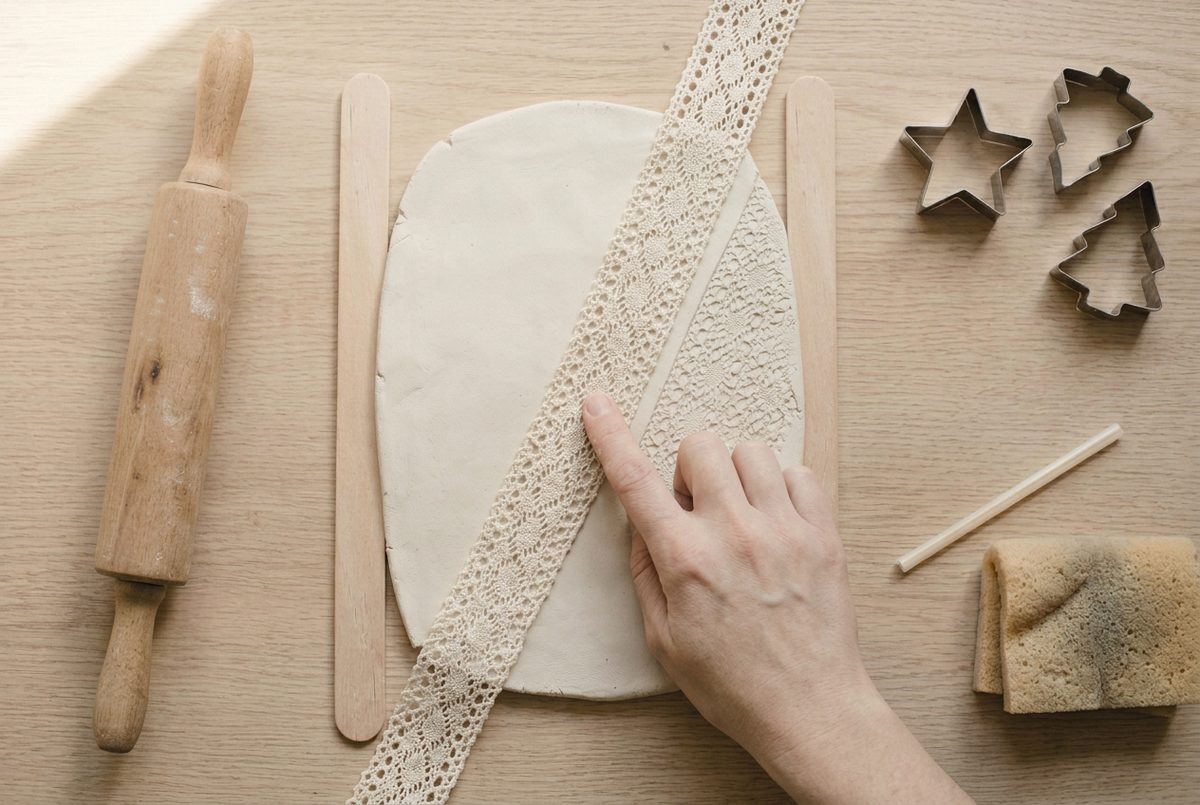
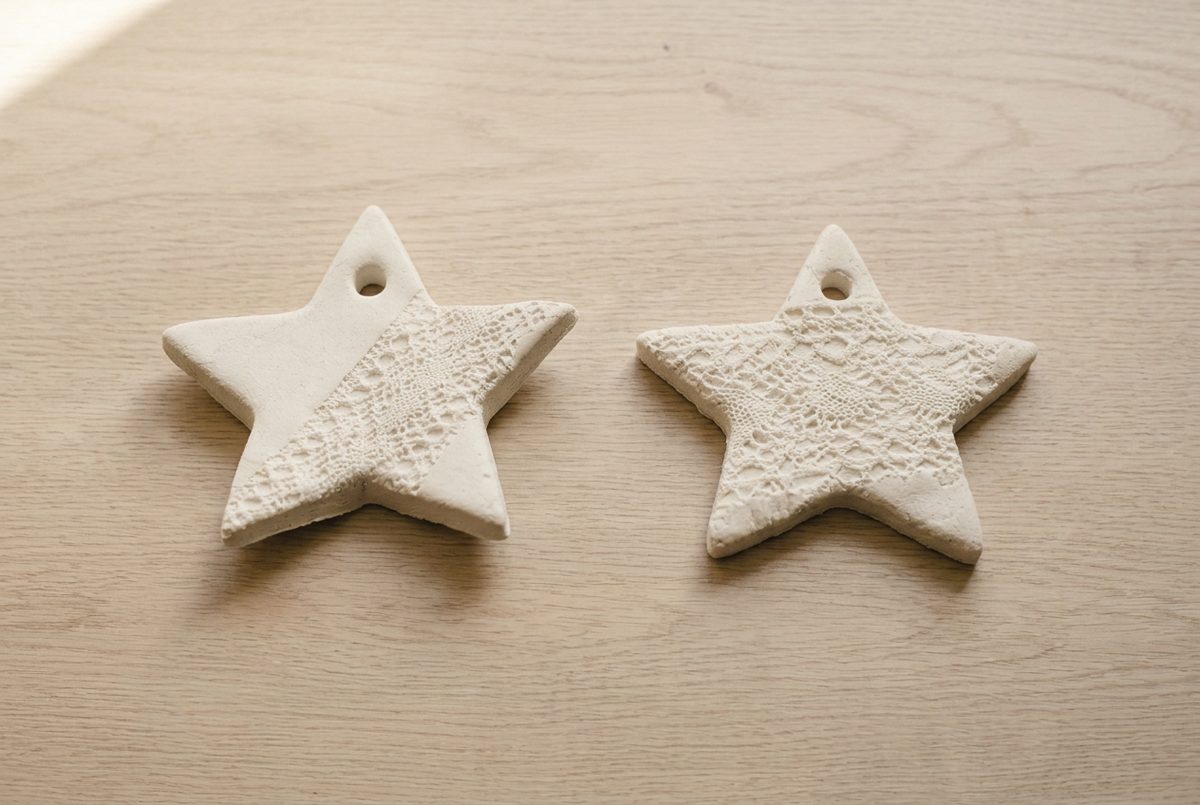
Lay the lace on, roll over it once with light pressure, then peel it away in one movement. Coarse open weaves read far better than fine ones once the clay is dry and painted.
A sprig of rosemary, the back of a fork, a piece of hessian or the tread of a clean shoe all work. Texture is what stops a plain cut-out shape looking like a biscuit.
5Cut the shapes
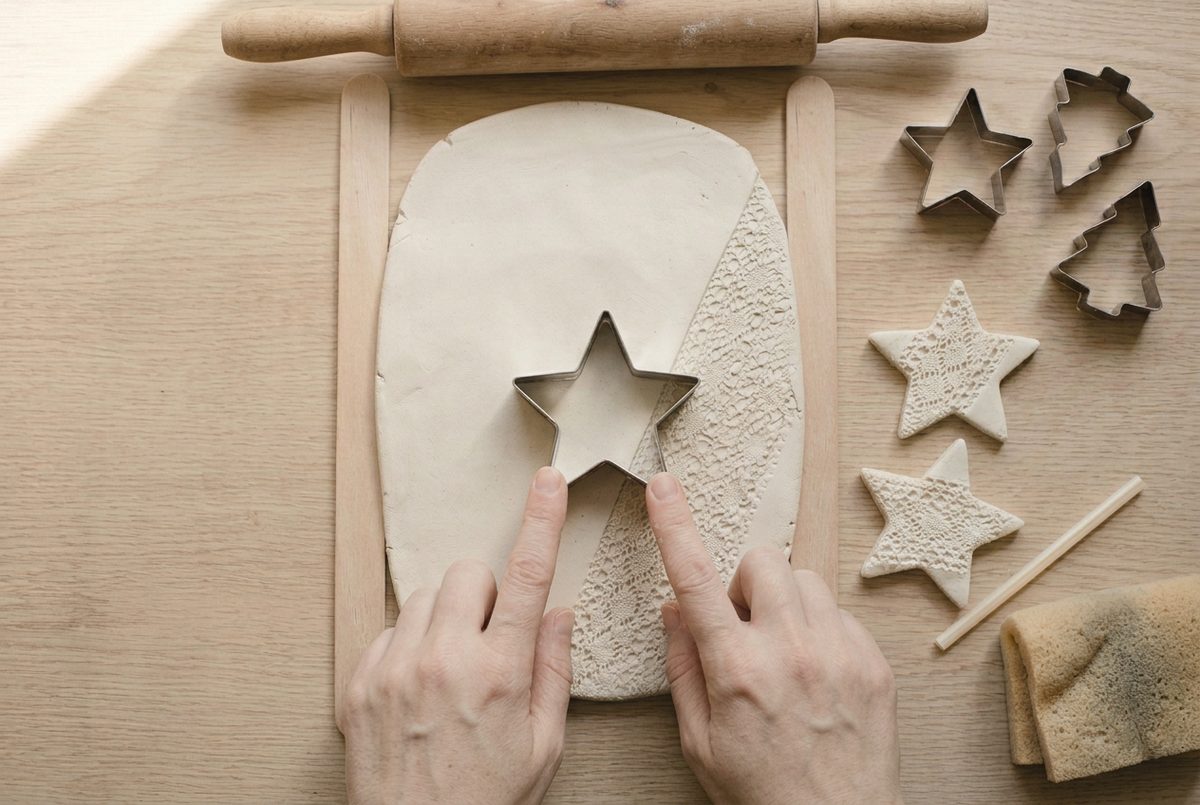
Press the cutter straight down and lift straight up. Twisting drags the edge and leaves a lip you will have to sand off later.
Cut them close together to get the most from the slab, and re-roll the offcuts straight away while they are still damp.
6Punch the hanging hole
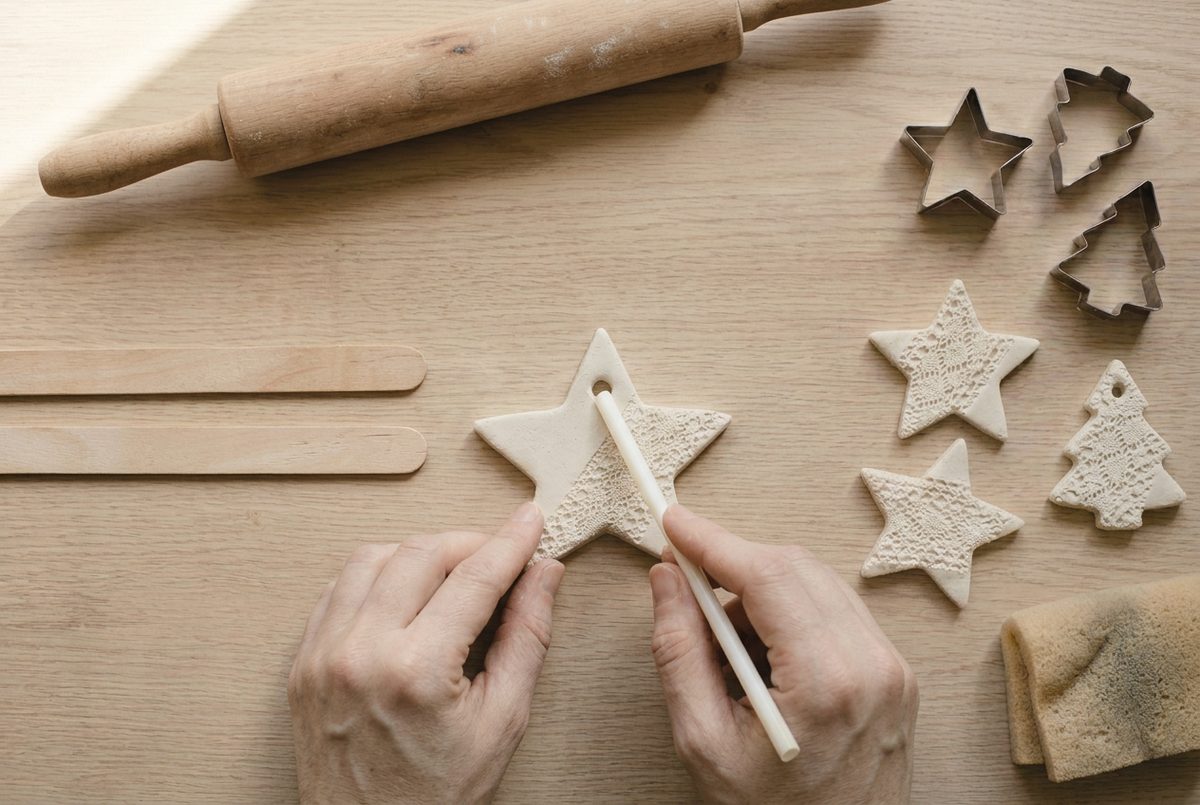
Do this now. There is no drilling a hole into a dry ornament without cracking it, and this is the single most common thing people forget.
Put the hole further in from the edge than looks right. Five millimetres of clay between the hole and the edge is the minimum, and that margin is what stops an ornament snapping off its ribbon in a year or two.
7Dry flat, then paint and seal
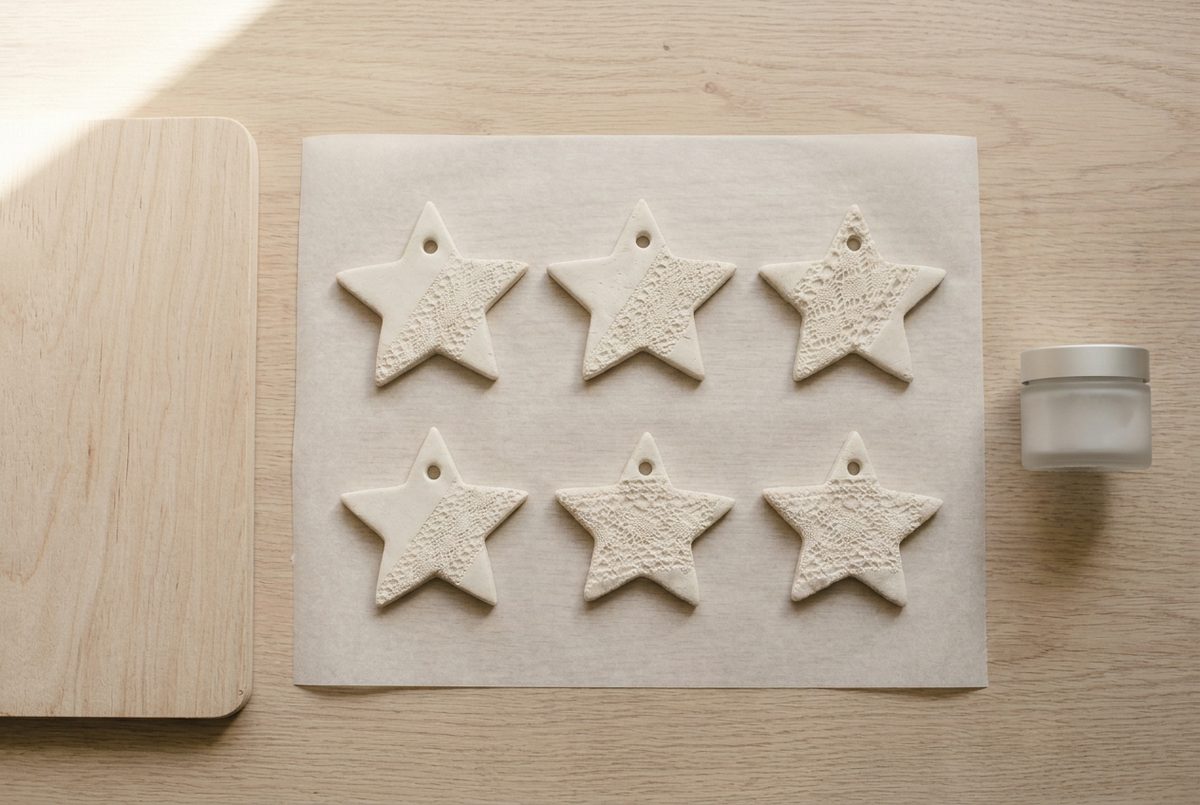
Lay them between two sheets of parchment with a flat board on top. The board is what keeps them flat while the two faces dry at different rates, and it costs nothing.
Leave them two to three days, turning the whole stack over once a day. Once they are bone dry, paint if you want to, then seal every face including the inside of the hanging hole. Air dry clay never becomes waterproof, and a stored ornament sitting in a loft for eleven months meets more damp than you would think. The finishing guides cover which sealers behave on a porous surface.
Two ornaments from the same batch below. One dried under a board, one dried loose on a rack.
If it goes wrong
| Problem | Likely cause | How to fix it |
|---|---|---|
| The ornaments curled up at the edges as they dried | They dried loose, so the exposed top face lost water faster than the underside and shrank first | Dry them between two sheets of parchment under a flat board, turning the stack daily. A curled ornament cannot be flattened once dry and has to be remade. |
| One snapped at the hanging hole | The hole was punched too close to the edge, or the slab was rolled thinner than 6mm | Leave at least 5mm of clay between hole and edge, and roll to a full 6mm. A snapped ornament can sometimes be glued and re-sealed, but the join stays visible. |
| The texture came out faint or blurred | The clay had already skinned over, or the lace was lifted with a dragging motion rather than straight up | Work from freshly conditioned clay kept wrapped until the moment you need it, and peel the texture away in one clean movement rather than sliding it. |
| A hairline crack opened across a shape while drying | Uneven thickness across the slab, usually from rolling without guide strips | Fill the crack with a paste of clay and water, let it dry, then sand it flat. Roll between guide strips next time so the whole batch is a consistent thickness. |
Variations worth trying
Stamp a number into each one and use them as an advent set. Press the shapes while the clay is soft rather than trying to carve them once dry.
Mix a spoonful of ground cinnamon into the clay while conditioning. It warms the colour to a soft biscuit tone and holds a faint scent for a season or two, though it does weaken the clay slightly, so keep those a millimetre thicker.
Thread them with natural twine rather than ribbon. Twine ages better, costs less, and photographs far better against pale clay, which matters if you are making a batch to sell or to give.
Are air dry clay ornaments better than salt dough?
They are sturdier and they do not go soft in a damp room, which is salt dough’s main weakness. They also skip the oven entirely.
The trade is cost and time. Salt dough is three pantry ingredients and bakes hard in three hours; air dry clay costs real money per packet and takes three days. For a big batch with children, salt dough still wins on both counts.
Air dry clay is the better choice for anything you intend to keep and reuse every year, or anything you plan to sell, because it survives storage and handling far better. Our Christmas ornaments section covers planning either version with enough lead time, which matters more than the material: both need days, not hours, and a batch started the week before Christmas will not be ready. If a piece has already gone wrong, the troubleshooting section covers what can be rescued.
Frequently asked questions
How long do air dry clay ornaments take to dry?
Two to three days at room temperature for shapes rolled to 6mm, turned once a day. They are ready when they are uniformly pale, cool rather than cold to the touch, and noticeably lighter than when you cut them.
Can you bake air dry clay ornaments to speed up drying?
No. Forced heat dries the outside while the middle is still wet, which is the exact condition that cracks and warps a flat piece. Air dry clay has no curing temperature; it only loses water, and that takes the time it takes.
Do air dry clay ornaments need to be sealed?
Yes, on every face including inside the hanging hole. Air dry clay stays porous permanently, and an ornament stored in a loft or garage for eleven months of the year meets more humidity than most people expect.
What can you use instead of cookie cutters?
A craft knife around a paper template gives cleaner edges than most cutters and lets you make any shape you like. A drinking glass works for circles, and the wide end of a piping nozzle makes good small ones.

Save this for later