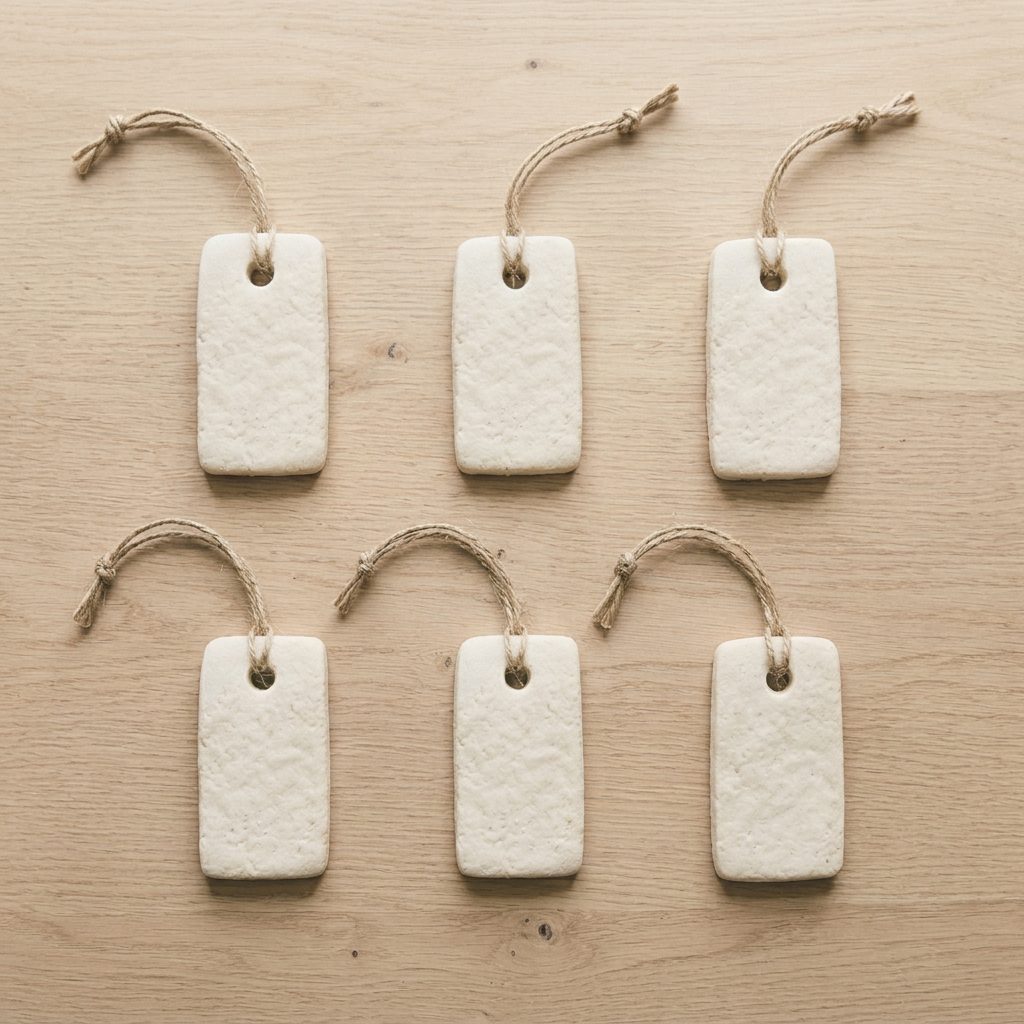
Salt dough gift tags are the cheapest handmade thing worth giving, and they go wrong in two ways: they brown in the oven and they curl as they dry. Roll them to an even 5mm, punch the hole while the dough is soft, and dry them at 100C on a rack.
A batch of salt dough gift tags costs about thirty pence and looks like something from a shop, right up until they come out of the oven brown at the edges and curled like crisps.
Both faults have the same cause. Salt dough is not being baked, it is being dried, and the oven is far too hot for that job at any normal setting.
The christmas hub has the rest of the seasonal projects. These are the ones that get made in a spare hour.
Materials
- Plain flour, two parts
- Fine table salt, one part
- Water, about one part
- Matt water-based sealer
- Natural twine
Tools
- Wooden rolling pin
- Two guide strips about 5mm thick
- Rectangular metal cutter
- Plastic drinking straw
- Wire cooling rack
- Fine sandpaper
Twenty minutes of work, then four hours in a very low oven.
How do you make salt dough gift tags that stay flat?
Mix a stiff dough, roll it to an even 5mm between guide strips, cut the shapes and punch the holes while it is soft, then dry at 100C for four hours, turning every piece each hour.
1Set out what you need
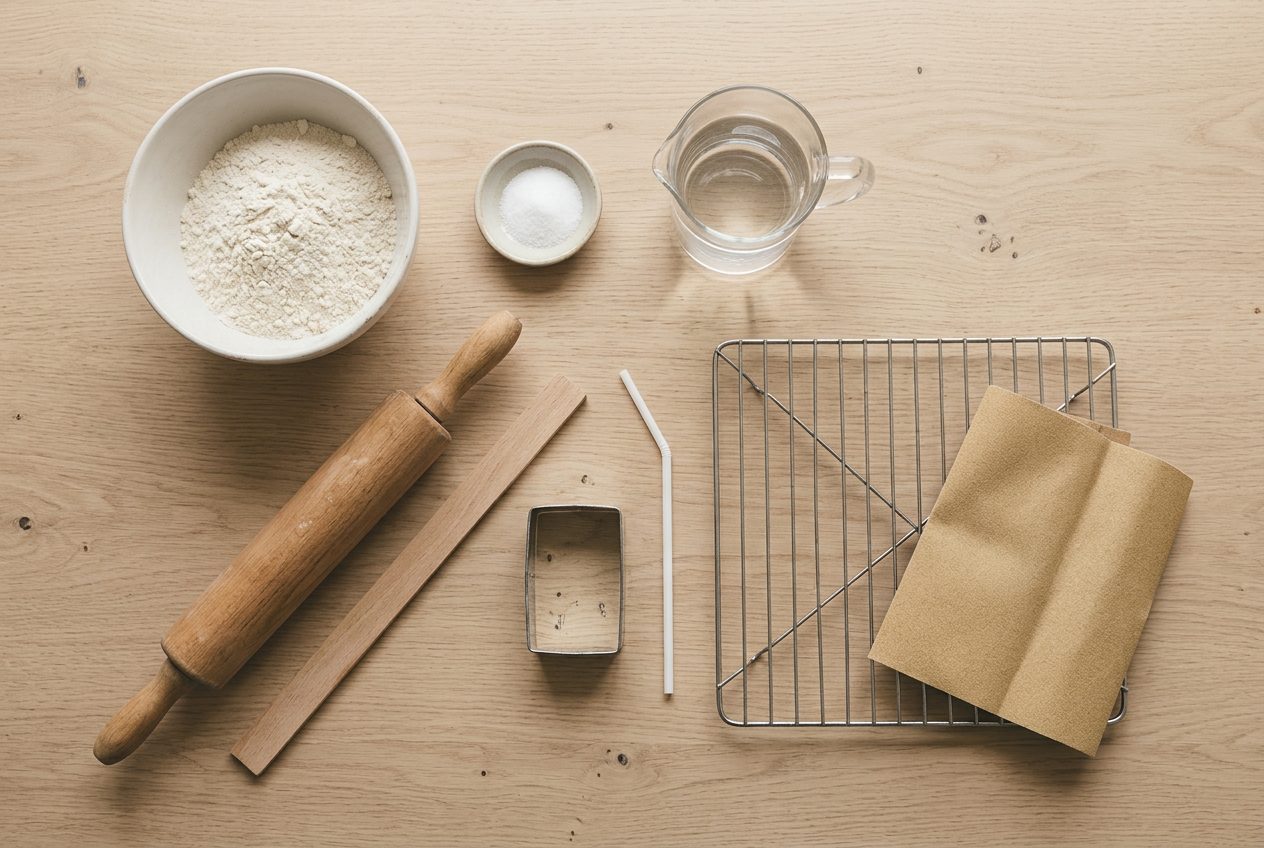
Plain flour only. Self-raising flour contains the one ingredient guaranteed to ruin this, and it will bubble the surface of every piece.
The straw is the tool people improvise badly. A skewer tears a ragged hole; a straw cuts a clean round one and lifts the plug out with it.
Guide strips matter here more than in most projects, because uneven dough is what curls.
2Mix a stiff dough and roll it 5mm
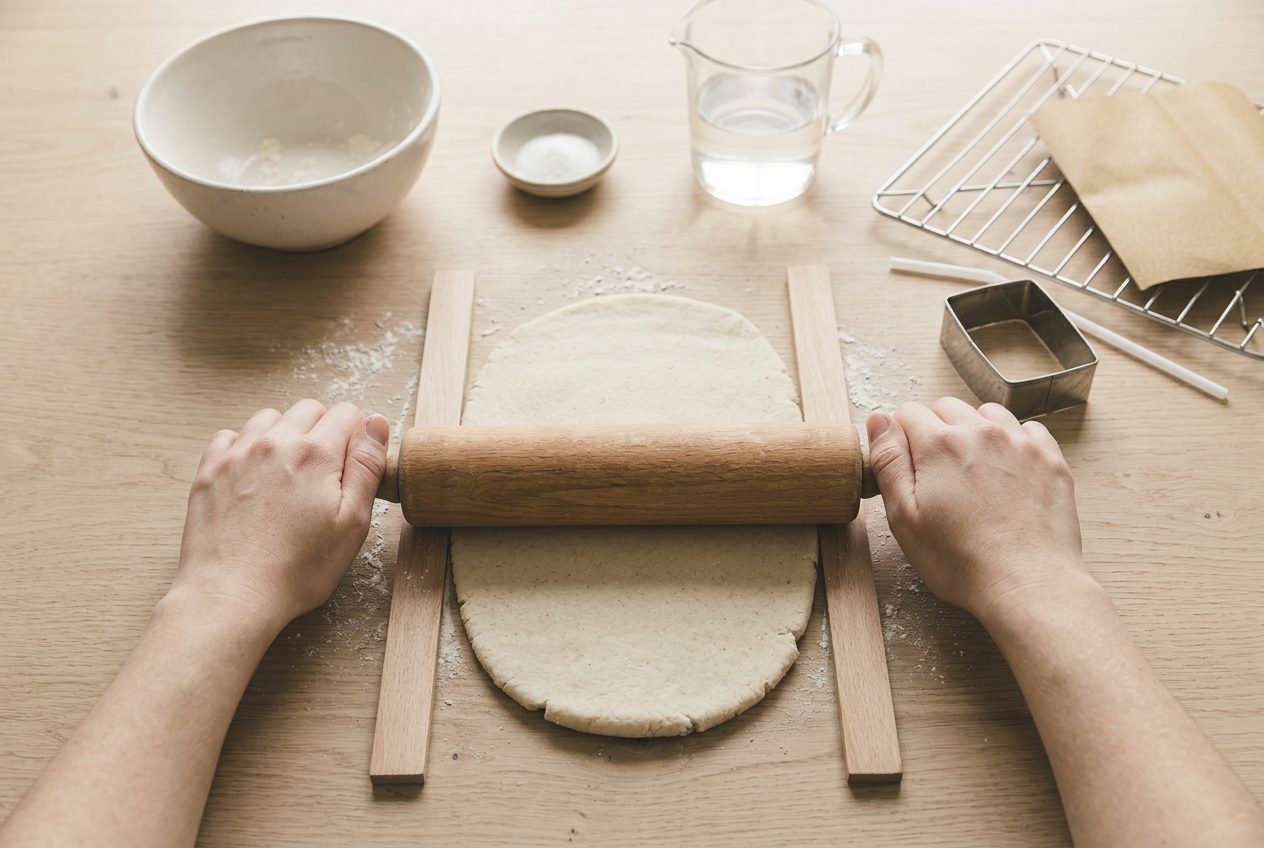
Two parts flour to one part salt, with water added slowly until it just comes together. Stop while it still feels a little too dry.
Every extra spoon of water is steam in the oven later, and steam is what lifts the surface into blisters.
Roll between the strips until the pin skims. Five millimetres is the figure that survives being tied to a parcel without snapping.
3Cut the shapes and punch the holes
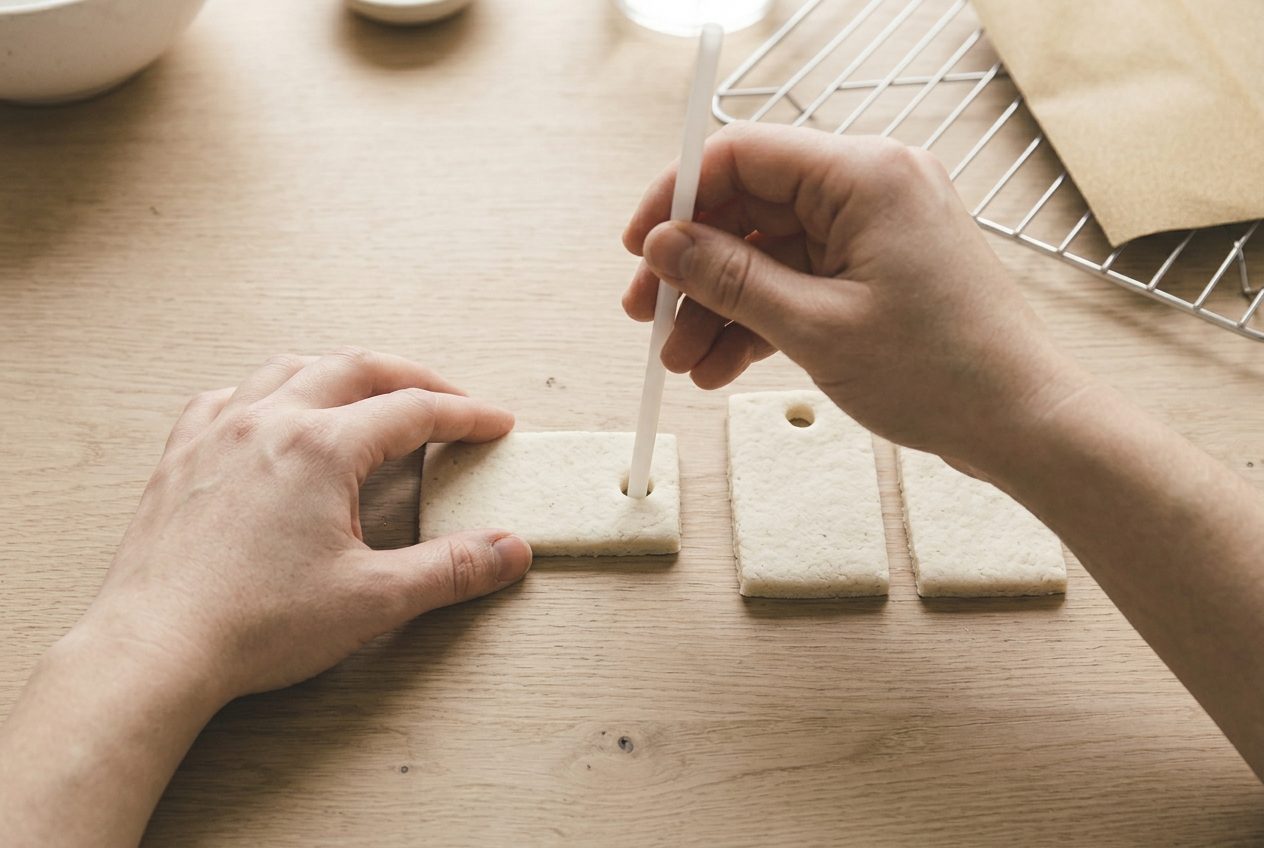
Cut every shape first, then go back and punch the holes. Doing both in one pass distorts the shape while it is still soft.
Keep the hole at least 8mm in from the edge. Closer than that and the twine tears straight out of it the first time it takes any weight.
Twist the straw as you pull it back. The plug comes away with it and the rim of the hole stays crisp.
4Bake low and turn them hourly

One hundred degrees, four hours, on the rack so air reaches both faces. Prop the oven door very slightly ajar so the moisture can leave.
Turn every piece each hour. This is the step that decides whether they stay flat, and it takes ten seconds a time.
If the edges start to colour, the oven is hotter than its dial says. Most are, by about twenty degrees.
5Sand the edges and faces

Salt dough sands beautifully once it is properly dry, and this is the step that separates homemade from handmade.
A light pass on both faces and right around the rim is enough. Press hard and you go through the skin into the grainy interior.
Brush the dust off before sealing. Sealer over dust dries cloudy.
6Seal them and thread the twine

Two thin coats of matt water-based sealer, on both faces, the edges and inside the hole. The hole is the part everybody misses and the first place damp gets in.
Let each coat dry properly. Sealer trapped over a damp piece goes milky and stays that way.
Then thread the twine. The finishing hub covers colour washes and waxes if you want more than plain, though plain is what most of these want to be.
If it goes wrong
| Problem | Likely cause | How to fix it |
|---|---|---|
| The edges browned before the middle was dry | The oven was too hot, which cooks salt dough rather than drying it | Drop to 100C and check the real temperature with a thermometer. Browning cannot be reversed, only sanded back a little. |
| The corners lifted and curled | One face dried ahead of the other because the pieces were never turned over | Turn each piece every hour. A curled piece can be pressed under a board while it is still warm, but it often springs back. |
| The hole tore out when the twine was pulled | The hole was too close to the edge, leaving less than 5mm of dough around it | Punch at least 8mm in from the edge. A torn hole can be filled with fresh dough and rebaked, but the repair always shows. |
| They went soft again after a few weeks in a drawer | They were not sealed, so they drew moisture back out of the air | Seal every face and the inside of the hole. Soft pieces can be dried out again at 100C and then sealed properly. |
Why do salt dough tags go brown in the oven?
Because they are being cooked rather than dried, and flour browns.
The reaction starts around 140C, which is below the lowest setting on a lot of ovens. That is why so many people follow a recipe carefully and still get biscuit-coloured results.
The answer is a genuinely low oven, checked with a thermometer rather than trusted from the dial. One hundred degrees is slow, and slow is the point: the water has to leave before the sugars in the flour get hot enough to colour.
Thin pieces brown faster than thick ones because their edges reach oven temperature sooner. A 5mm tag with a sharp cut edge is one of the easiest things to scorch.
If the top starts colouring anyway, a sheet of baking paper laid loosely over the rack shields it without stopping the airflow. The troubleshooting hub covers the puffing and bubbling that comes from the same excess heat.
How long do salt dough tags last?
Sealed and kept dry, years. Unsealed in a damp cupboard, one season.
Salt dough is hygroscopic, which is a formal way of saying it pulls water out of the air. Left bare it slowly softens, the edges go slightly furry, and eventually the surface crumbles under a fingernail.
Sealing is what stops it, and it has to be everywhere: both faces, the edges, the inside of the hole. A single unsealed face is enough for damp to get in behind the coating.
Storage matters as much. A cardboard box in a loft is a bad idea; a lidded tin somewhere inside the house is a good one.
Made properly they outlast the parcels they were tied to, which is the whole appeal of them. The salt dough hub has the base recipe and the rest of the projects built on it.
Frequently asked questions
What temperature should salt dough gift tags be baked at?
About 100C for four hours, turned every hour. The aim is to dry them out slowly, not to cook them, and above 120C they brown.
How thick should salt dough tags be?
Five millimetres. Thinner ones warp and snap at the hole; thicker ones take twice as long to dry and often puff in the middle.
How do you make a hole in a salt dough tag?
Push a plastic drinking straw straight through the soft dough and lift the plug out. Do it before drying, at least 8mm in from the edge.
Do salt dough tags need sealing?
Yes, if they are to last more than one season. Salt dough is hygroscopic, so it draws damp out of the air and slowly softens.