Air dry clay snowflakes look delicate and break like it, usually at the thinnest arm and usually on the way to the tree. Roll them a solid 6mm, choose a cutter with fat arms, punch the hanging hole while the clay is soft, and dry them slowly on a rack.
Clay snowflakes are the project that looks easiest and fails most often. They come out of the cutter beautifully and arrive at the tree in three pieces.
The reason is always the same: they were rolled thin because thin looks delicate, and a 3mm arm has no strength across the grain at all.
The christmas hub has the rest of the decorations. This one is worth making a fortnight before it is needed, because the drying is the long part.
Materials
- White air dry clay
- A little water
- Matt water-based sealer
- Fine white ribbon
Tools
- Wooden rolling pin
- Two guide strips about 6mm thick
- Metal snowflake cutter about 8cm across
- Plastic drinking straw
- Wire cooling rack
- Fine sandpaper
Twenty-five minutes of work spread over three days of drying.
How do you make air dry clay snowflakes that do not break?
Roll the clay a full 6mm, use a cutter with fat arms rather than fine points, punch the hanging hole while the clay is soft, and dry the shapes slowly on a wire rack, turning them twice a day.
1Set out what you need
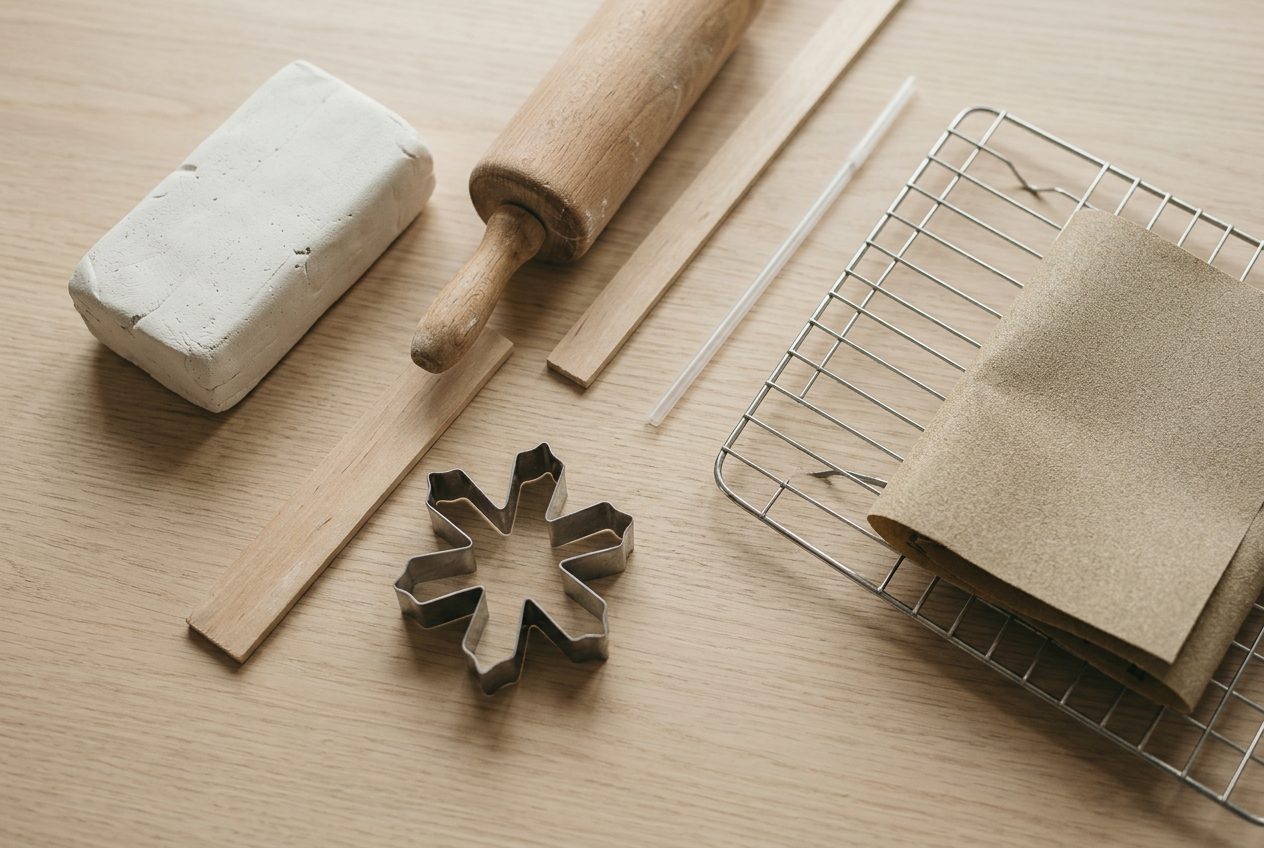
Choose the cutter carefully, because it decides whether this project works. Broad simple arms survive; fine lacy points do not.
Around 8cm across is the sweet spot. Larger shapes are heavy on a branch and much more likely to crack while drying.
A drinking straw makes a far better hanging hole than a skewer, which tears rather than cuts.
2Roll the clay to an even 6mm
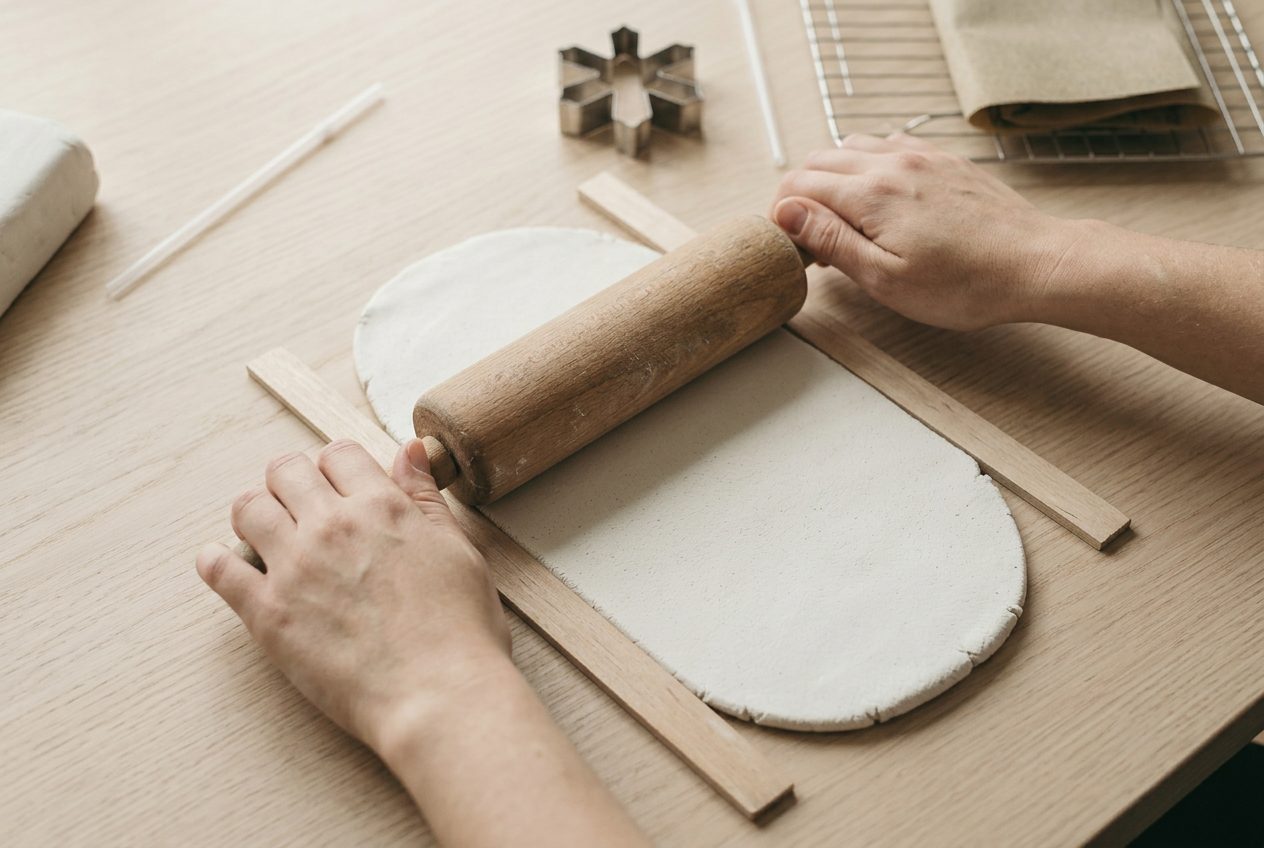
Six millimetres feels heavy in the hand and that is exactly right. A decoration that survives the box has to be thicker than it looks.
Turn the clay a quarter turn between passes. Rolling in one direction leaves a grain, and the arms then snap along it.
If the edges of the sheet crack as you roll, the clay is drying already. Work a little water in and start again.
3Cut the shapes and punch a hole

Press the cutter straight down and lift it straight up. Twisting it drags the arms out of shape before the piece has any strength.
Punch the hole while the clay is soft. Drilling one afterwards splits the arm nearly every time.
Keep the hole 8mm in from the tip. Any closer and the ribbon pulls straight out through the end.
4Dry them flat on a rack

The rack is what stops the curling. Air gets to the underside, so both faces dry at roughly the same speed.
Turn each piece morning and evening. Skipping this for one day is usually enough to lift the arms.
Two to three days at room temperature. Away from radiators, out of direct sun, and nowhere near an airing cupboard.
5Sand the faces and edges smooth
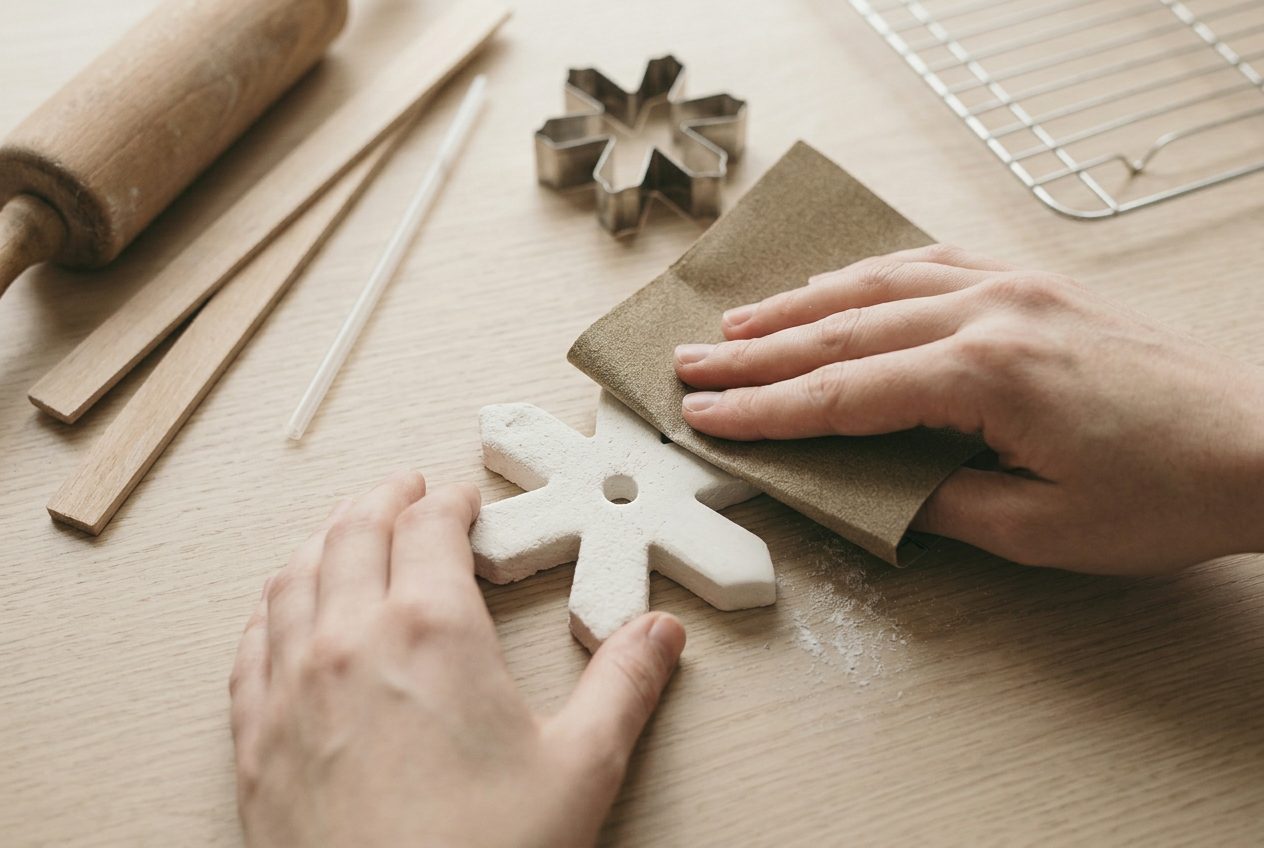
Dry air dry clay sands to something very close to plaster, and this is where the shapes stop looking homemade.
Both faces and every edge, lightly. The cut edges are always slightly ragged where the cutter pushed the clay down.
Support each arm with a finger underneath while you sand it. Unsupported arms are exactly where a dry piece snaps.
6Seal both faces and thread the ribbon
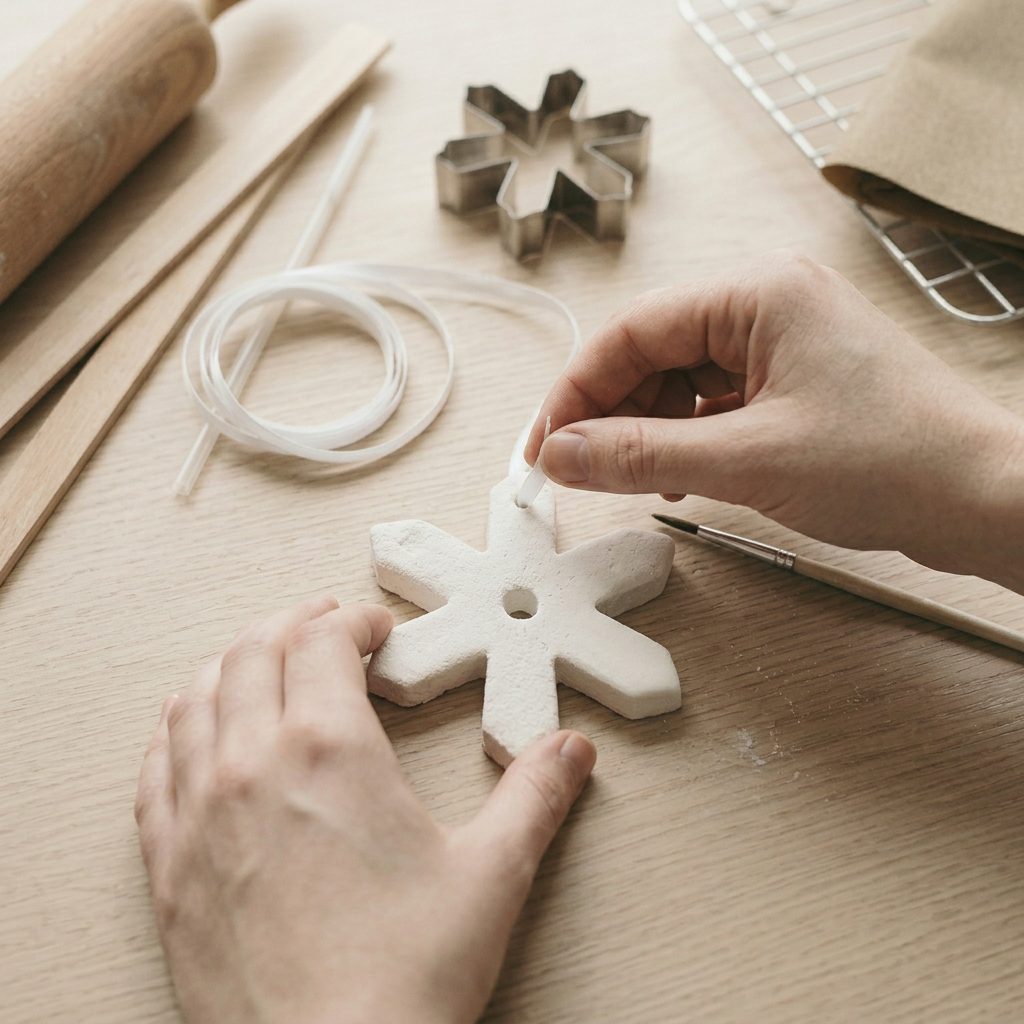
Two thin coats of matt water-based sealer on both faces, all the edges and inside the hole.
Water-based matters. Oil-based and solvent varnishes turn white clay a faint yellow within weeks, and there is no fixing it short of sanding back.
Then a loop of fine ribbon. The finishing hub covers waxes and washes if you want more than plain white.
If it goes wrong
| Problem | Likely cause | How to fix it |
|---|---|---|
| An arm snapped off while it was being moved | The clay was rolled too thin, or the cutter has fine points that leave the arms only a few millimetres wide | Roll a full 6mm and choose a fat-armed cutter. A broken arm can be glued back with PVA and the join sanded and sealed over. |
| The shapes curled up at the arms as they dried | They dried on a flat surface, so the top face shrank while the underside stayed damp | Dry on a wire rack and turn twice a day. A curled piece can be weighted flat under a board while it is still slightly damp. |
| Cracks opened across the middle overnight | Drying was too fast, usually on a radiator or in a warm airing cupboard | Dry at room temperature away from heat. Fill the crack with a paste of the same clay and water, then dry slowly and sand it back. |
| The white surface yellowed after sealing | An oil-based or solvent varnish was used, which ambers over white clay within weeks | Use a matt water-based sealer. A yellowed piece has to be sanded back to bare clay and resealed. |
Why do clay snowflake arms snap?
Because an arm is a short beam with no support, and clay has almost no tensile strength.
Every snowflake cutter concentrates the weakness in the same place: where a narrow arm meets the body. That is the shortest path for a crack and it is also where the piece gets picked up.
Thickness is the only real defence. At 6mm the arm has roughly four times the stiffness it has at 3mm, which is the difference between surviving a box and not.
Cutter choice is the other half. A lacy six-point design with fine tips is beautiful and structurally hopeless in clay, however carefully it is dried.
Handle them by the body rather than the arms, both while drying and afterwards. The air dry clay hub covers the same problem in other thin flat shapes.
Can air dry clay ornaments hang on a real tree?
Yes, with two cautions.
The first is weight. A 6mm clay snowflake 8cm across weighs far more than a glass bauble of the same size, so it belongs on a strong branch close to the trunk rather than on a drooping tip.
The second is damp. A real tree gives off a surprising amount of moisture, and unsealed air dry clay draws it in and softens. Sealing both faces properly is what makes them safe to hang year after year.
Storage between seasons is the part that actually breaks them. Wrap each piece separately in tissue and keep them in a rigid box, never loose in a bag with the lights.
Made this way they last decades and get better with handling. The home decor hub covers the same techniques for pieces that stay out all year.
Frequently asked questions
How thick should air dry clay snowflakes be?
Six millimetres. Thinner ones look more delicate and break at the arms, usually the first time they are unpacked.
How long do air dry clay ornaments take to dry?
Two to three days at 6mm on a wire rack, turned twice a day. They are ready when they stop feeling cool against the back of the hand.
Can you hang air dry clay on a tree?
Yes, and it is heavier than it looks. Hang them on a strong branch near the trunk rather than on the drooping tips.
What sealer should be used on white air dry clay?
A matt water-based one. Oil-based and solvent varnishes turn white clay a faint yellow, and it cannot be reversed.