
Salt dough gingerbread decorations are a Christmas standard that usually comes out puffed, browned and cracked. The dough wants to be stiff, the slab wants to be six millimetres, and the oven wants to be barely warm for several hours rather than hot for one.
Everyone makes these once. A good number of people never make them twice, because the first batch came out of the oven puffed up like bread rolls, browned at the edges and cracked across the middle.
None of that is the recipe’s fault. It is the oven, and it is the water content of the dough, and both are easy to fix once you know that salt dough is being dried rather than cooked.
The christmas hub has the rest of the tree decorations these sit alongside.
Materials
- Plain flour
- Fine table salt
- Water
- Matt water-based sealer
Tools
- Wooden rolling pin
- Two flat wooden guide strips
- Gingerbread man cutter
- Plastic drinking straw
- Fine sandpaper
Twenty minutes of work, then three or four hours in a barely warm oven.
How do you make salt dough gingerbread decorations?
Mix two parts flour to one part salt with only just enough water, roll the slab to an even six millimetres between guide strips, cut the shapes and pierce hanging holes, then bake at the lowest setting the oven has for three to four hours before sanding and sealing.
1Set out what you need
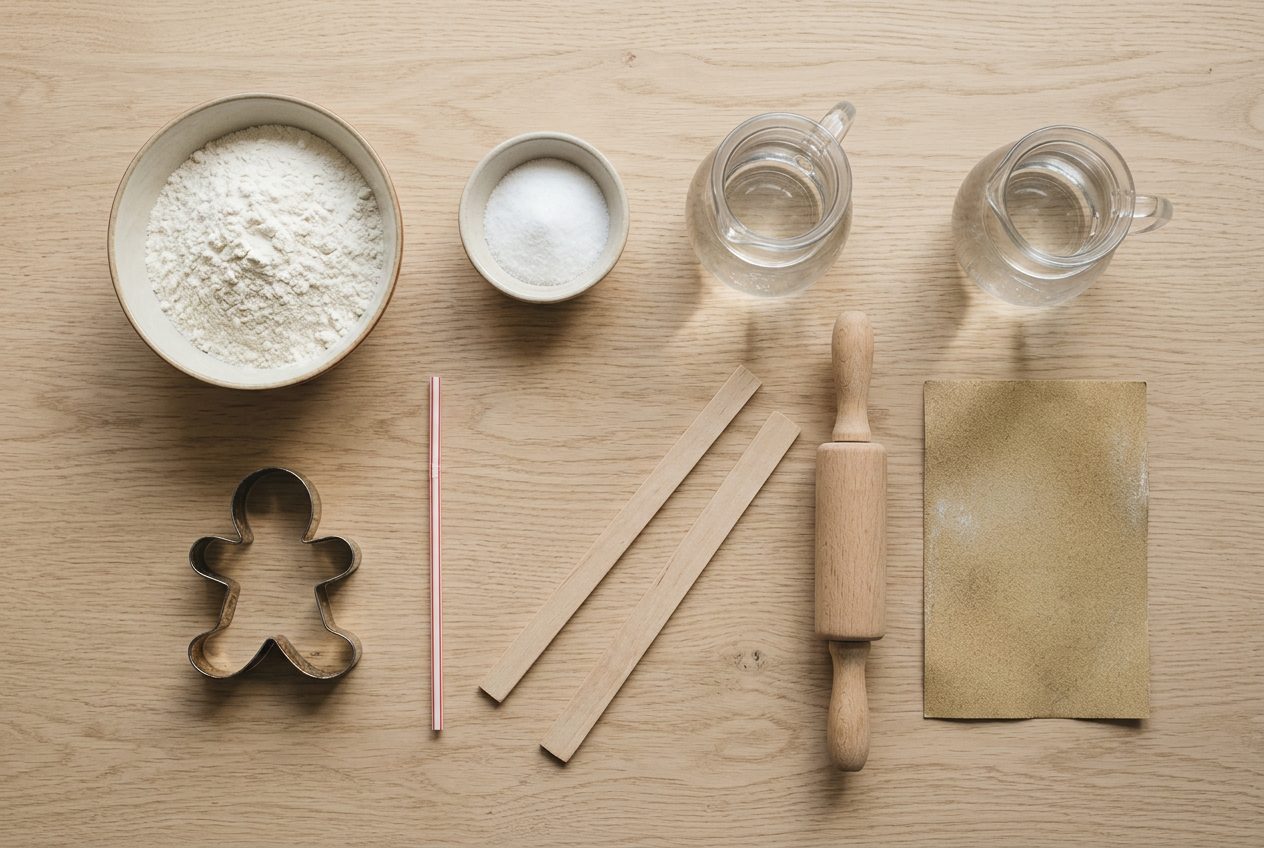
Fine table salt, not sea salt. Coarse crystals leave visible pits in the surface once the dough dries.
Plain flour rather than self-raising. Self-raising has the one ingredient this project is trying to avoid.
The guide strips are worth more than the cutter here, because uneven thickness is the single biggest cause of cracking.
2Mix a stiff dough
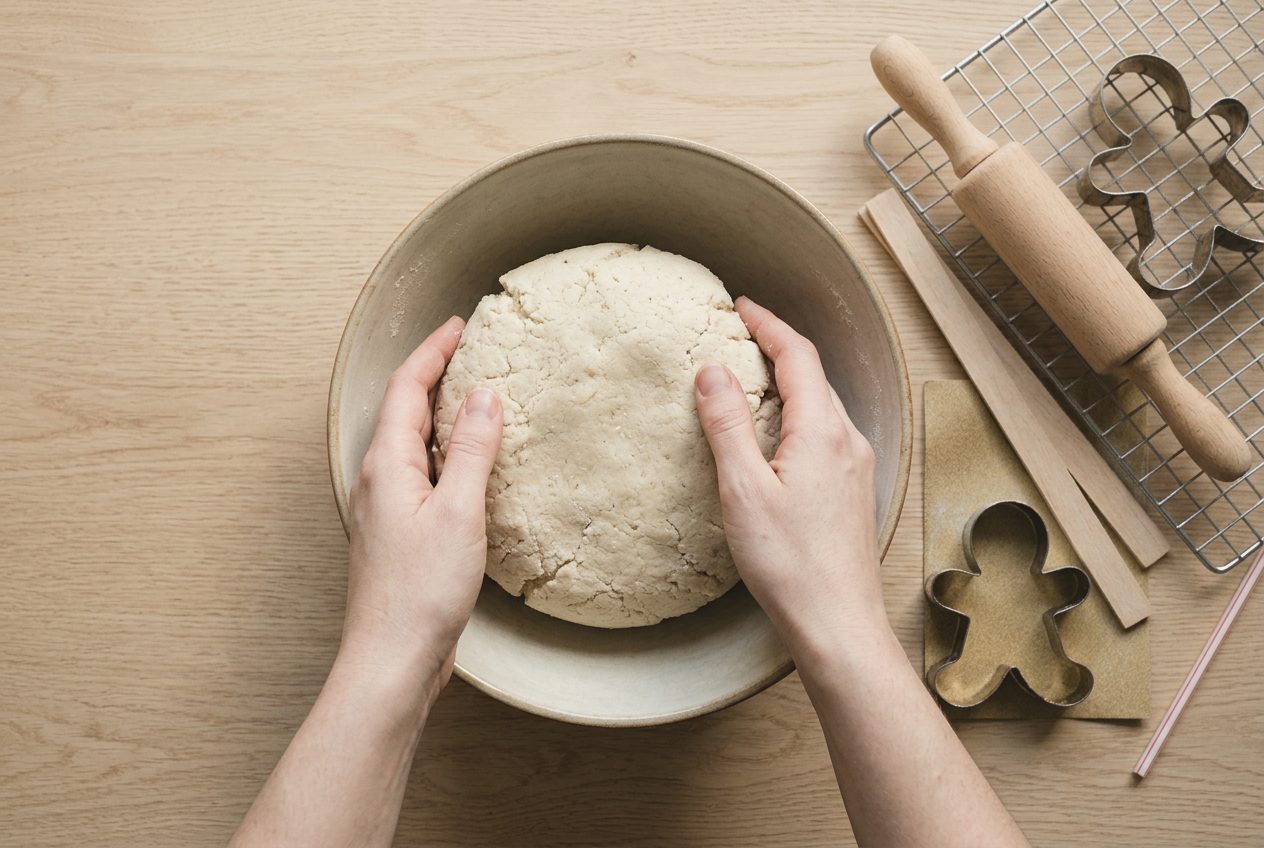
Two parts flour to one part salt by volume, then water added a spoonful at a time.
Stop the moment it holds together. A dough that feels pleasant and soft has too much water in it, and that water becomes steam later.
Knead it for a couple of minutes to even the moisture out. Dry patches crack, wet patches puff.
3Roll the slab to an even 6mm
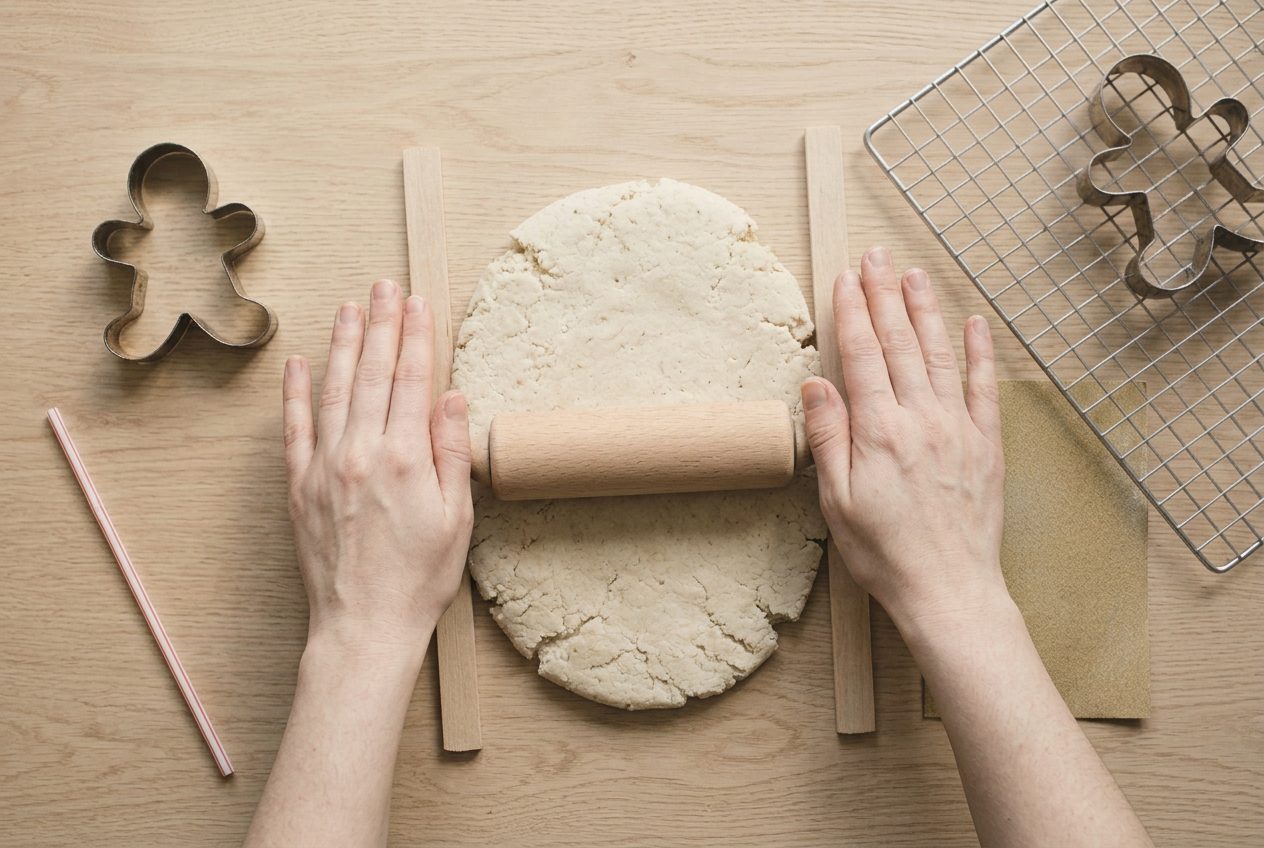
The pin rides on the strips, not on the dough. That is what fixes the thickness rather than guessing at it.
Six millimetres survives a hanging hole and a few Christmases. Thinner shapes snap when the tree comes down.
Check the corners. A slab that is six millimetres in the middle and three at one edge will split exactly along the change.
4Cut the shapes and pierce the holes
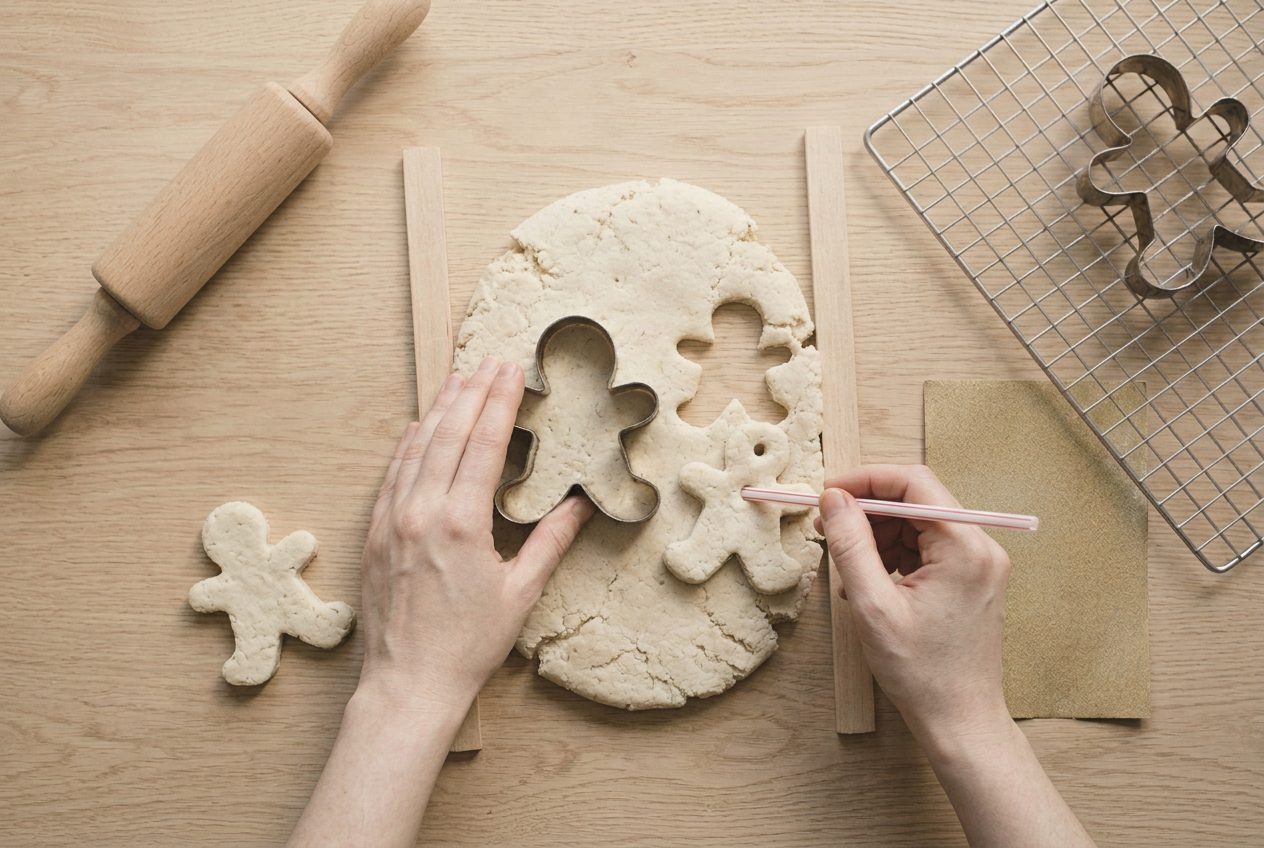
Straight down and straight up. Twisting rounds the edge over and the shape loses its outline.
Pierce the hole while the dough is soft, and keep it a good six millimetres in from the edge so the rim can carry the weight.
Lift them with a palette knife rather than fingers. Warm fingers stretch soft dough out of shape.
5Bake them low and slow
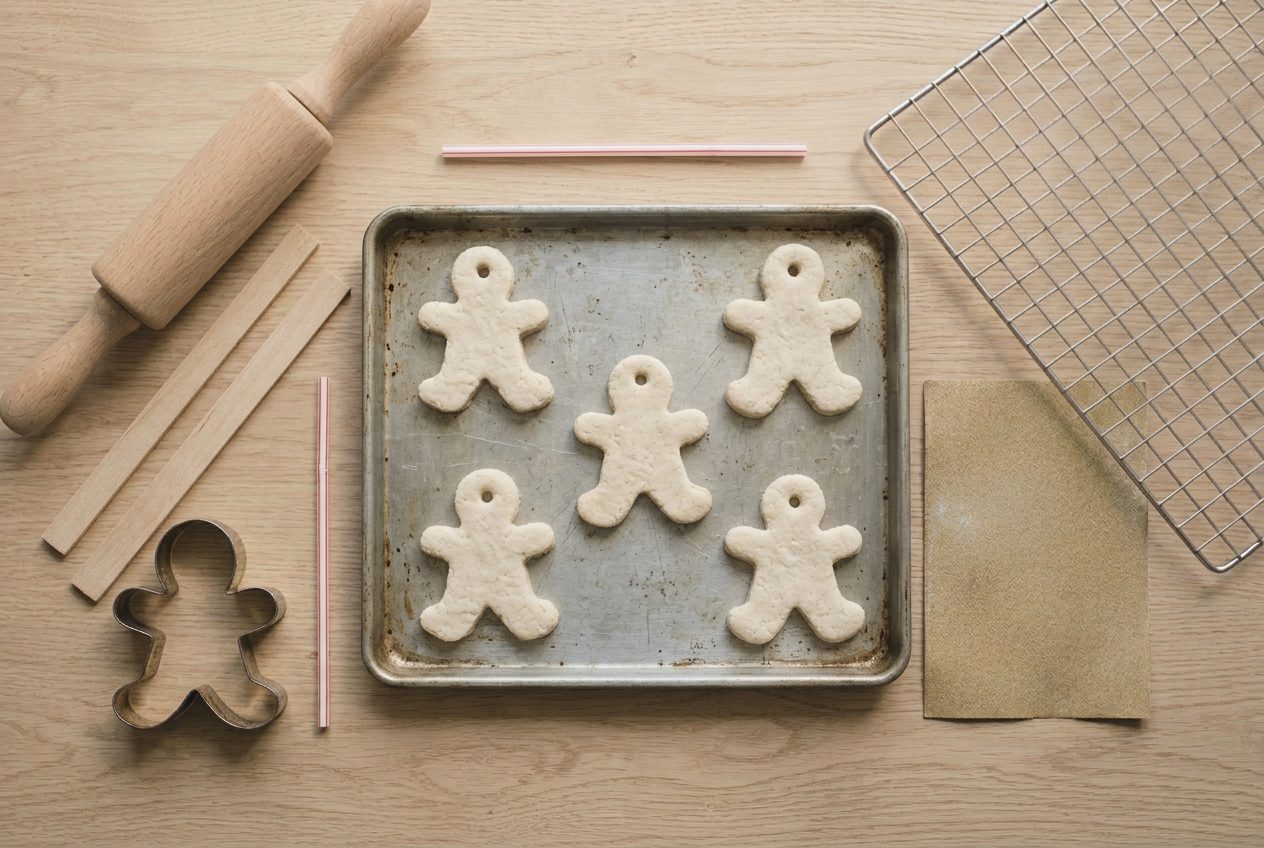
The lowest setting the oven offers, usually eighty to a hundred degrees, for three or four hours.
Turn them once halfway through so both faces dry at the same rate. Otherwise the underside stays damp and the shape curls.
If the oven has a fan, use it. Moving air dries the surface without adding heat, which is exactly what is wanted.
6Sand the edges and seal both faces
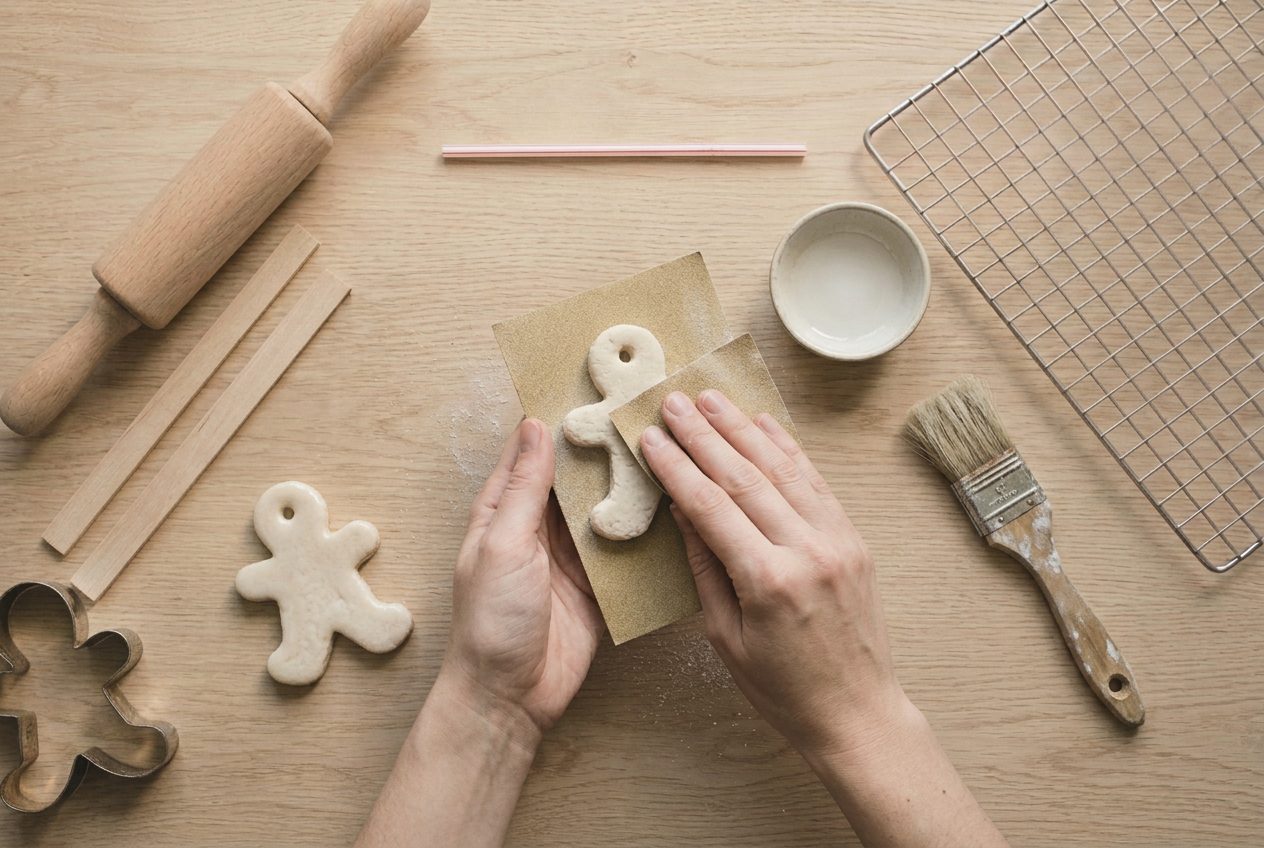
Sand the rim, not the faces. The faces have a texture worth keeping.
Two thin coats of matt sealer on each face and a dab through the hanging hole, with drying time between them.
Sealing is what makes these last, and it is why the salt dough hub keeps returning to it. Salt pulls damp out of the air all winter, and unsealed dough softens by February.
If it goes wrong
| Problem | Likely cause | How to fix it |
|---|---|---|
| The shapes puff up like bread rolls | The oven was too hot, so steam expanded inside the dough before the outside had set | Bake at the lowest setting the oven offers for three or four hours. Salt dough is being dried, not cooked. |
| The decorations have browned | Same cause, milder. Salt dough colours well before it burns | Drop the temperature and lengthen the bake. A tray of water in the oven slows the surface drying and helps keep them pale. |
| Cracks appear across the shapes | The dough was too wet, or the slab varied in thickness across a shape | Add water a teaspoon at a time until the dough just holds together, and roll between guide strips so thickness is fixed. |
| They go soft again after a few weeks | Salt draws moisture out of the air, so unsealed salt dough rehydrates in a damp room | Seal both faces and the hanging hole with two thin coats, and store them somewhere dry between Decembers. |
Why does salt dough puff up in the oven?
Because there is water in the dough and heat turns it to steam faster than the surface can let it escape.
The surface of a shape sets first. Underneath, water is still turning to vapour, and that vapour has nowhere to go, so it lifts the crust away from the middle. The result is a rounded pillow instead of a flat decoration, and the middle is usually hollow.
Two things cause it, and they compound. Too much water in the dough gives more steam to get rid of, and too much heat makes it appear faster than it can leave. A wet dough at a hundred and fifty degrees is guaranteed to puff.
The fix is to make the dough as stiff as it will go and then dry it as slowly as patience allows. At eighty degrees, water leaves as vapour gently over hours and nothing lifts.
A tray of water in the bottom of the oven helps too, oddly enough. It slows the surface from setting hard before the middle has dried. The salt dough hub goes into the recipe ratios in more detail.
Can you paint and decorate salt dough shapes?
Yes, and the order matters more than the technique.
Let them cool completely and check they are properly hard first. Paint on a shape that is still damp inside traps that moisture underneath, and it comes back later as a soft patch or a lifted flake of paint.
Acrylic is the practical choice. It covers the slightly grey colour of baked salt dough in one coat, dries fast and takes a sealer well. Watercolour soaks in and looks washed out, and oil paint never really dries on a porous surface like this.
Leaving them plain is a real option and often the better one. Baked salt dough has a warm biscuit colour and a fine texture that reads as far more expensive than it is, especially with a natural twine loop rather than ribbon.
Whatever the finish, seal over the top of it on both faces. The finishing hub covers which sealers stay matt and which yellow over a few years.
Frequently asked questions
What is the ratio for salt dough?
Two parts plain flour to one part fine salt, with water added slowly until the dough just comes together and no further.
What temperature do you bake salt dough decorations at?
The lowest your oven goes, usually around 80 to 100C, for three or four hours. They are dried rather than baked.
Why did my salt dough puff up?
Too much heat, too much water, or both. Steam expands inside the dough and lifts the surface before it can set.
How long do salt dough decorations last?
Years if they are sealed on both faces and stored somewhere dry. Unsealed, they soften over a single damp winter.
Can you paint salt dough gingerbread shapes?
Yes, with acrylic once they are fully dry and cool. Seal over the paint afterwards so the salt cannot draw damp through it.