A polymer clay glaze protects surface treatments and adds gloss, but baked clay needs no sealing to survive. The step that matters is testing the glaze on a scrap for a full day, because the wrong coating never stops being tacky.
A polymer clay glaze is optional, and that is the first thing worth knowing. Cured polymer clay sanded and buffed takes a genuine sheen on its own, so a glaze is for protecting a surface finish or evening out a matt patch, not for making the piece safe.
The second thing is the failure everyone hits: nail polish and many craft varnishes stay permanently tacky on polymer clay. The plasticiser in the clay never stops reacting with the wrong coating, and there is no cure once it has happened.
Test on a scrap first. The polymer clay hub covers baking, which is where most surface problems actually begin.
Materials
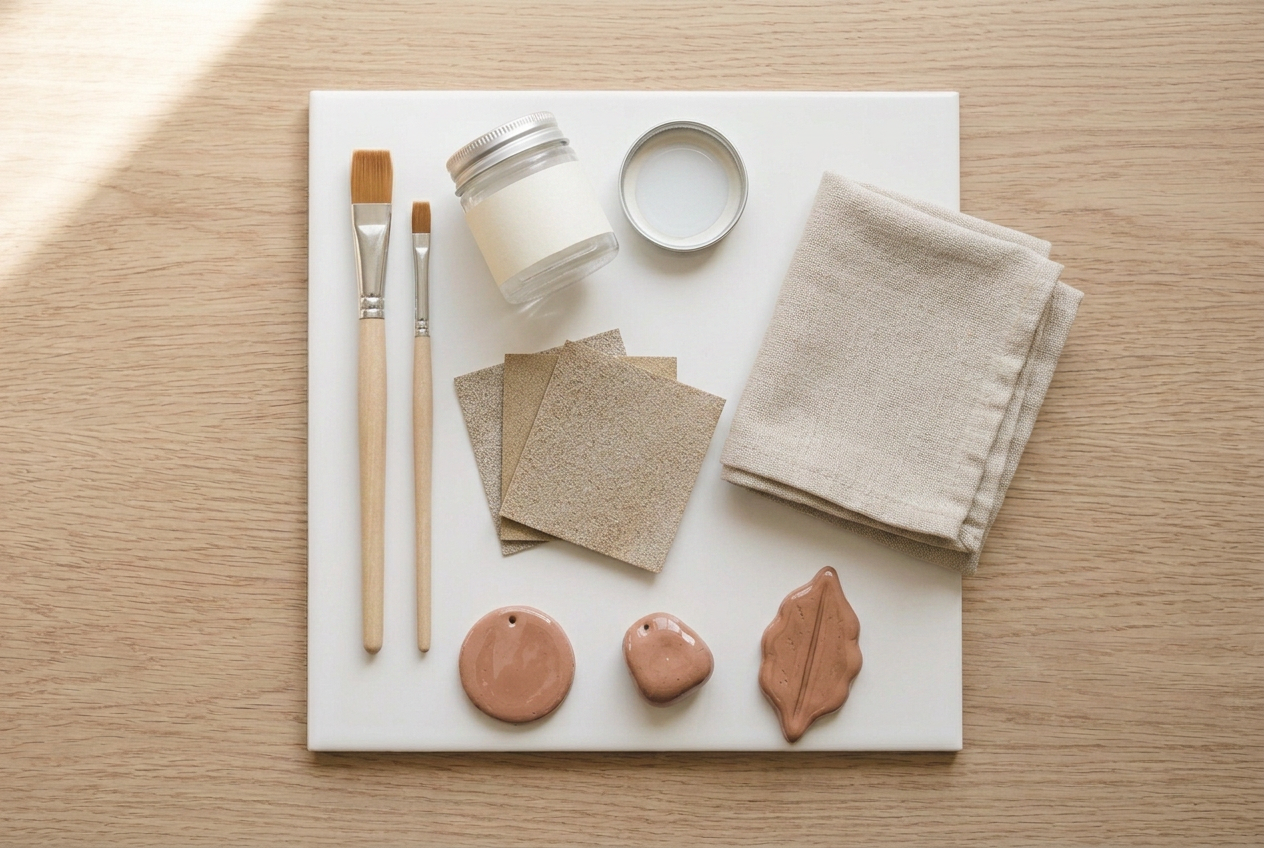
- A glaze made for polymer clay
- Baked polymer clay pieces
- A baked scrap for testing
Tools
- Two soft flat brushes
- Wet and dry sandpaper, 400 to 1000 grit
- Lint-free cloth
- White ceramic tile
Twenty minutes of work spread over two days, most of it waiting between coats.
How do you glaze polymer clay?
Sand and wash the baked piece, test the glaze on a scrap for at least a day, then brush two thin coats with a full cure between them and leave it a week before wearing or stacking.
1Set out what you need
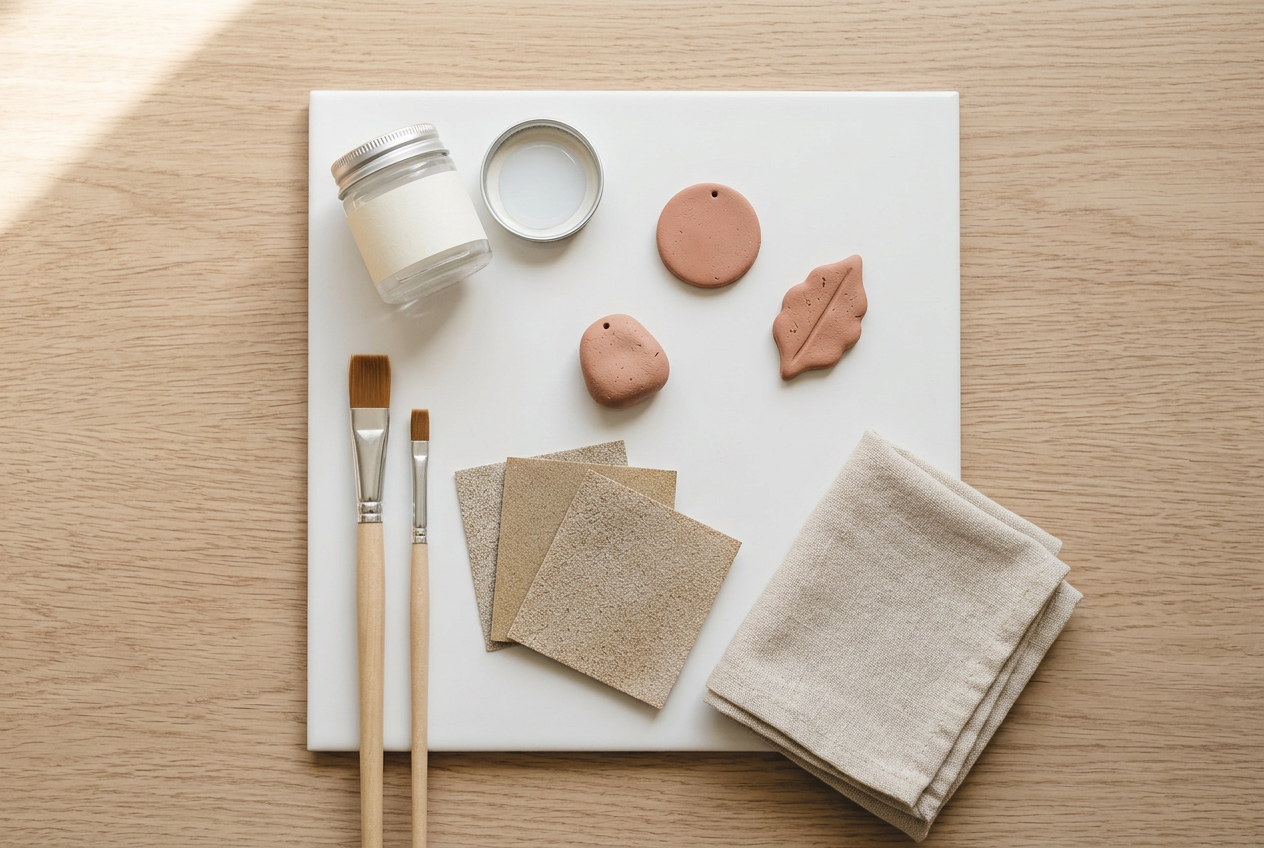
Buy a glaze made for polymer clay. The two well-known ranges from the big clay brands are formulated against the plasticiser; general craft varnish is a gamble and nail polish is a known failure.
Keep one brush for glaze only. A brush that has had acrylic paint in it holds pigment in the ferrule and drags a faint tint into a clear coat weeks later.
2Decide whether it needs a glaze at all
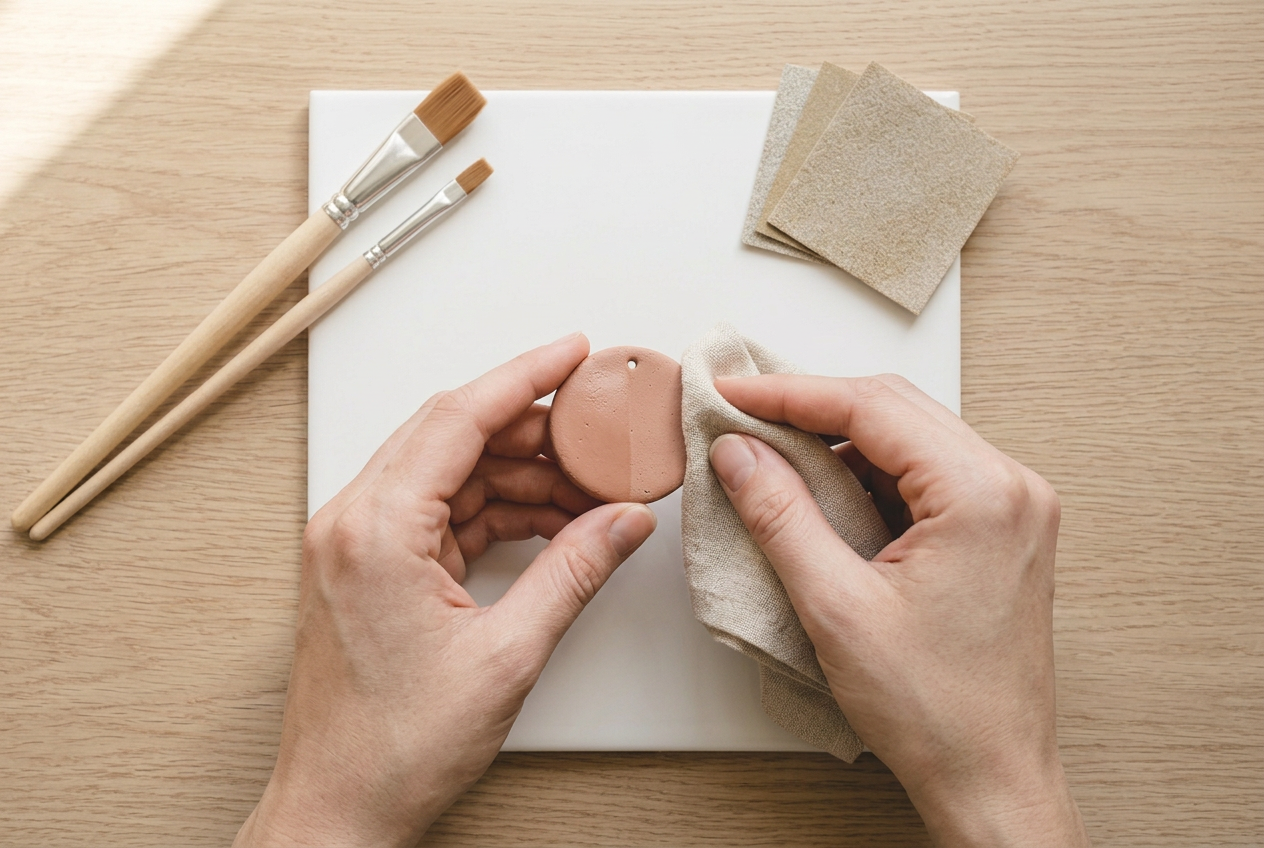
Buff a corner of the piece on a soft cloth first and look at it in daylight. A well-baked, well-sanded surface comes up to a soft satin sheen with nothing added.
If that is the finish you wanted, stop here. Every coat you add is a layer that can chip, cloud, yellow or stay tacky, and it hides the surface of the clay under a film.
Glaze earns its place in three cases: over surface treatments like chalk pastel or metallic leaf that would rub off, on a deeply textured piece that cannot be sanded, and where you specifically want gloss that buffing will not reach.
3Sand, wash and dry the piece
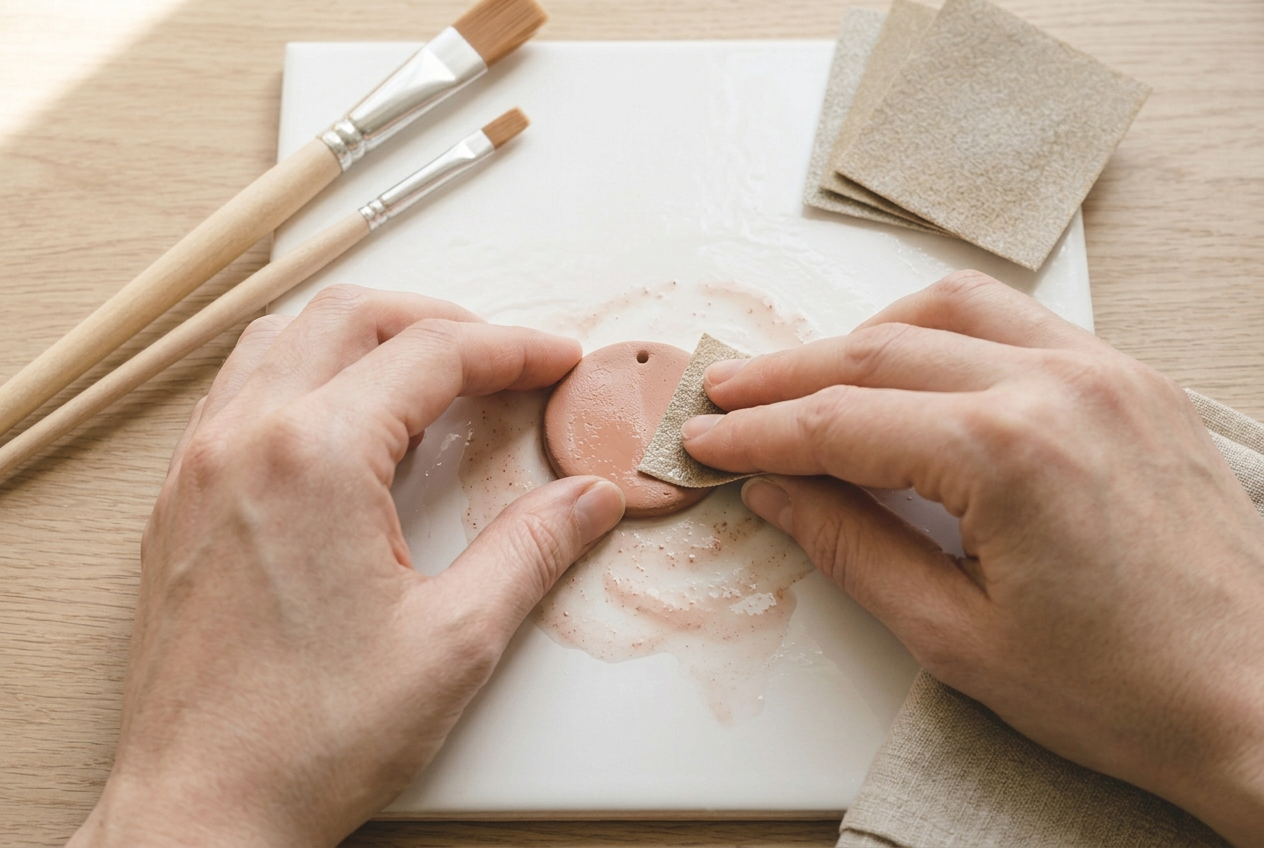
Wet sand up through the grits, four hundred to a thousand, then wash the piece in warm soapy water and dry it completely.
The washing is not optional. Sanding leaves a fine slurry in every hollow, and glaze laid over that dries as a milky haze that looks exactly like a bad varnish job.
Let it dry for an hour. Water trapped in a texture will bloom under the glaze and cloud it, and the cloud sets as the coat cures.
4Test the glaze on a scrap
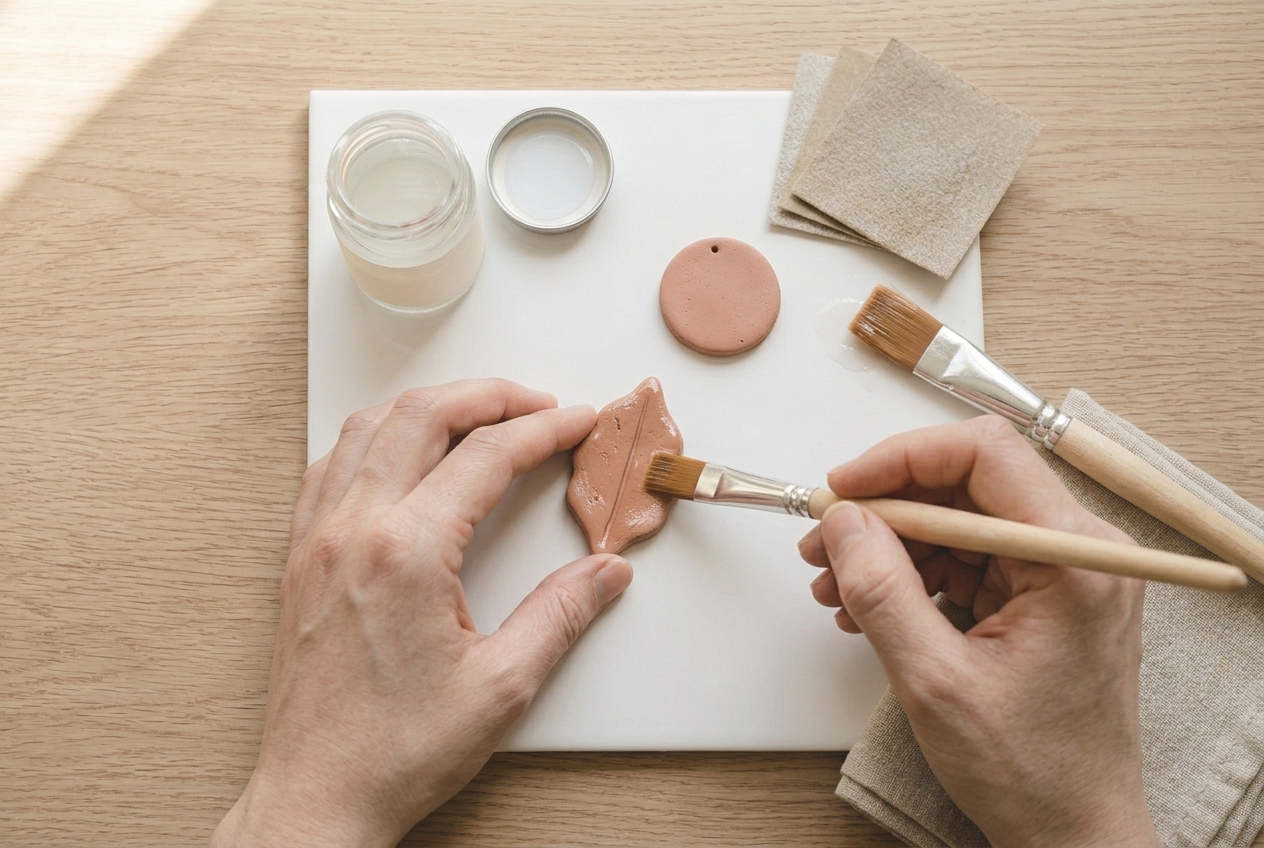
Glaze a scrap from the same clay, baked in the same batch, and leave it somewhere warm for at least twenty-four hours. Then press a fingertip against it.
If it feels dry and hard, the combination is safe. If it feels even slightly soft, sticky or rubbery, that pairing will never cure, and the piece it goes on is finished.
Give it two days if you can. Some reactions take longer than a day to show, and a test that costs two days is cheaper than a set of charms that stay tacky forever.
5Lay two thin coats
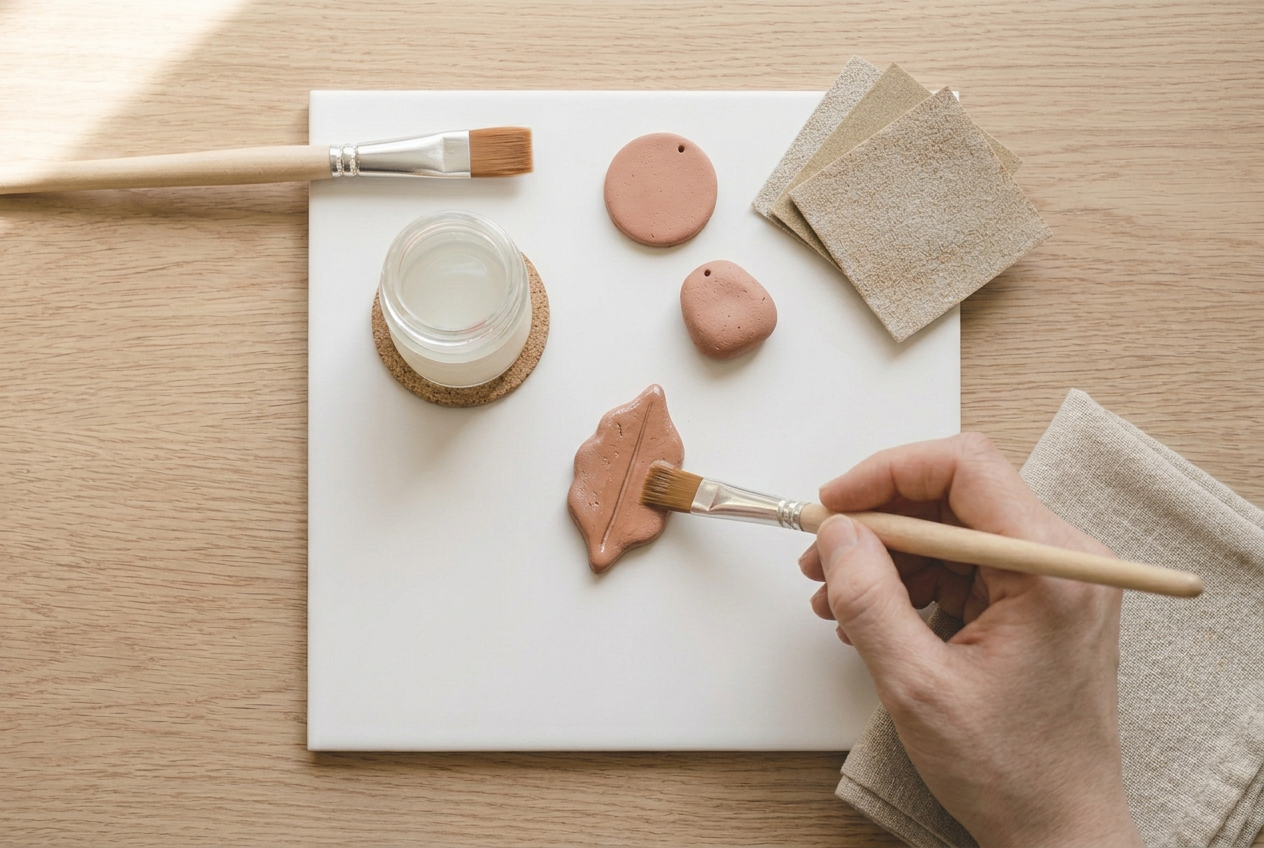
Load the brush lightly and work in one direction across the whole face, then stop. Going back over a coat that has started to set drags it into ridges that stay.
Thin is the whole thing. A thick coat traps solvent underneath, cures unevenly, and is where cloudiness and long tack times come from.
Let the first coat cure fully before the second, and lay the second at right angles to the first. Two thin coats level far better than one heavy one, for the same reason two thin coats of paint do.
Watch the edges. Glaze runs to the lowest point and dries as a bead along the underside, which then chips off in a line.
6Cure it, then check for tack

Leave the pieces spaced apart and untouched for at least twenty-four hours, and a week before stacking them or putting them in a bag together.
Touch-dry is not cured. A glaze that feels dry in an hour is still soft underneath for days, and two pieces stored face to face during that window bond to each other and tear when separated.
Check for tack with a knuckle rather than a fingertip, which leaves an oily mark on a curing surface. If it is still slightly sticky after a week, the glaze and the clay are not compatible, and the only repair is to sand the coat back off and start again. The finishing guides cover the same question for air dry clay, where the answer is very different, and the troubleshooting hub has the rest of the surface faults.
If it goes wrong
| Problem | Likely cause | How to fix it |
|---|---|---|
| The glaze is still sticky days later | The coating reacts with the plasticiser in the clay, which nail polish and many craft varnishes do | Sand the coat back to bare clay, wash the piece, and start again with a glaze made for polymer clay. No amount of time or heat will cure it. |
| The finish dried cloudy or milky | Sanding slurry or water was still on the surface, or the coat was laid too thick | Wash and dry the piece properly before glazing and use two thin coats. A cloudy coat has to be sanded off; it does not clear as it ages. |
| There is a hard bead of glaze along the underside | Glaze ran to the lowest point while it cured and set there | Sand the bead off with fine paper. Next time lay thinner coats and check the edges a few minutes after coating, wicking away any run with a dry brush. |
| Two glazed pieces stuck together in storage | They were put away touching before the glaze had fully cured, which takes days rather than hours | Separate them carefully, sand the damaged areas and re-coat. Leave a week before storing glazed pieces in contact with each other. |
Why is my polymer clay glaze still sticky?
Because the glaze and the clay are chemically incompatible, and it will not improve.
Polymer clay contains plasticiser, which stays mobile for the life of the piece. Some coatings simply never harden in its presence: the film absorbs plasticiser, stays soft, and picks up dust and lint permanently. Nail polish is the classic example, and many general-purpose craft varnishes behave the same way.
Heat and time do not fix it. Neither does another coat on top, which just adds a second soft layer.
The repair is mechanical. Sand the coat back to bare clay with wet and dry paper, wash the piece, and start again with a glaze made for polymer clay. That is why the twenty-four hour test on a scrap is the most valuable step on this page.
Do you have to seal polymer clay?
No, and this is where polymer clay differs completely from air dry clay.
Baked polymer clay is already a solid plastic. It is waterproof, it does not absorb anything, and it needs no coating to survive being worn, washed or handled. An air dry clay piece without sealer is vulnerable; a polymer clay piece without glaze is finished.
Glaze is a finish choice: gloss where buffing gives satin, and protection for anything sitting on top of the clay rather than in it. Mica powders, chalk pastels, metallic leaf and painted detail all need a coat over them, because they will otherwise wear off with handling.
If the surface is plain clay, sand it, buff it, and leave it alone.
Frequently asked questions
Do you have to seal polymer clay?
No. Baked polymer clay is a solid plastic: waterproof, non-absorbent and finished as it comes out of the oven. Glaze is for gloss, or for protecting surface treatments like pastel or leaf.
Can you use nail polish on polymer clay?
No. It is the best-known incompatibility: the polish reacts with the plasticiser in the clay and stays tacky permanently, collecting dust and lint for as long as the piece exists.
How long does polymer clay glaze take to cure?
Touch-dry in an hour or two, genuinely cured in several days. Leave pieces untouched for a day and give it a week before stacking them or putting them in a bag together.
How do you get a shine on polymer clay without glaze?
Wet sand through the grits to 1000 and buff on a soft cloth, or on a cloth wheel if you have one. Cured clay takes a real satin sheen from buffing alone.