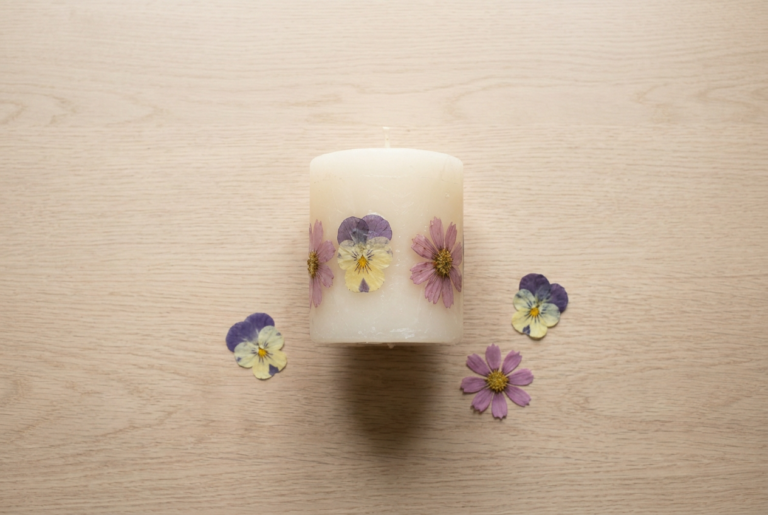
Painting air dry clay works best over a white primer coat, using thin acrylic layers rather than one thick one, finished with a matt acrylic sealer. The primer is what stops the porous clay drinking the colour unevenly and leaving a patchy, streaked surface.
Painting air dry clay goes wrong at the primer, not at the paint.
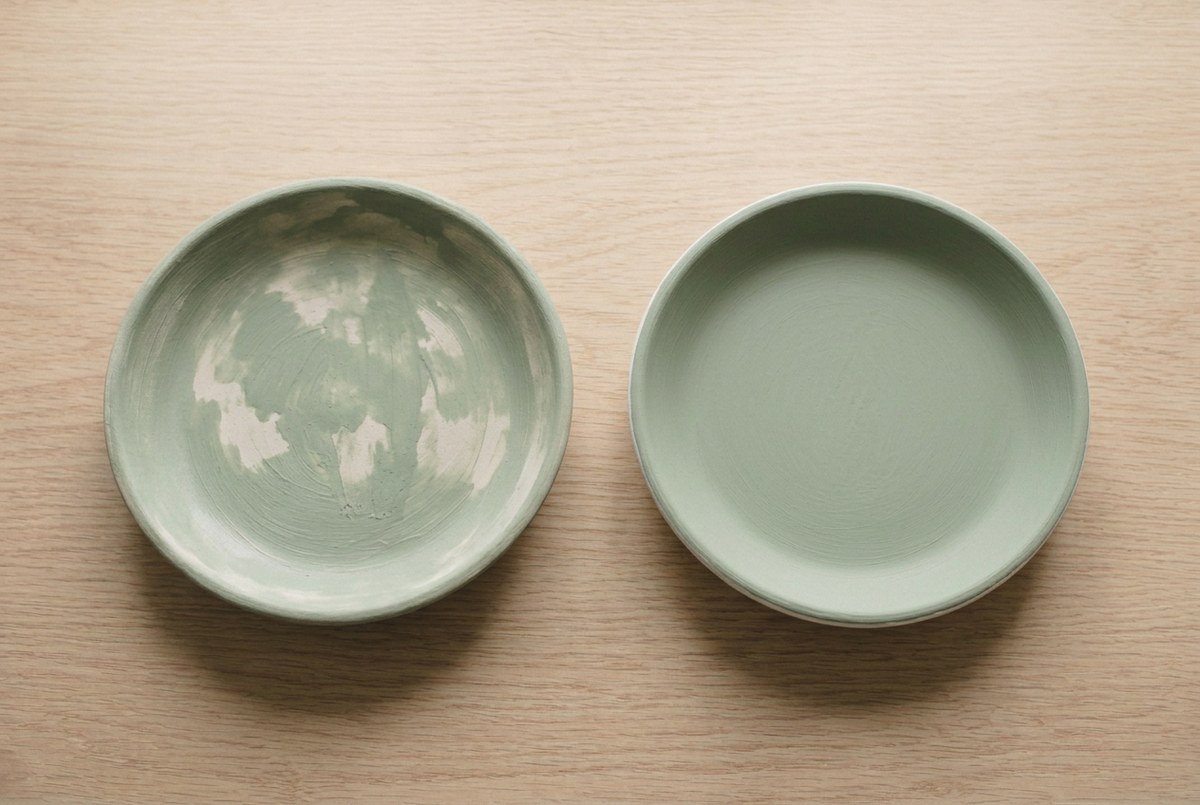
Dry clay is porous, and porous is not uniform. One area drinks a stroke of colour straight in, the next holds it on the surface, and what you get is a piece that looks blotchy no matter how carefully the paint went on. A coat of white underneath fixes it completely, and it is the step almost everyone skips.
Everything after that is ordinary painting: thin coats, full drying between them, and a sealer at the end. The finishing hub covers the sealing side in its own right.
Materials
- A fully dried air dry clay piece
- White acrylic paint or gesso, for priming
- Acrylic paint in your colours
- Matt acrylic sealer
- A little water
Tools
- Soft flat brush, about 1cm wide
- Fine detail brush
- A white palette, or a saucer
- Sandpaper in fine grit
- Soft dusting brush
- A jar of water
Around fifty minutes of actual work, spread over two days so each coat dries properly.
What paint do you use for painting air dry clay?
Craft acrylic. It bonds to a primed clay surface, dries in minutes, and takes a sealer without lifting.
1Set out what you need
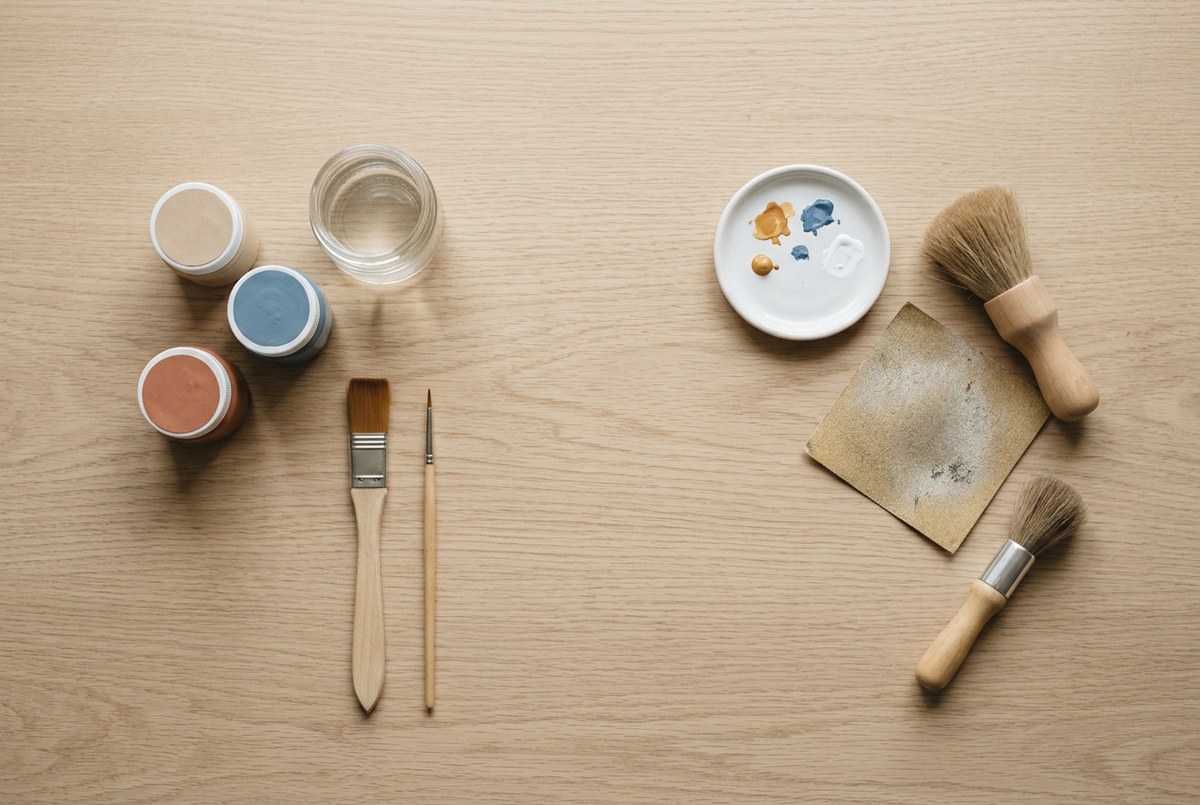
Two brushes cover almost everything: a flat one about a centimetre wide for the body of the piece, and a fine one for detail.
Keep a third brush aside for sealing and never let colour into it. A brush that has had paint in the ferrule releases a faint tint into a clear coat weeks later, and it always shows on a pale piece.
2Sand and dust the dry piece
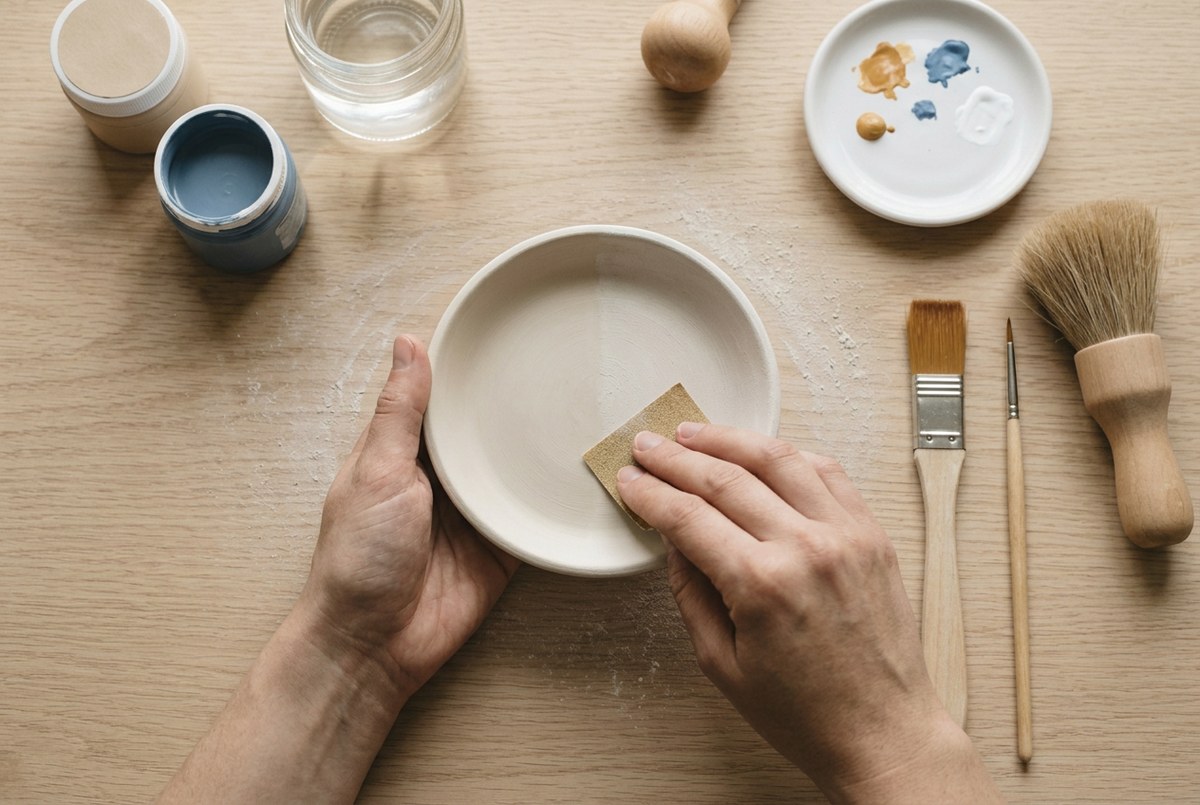
Sand only when the piece is bone dry all the way through. Hold it against your cheek first, and if it feels cool there is still water inside it.
Then dust it properly with a soft dry brush, getting into every corner and under the rim. This matters more than it sounds. Paint laid over a film of clay dust bonds to the dust, not to the piece, and six weeks later it lifts away in sheets that take the dust with them.
Use a dry brush rather than a damp cloth. A cloth turns loose dust into a thin slip that dries as a soft skin, which is the same problem in a different form.
3Prime with white
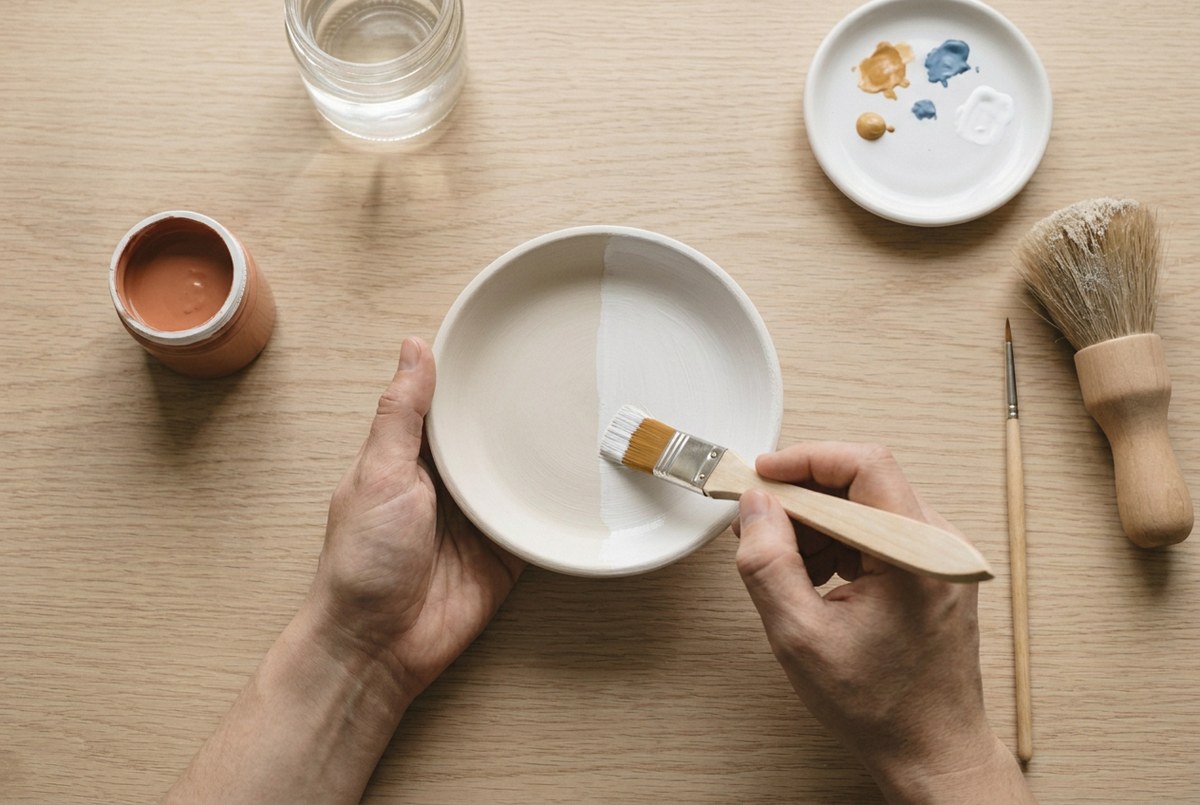
One thin coat of white acrylic or gesso, over every surface that will end up coloured.
This is the whole article in one step. The primer seals the porosity, so the colour that goes on next sits on a surface that behaves the same everywhere. It also gives you a bright base, which matters because off-white clay dulls every colour laid straight onto it.
Do not lay it on thick to get full coverage in one pass. Thin and slightly translucent is correct; the clay showing faintly through is fine.
4Lay the first colour coat
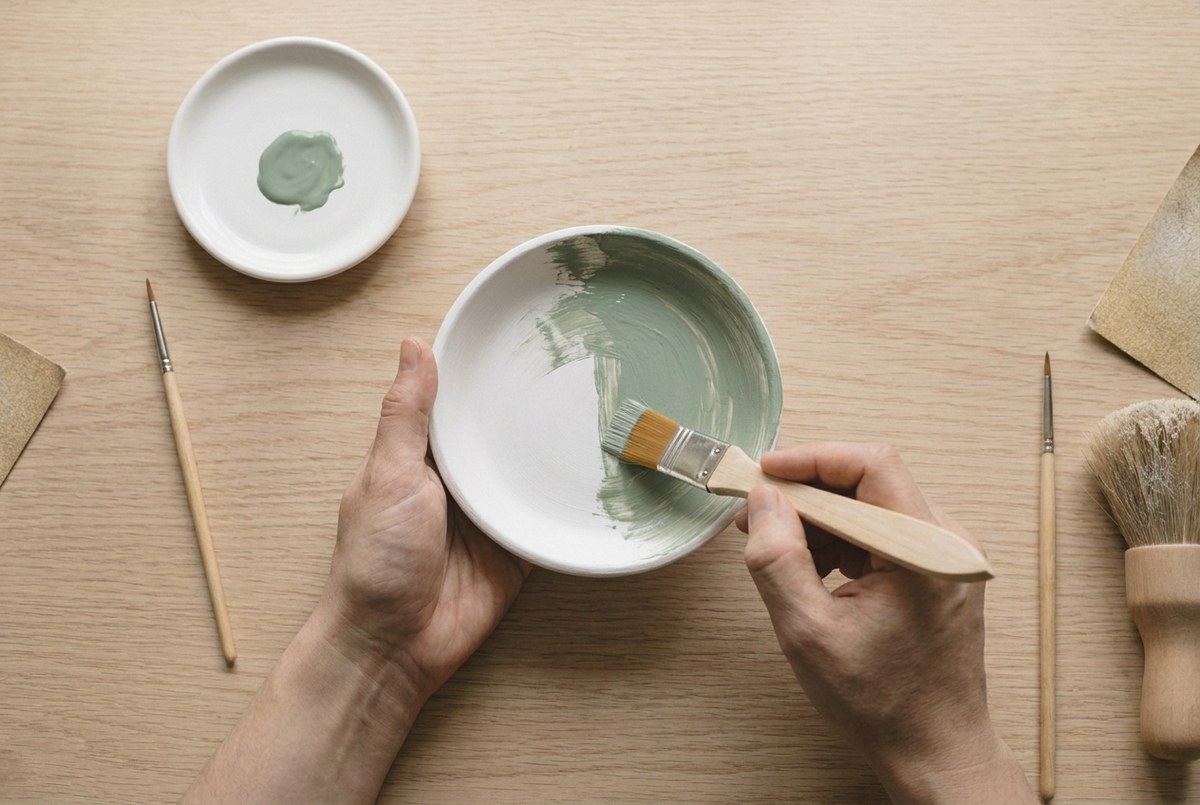
Thin the paint with a little water, enough that it flows rather than drags, and go on light.
The first coat is supposed to look bad. It will be streaky, the primer will show through in patches, and the instinct is to load the brush and fix it. Do not. A thick coat dries with the brush marks locked into it and the colour goes blotchy where it pooled.
Work in one direction across the whole piece and stop.
5Add the second coat
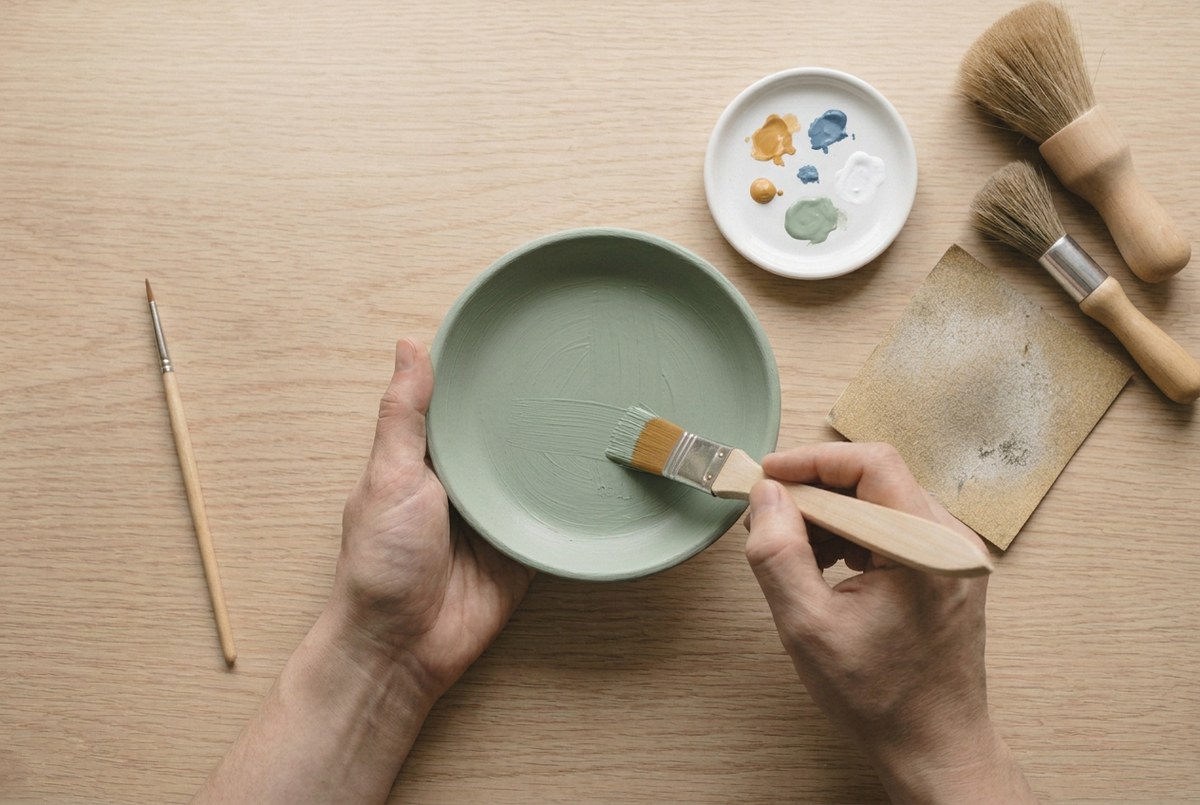
Wait until the first coat is properly dry, then lay the second with the strokes running the other way.
Crossing the direction is what evens it out. The thin places from the first pass get covered by the second, and because both coats are thin neither one holds a brush mark. Two thin coats beat one thick coat every time, for the same reason two thin fills beat one thick fill on a crack.
A third coat is occasionally needed for yellows and reds, which cover badly by nature. Same rules.
6Paint the detail
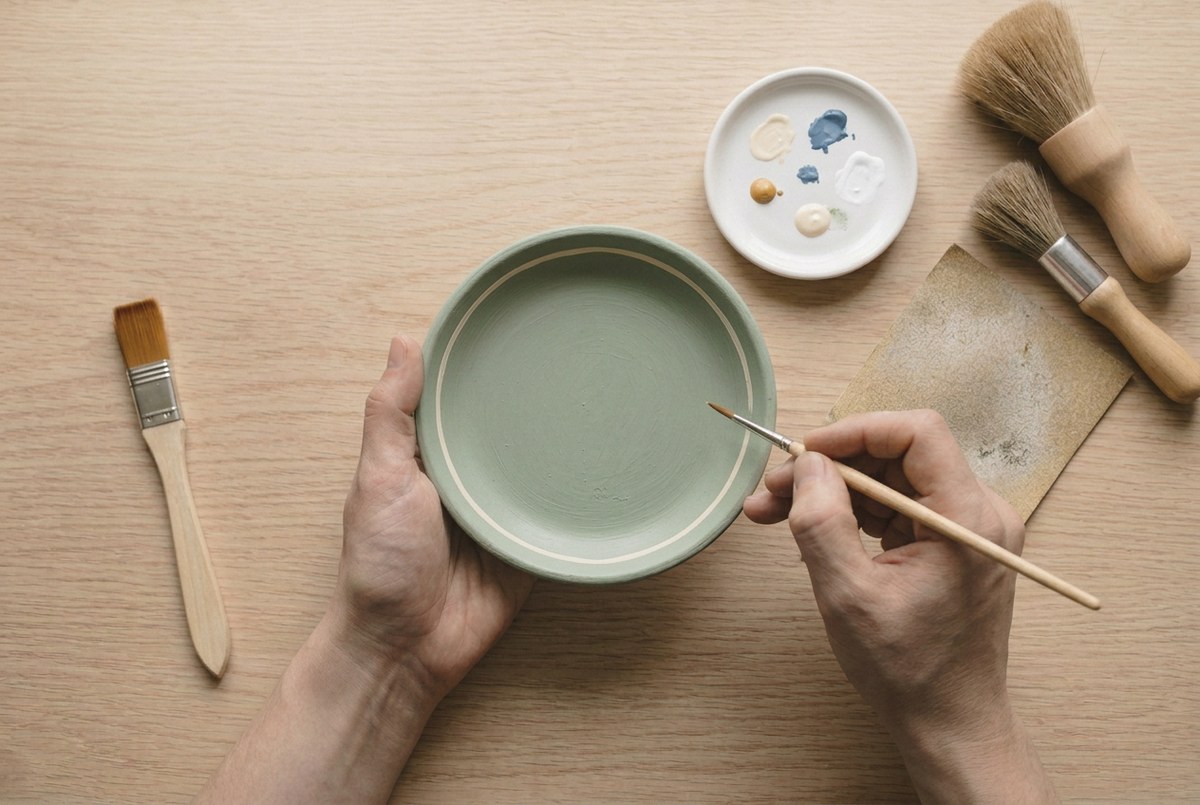
Load the fine brush lightly. A loaded brush blobs the moment it touches down, and a blob on a flat colour field cannot be hidden.
Rest the heel of your palm on the table and move the piece rather than the brush where you can. Turning the dish under a steady brush gives a far cleaner line around a rim than trying to sweep a brush around a curve.
Work in short overlapping strokes. One continuous line looks like the goal, but it wobbles halfway through and you have to repaint the whole rim.
7Seal the whole piece
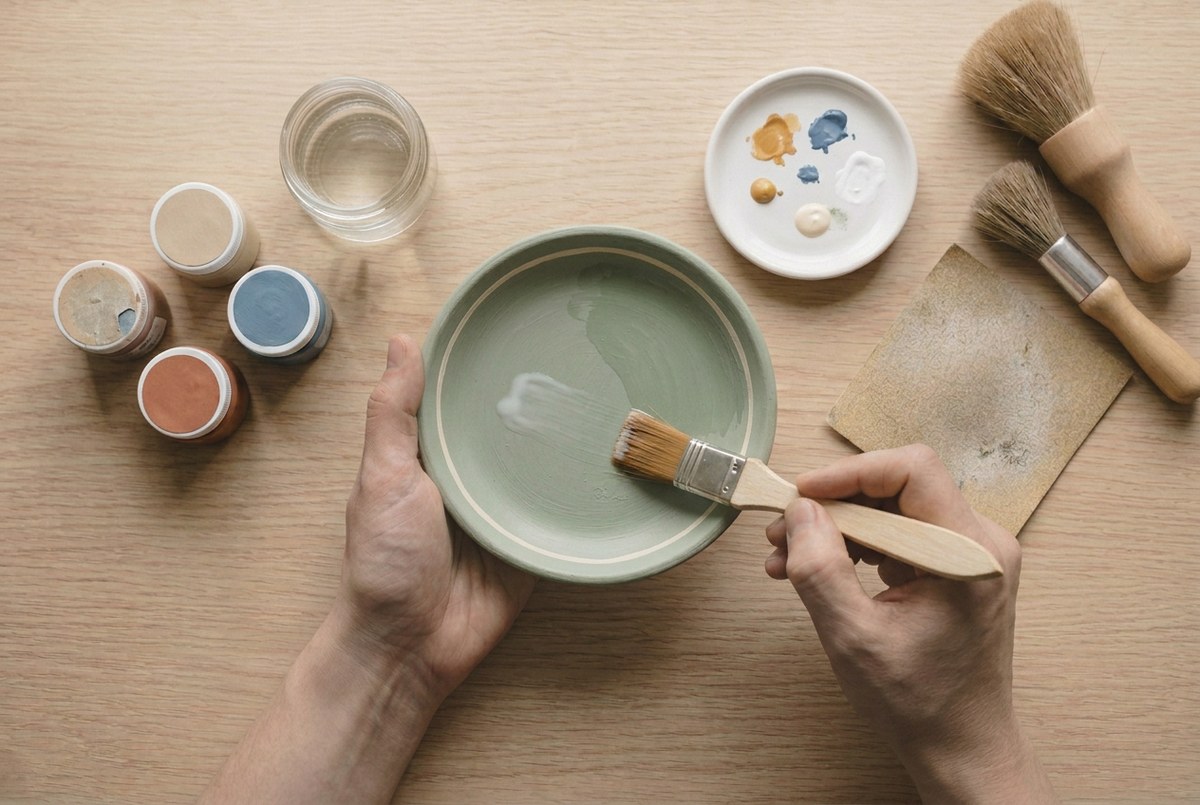
Give the paint a full day before sealing. Acrylic is touch-dry in minutes and still curing hours later, and sealer laid over half-cured paint can lift it.
Two thin coats, over everything including the base. A piece sealed on top but bare underneath pulls moisture in through the base, which is where a painted surface starts to fail. Our troubleshooting section covers what that looks like when it happens.
Wash the brush in water immediately. Dried acrylic sealer does not come out of a brush.
Two dishes from the same batch below, one primed and one painted straight onto bare clay.
If it goes wrong
| Problem | Likely cause | How to fix it |
|---|---|---|
| The colour dried patchy and uneven | The paint went straight onto bare clay, which is porous and drinks colour faster in some places than others | Prime with a coat of white acrylic or gesso first and let it dry fully. If the piece is already patchy, prime straight over it and start the colour again. |
| The paint lifted off in flakes | Clay dust was left on the surface after sanding, so the paint bonded to the dust rather than to the piece | Peel or sand the loose paint away, dust properly with a soft dry brush, and repaint. A damp cloth is worse than a dry brush here, because it turns the dust into a slip film. |
| Brush strokes show as ridges under the sealer | The paint was laid on thick and undiluted, so it held the mark of the bristles as it dried | Sand the ridges back with fine paper, then rebuild in coats thinned slightly with water. Sealer exaggerates surface texture rather than filling it. |
| The surface went chalky and rubs off on fingers | The piece was never sealed, or the sealer went on before the paint had fully cured | Give the paint a full day to cure, then seal with two thin coats. Acrylic is touch-dry in minutes but keeps hardening for far longer than that. |
Can you paint air dry clay before it dries?
No, and it is one of the more expensive mistakes because it destroys the piece rather than just the finish.
Paint on damp clay puts an acrylic film over water that still has to leave. It escapes anyway, through the weakest point, which is either a crack in the clay or the paint film lifting away from the surface in bubbles. Neither is repairable in any tidy way.
Wait for the piece to be uniformly pale, room temperature against your cheek, and light for its size. Two to three days for most things. There is more on judging this in the air dry clay hub.
How do you get a smooth painted finish on clay?
Most of it happens before any paint comes out. Smooth the piece with a damp sponge while the clay is still soft, sand it once it is dry, and dust it properly. Paint magnifies surface texture rather than hiding it, and a ridge you can barely feel on bare clay is obvious under two coats of colour.
After that it is thin coats and patience. Thinned paint self-levels as it dries, thick paint holds every bristle mark. If a coat looks slightly translucent going on, it is the right thickness.
Finish with matt sealer rather than gloss unless you want the shine. Gloss picks out every remaining imperfection under a light, where matt quietly absorbs them.
Frequently asked questions
What kind of paint do you use on air dry clay?
Acrylic, in almost every case. Craft acrylic from any art shop bonds well to a primed clay surface, dries fast and takes a sealer cleanly. Watercolour soaks in and stays fragile, and oil paint never fully cures on a porous surface like this.
Do you need to prime air dry clay before painting?
Yes, if you want an even colour. Dry clay is porous and absorbs paint at different rates across the surface, which shows as a blotchy finish. One thin coat of white acrylic or gesso seals that porosity and doubles as a bright base under the colour.
Should you paint air dry clay before or after it dries?
After, always, and only when it is completely dry through. Paint on damp clay traps water inside the piece, which then has nowhere to go and either cracks the piece or lifts the paint film as it escapes. Wait the full two to three days.
Do you have to seal air dry clay after painting?
Yes. Acrylic paint is not waterproof on its own and the clay underneath is not either, so an unsealed painted piece marks with any moisture and slowly chalks off on hands. Two thin coats of matt acrylic sealer is enough for a decorative piece.
Save this for later