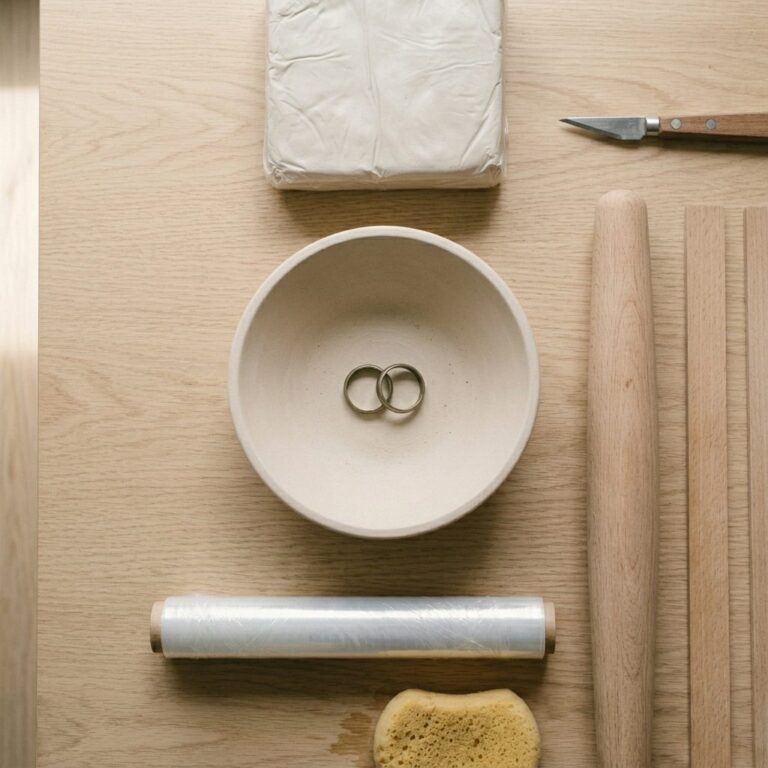
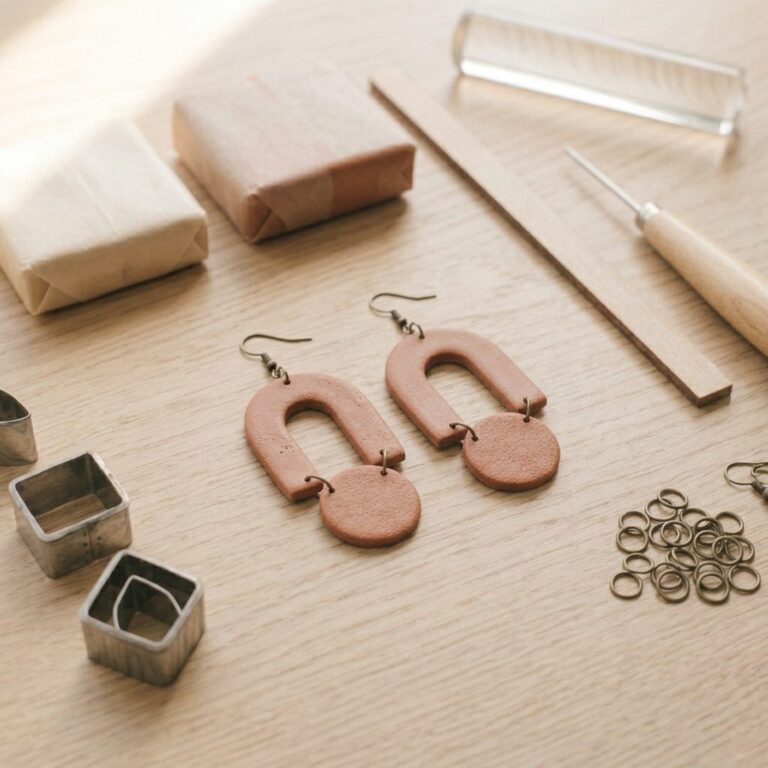
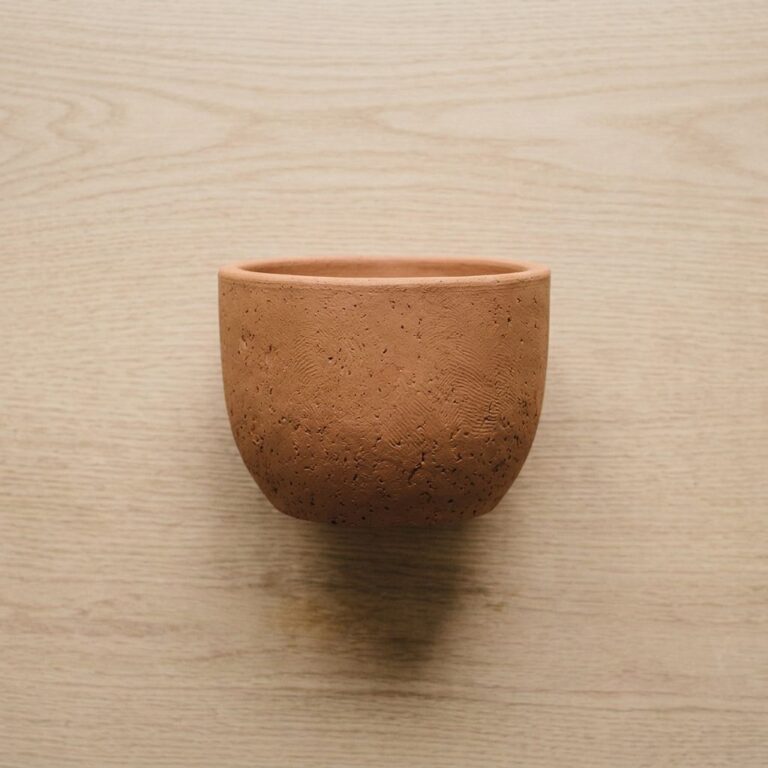
An air dry clay plant pot is built from a rolled disc base with a slab wall scored and joined around it. Keep the walls an even 1cm, dry it slowly for three days, and seal the inside thoroughly, because air dry clay softens permanently once soil stays damp against it.
A plant pot asks more of air dry clay than most beginner projects, because it is the one thing you will deliberately keep damp. Soil holds water against the inside wall for months, and unsealed air dry clay softens under that eventually. Not dramatically, just quietly, until the base gives way.
Everything here is built around that one problem. The shaping is straightforward.
If this is your first project with the material, the air dry clay hub covers how it behaves before you commit a whole packet to a pot.
Materials
- 1kg air dry clay
- A little water, for slip
- Matt acrylic sealer
- Acrylic paint (optional)
Tools
- Rolling pin
- Two 1cm guide strips
- Craft knife
- Scoring tool, or a fork
- Saucer, as a template for the base
- Damp sponge
- Fine sandpaper
- Wire cooling rack
- Soft brush, for sealing
Active time is about an hour. Drying takes three days, and the sealing at the end needs another day on top of that.
How do you make an air dry clay plant pot?
Roll a disc for the base, cut a rectangular slab for the wall, score and join the two, then smooth the seam. Dry slowly and seal the inside thoroughly.
1Set out your materials
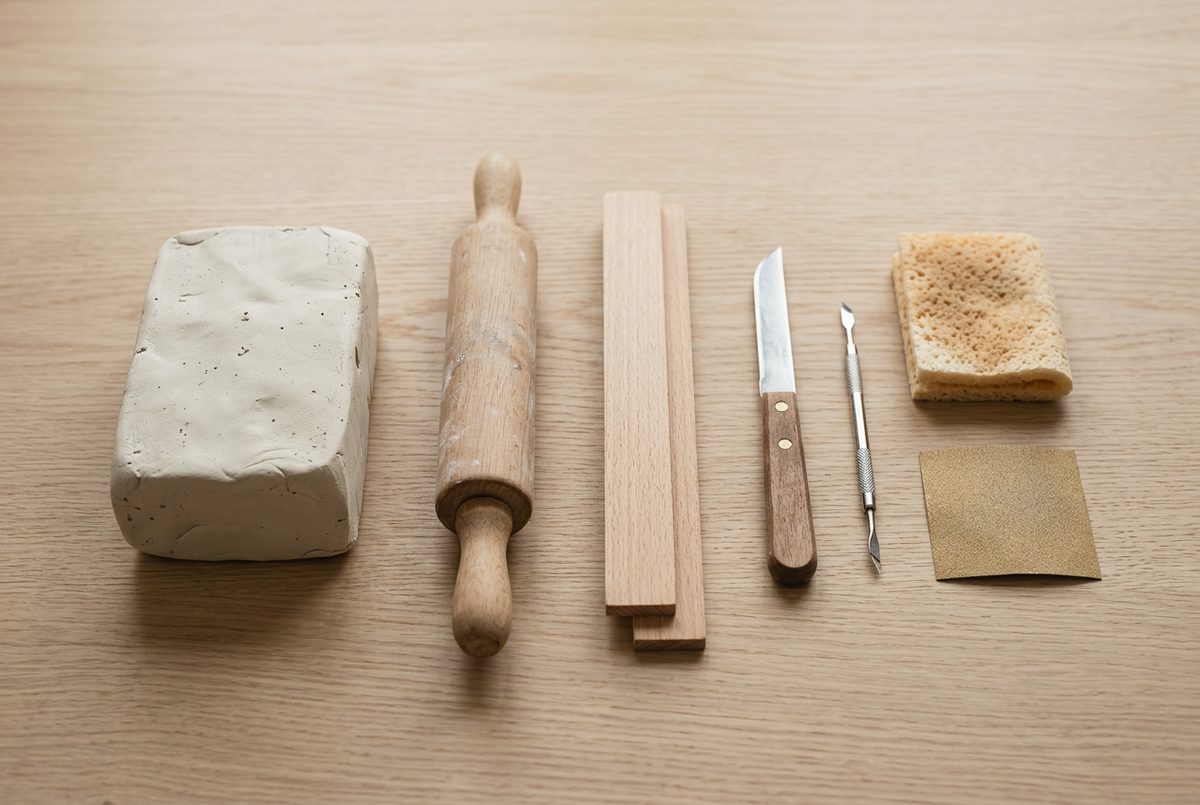
The two wooden strips are the part people leave out and regret. Roll between them and the slab comes out an even thickness everywhere, which is the single biggest factor in whether the thing cracks.
Anything about a centimetre thick works: two rulers, two paint stirrers, two lengths of batten from the shed.
2Condition the clay

Knead for two or three minutes. Straight from the packet the lump has firm and soft patches, and those shrink at different rates once it starts drying.
Air pockets matter more here than in a solid piece. A bubble trapped in a wall has thin clay on both sides of it, and that is where a crack starts.
3Roll and cut the base

Roll to a full centimetre and cut a disc about 10cm across. A pot base carries the weight of wet soil, so this is not the place to save clay.
Keep the offcuts under a damp cloth. You need them for the wall, and clay that has skinned over will not join.
4Cut the wall strip

The strip has to wrap the base, so measure the circumference rather than guessing: multiply the diameter by 3.2 and add a centimetre for the overlap. A 10cm base needs about 33cm.
Cut both long edges straight. The top edge becomes the rim and every wobble in it will still be there when the pot is dry.
5Score and join
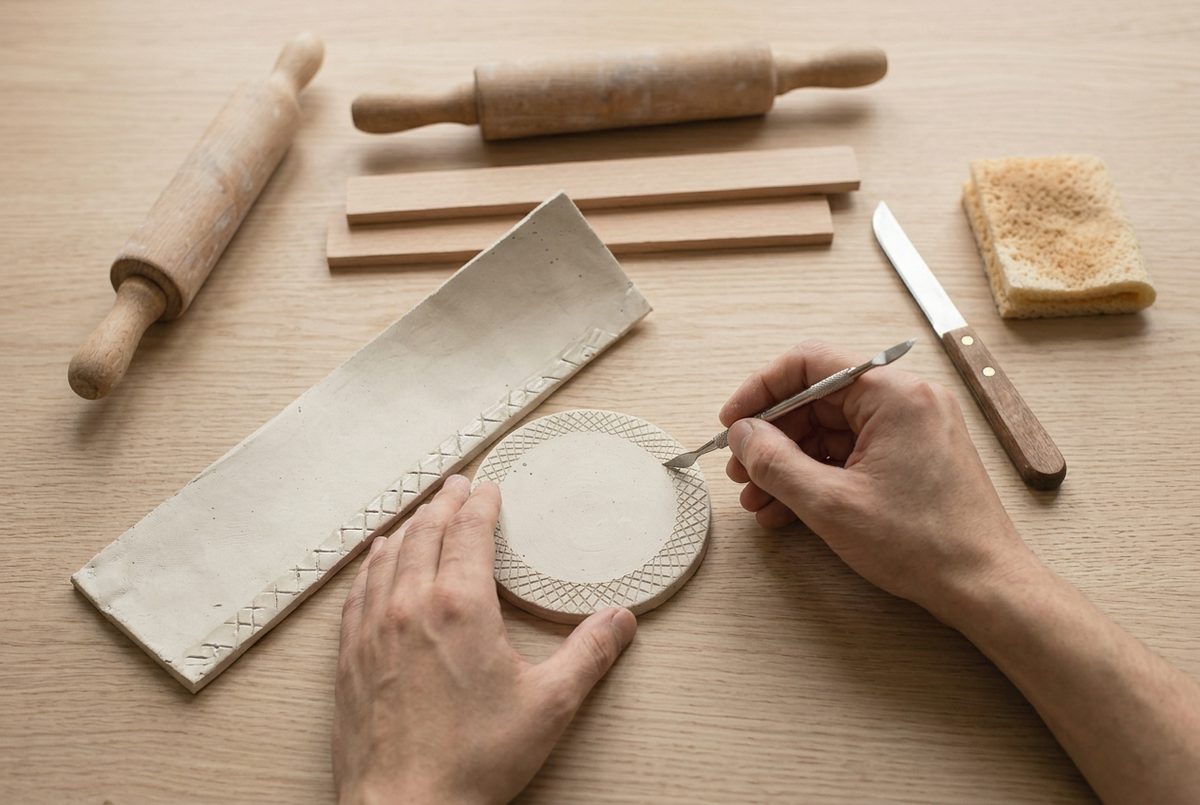
Score both mating faces properly. Real cross-hatching, a millimetre deep, then a brush of slip on both, which is just clay mashed with water to the thickness of yoghurt.
Stand the strip upright around the base and press the two together firmly. Join the vertical seam the same way. A pressed join without scoring will separate as it dries and there is no rescuing it afterwards.
6Smooth the seam inside and out
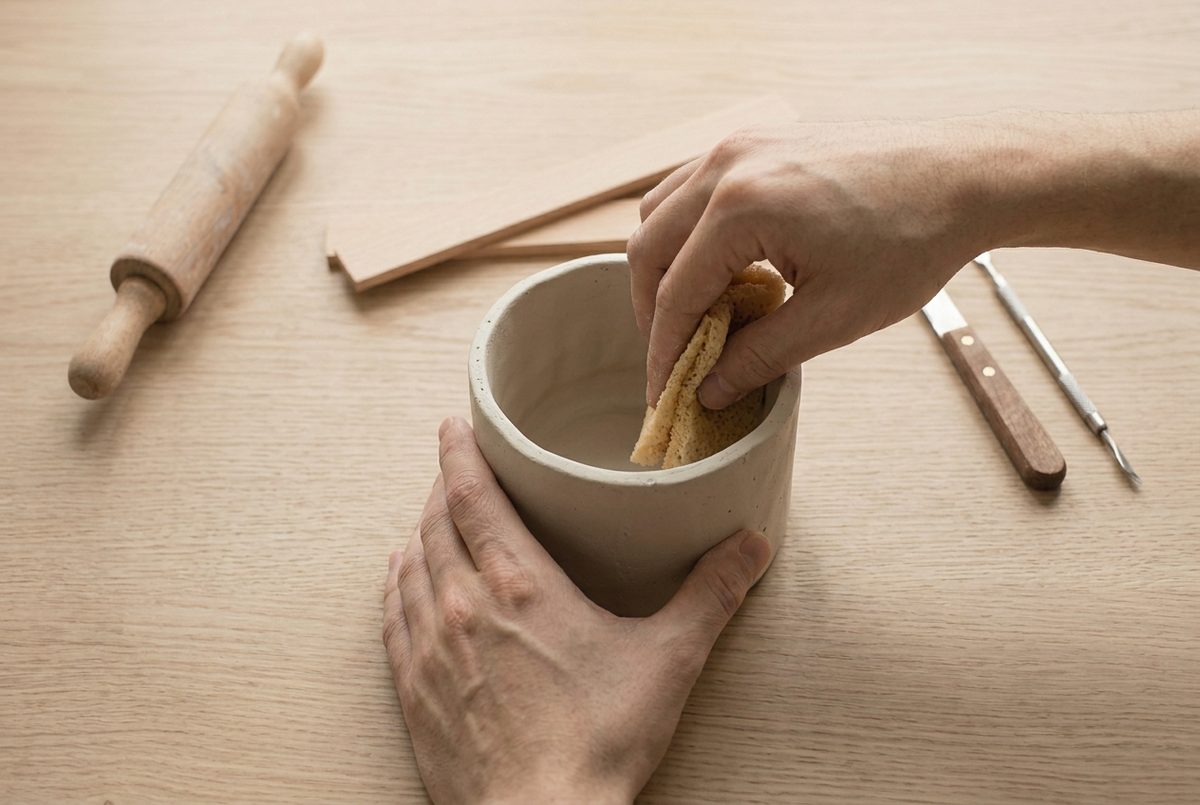
Work the inside seam into a curve rather than a sharp angle. A right-angled internal corner concentrates stress exactly where the wall is trying to pull away.
Then smooth the outside, then the rim. Everything you leave rough now has to be sanded off a brittle piece later, which is slower and riskier.
7Dry it slowly
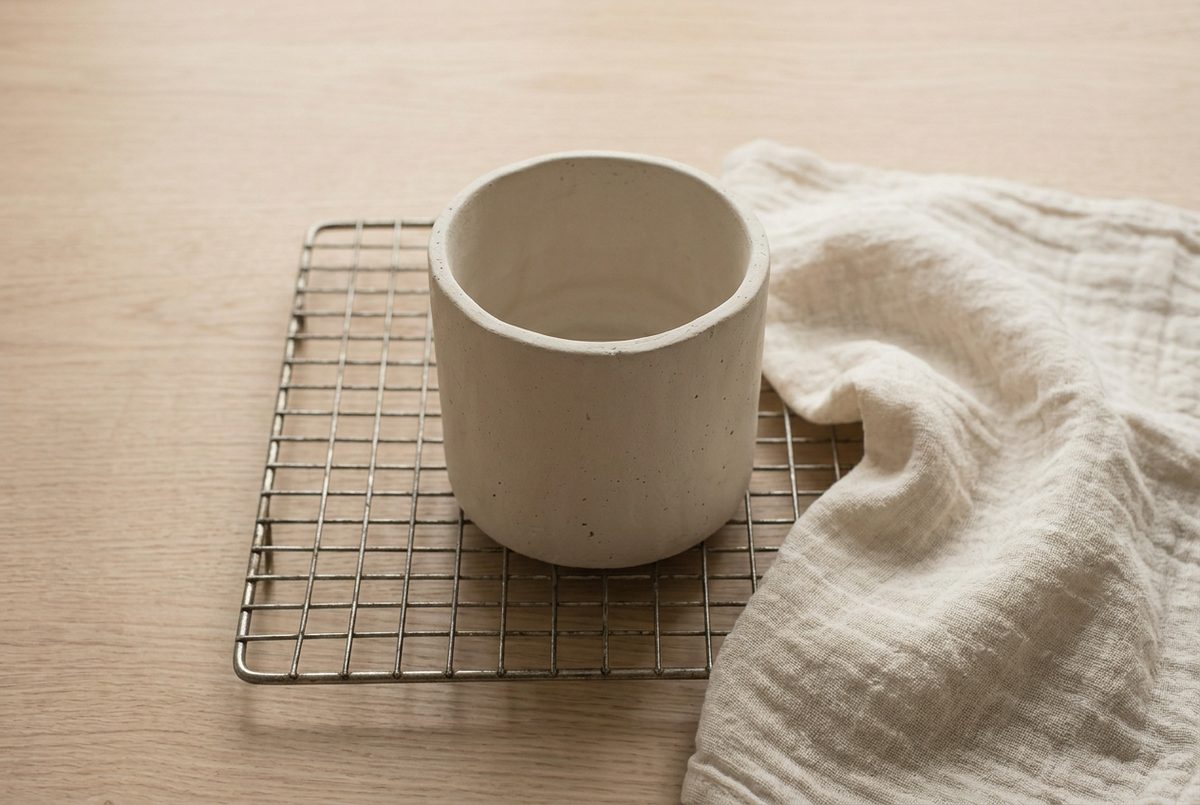
Cover it loosely with a cloth for the first day so the rim, which is thinnest and most exposed, does not race ahead of the base. Then uncover it and leave it on a wire rack for two more days, turning it daily.
No radiators, no oven, no hairdryer. Forced drying cracks a walled piece far more reliably than it cracks a flat one, because the wall and the base are losing water at different rates already.
8Seal the inside properly
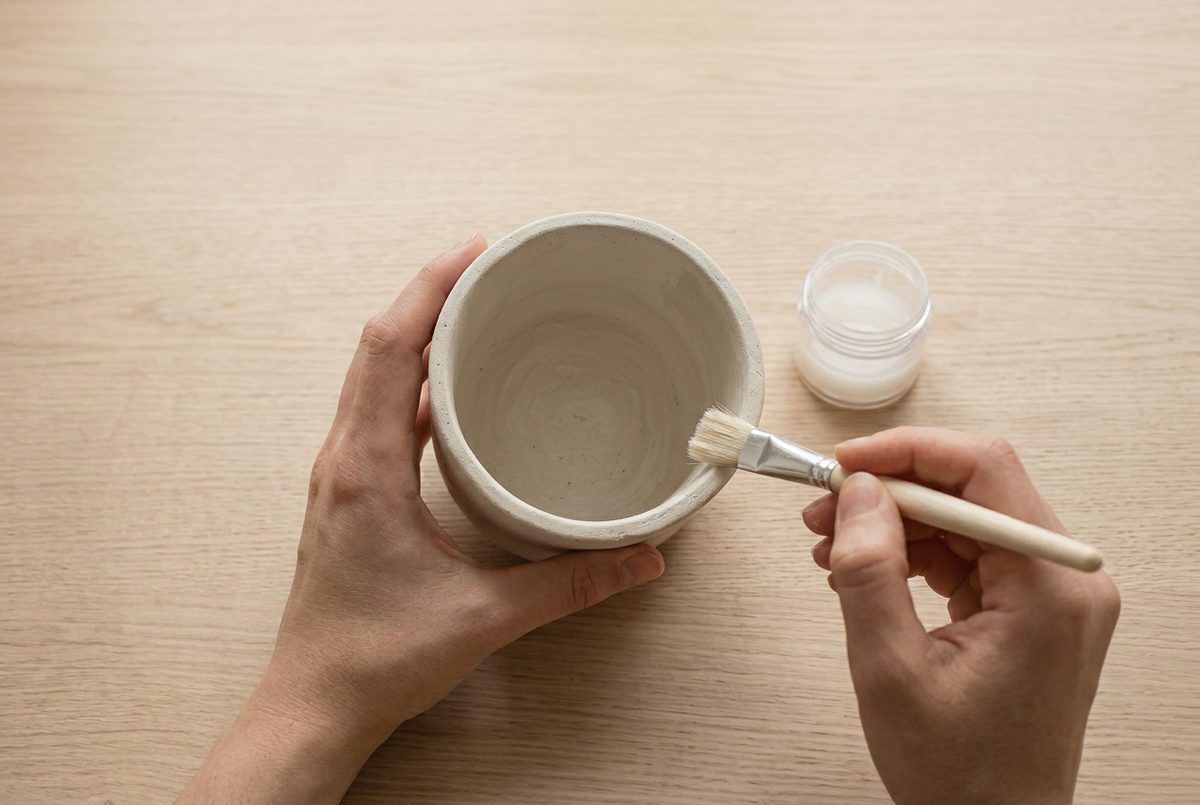
Three thin coats inside, letting each dry fully. Get right into the corner where the wall meets the base, because that is where water collects and that is where a pot fails.
Two coats outside as well. Even sealed, treat this as a cover pot: keep the plant in its plastic nursery pot and lift it out to water. Air dry clay is water resistant when sealed, never waterproof, and there is more on which sealers behave on a porous surface in the finishing guides.
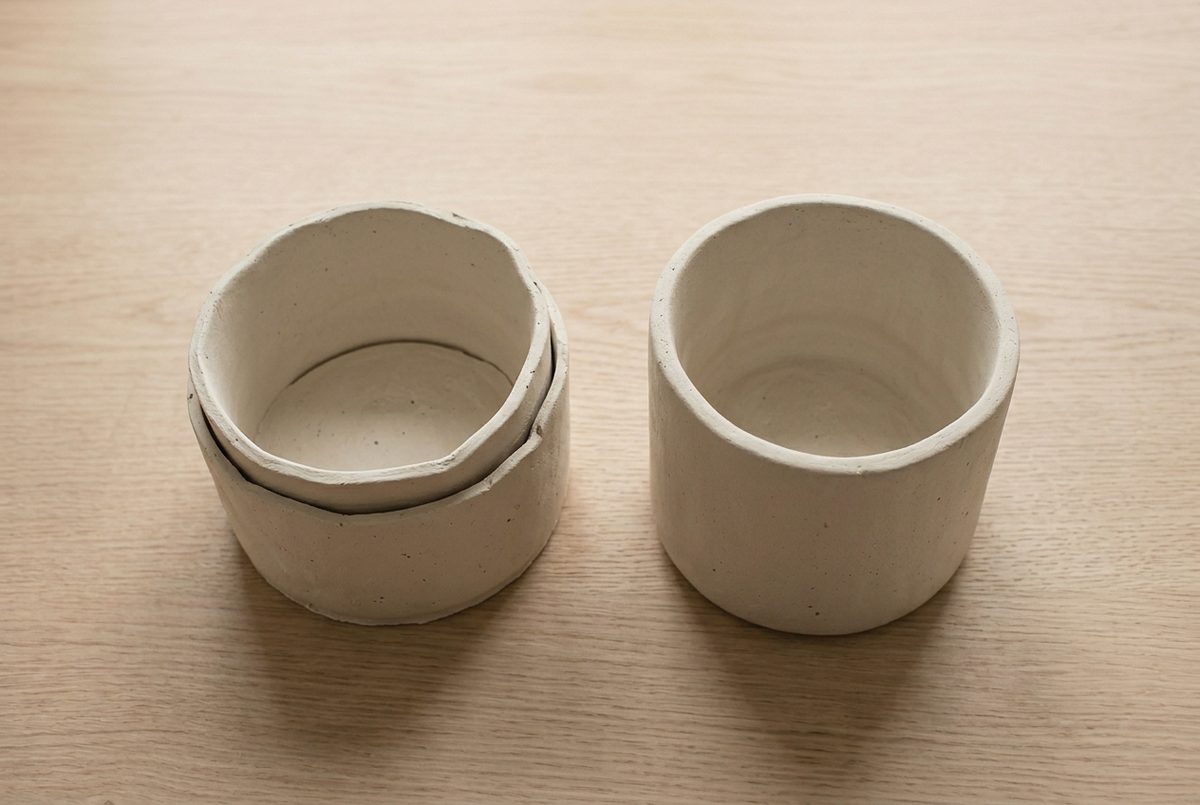
Two pots below, built the same day. One was joined with scored faces and slip; the other was just pressed together.
If it goes wrong
| Problem | Likely cause | How to fix it |
|---|---|---|
| The wall separated from the base as it dried | The faces were pressed together without scoring and slip, so they were only touching rather than joined | Nothing reattaches a dry join. While the clay is still workable, pull it apart, cross-hatch both faces properly, brush on slip and press again. |
| A crack opened along the vertical seam | The overlap was too short, or the seam dried faster than the rest of the wall | Fill a hairline crack with slip, let it dry and sand it flat. Next time add a full centimetre of overlap and cover the pot loosely for the first day. |
| The rim cracked while the base was still damp | The thin rim lost water much faster than the thick base, so the two shrank at different rates | Cover the piece loosely with a cloth for the first 24 hours. Fill and sand the crack once fully dry, but a crack through the wall means rebuilding. |
| The pot softened and marked after a few weeks with a plant in it | Soil held moisture against unsealed or thinly sealed clay | Dry it out completely, then reseal the inside with three thin coats. From then on keep the plant in a plastic nursery pot and lift it out to water. |
Variations worth trying
Press a length of coarse string, a piece of lace or the edge of a comb around the wall before it dries, then peel it away. Texture on a straight-sided pot does a lot of work, and it hides small irregularities in the seam.
Cut the top edge into a shallow wave rather than straight across. It costs nothing and reads as deliberate in a way a flat rim does not.
Build three at different heights from one packet and group them. A single pot looks like a first attempt; three together look like a set, and sets are what get saved on Pinterest. The home decor section covers scaling the same base-and-wall method up to larger pieces.
Can you use air dry clay for a real plant pot?
As a cover pot, comfortably. As a pot holding soil directly, not for long, and not without accepting it will not last.
The reason is chemistry rather than craftsmanship. Air dry clay never vitrifies, because nothing fuses without a kiln, so the material stays porous and water-soluble in principle forever. A sealer slows water reaching it; it does not change what is underneath.
The practical answer most people land on is to leave the plant in its nursery pot and drop that inside. You get the look, watering is easier, and the clay only ever meets the small amount of humidity that escapes the plastic. If you would rather drill a drainage hole and plant into it directly, expect a season or two, and read the troubleshooting section on what softening looks like before it becomes a failure.
Frequently asked questions
Can you put a real plant in an air dry clay pot?
As a cover pot, yes. Keep the plant in its plastic nursery pot and drop that inside, lifting it out to water. Planting directly into sealed air dry clay works for a season or two, but the clay never becomes truly waterproof.
How thick should an air dry clay pot be?
About 1cm throughout, walls and base alike. Thinner warps and cracks as it dries, and thicker leaves a base that is still damp inside days after the rim has hardened, which is exactly the tension that splits a piece.
How long does an air dry clay plant pot take to dry?
Three days for a pot this size, loosely covered for the first day and turned once a day after that. It is dry when it is uniformly pale, cool rather than cold to the touch, and noticeably lighter than it was.
Do you need a drainage hole?
Not if you use it as a cover pot, which is the approach that lasts. If you plant into it directly then a drainage hole is essential, cut while the clay is soft, and the pot needs a saucer under it since water will pass through the seal eventually.

Save this for later