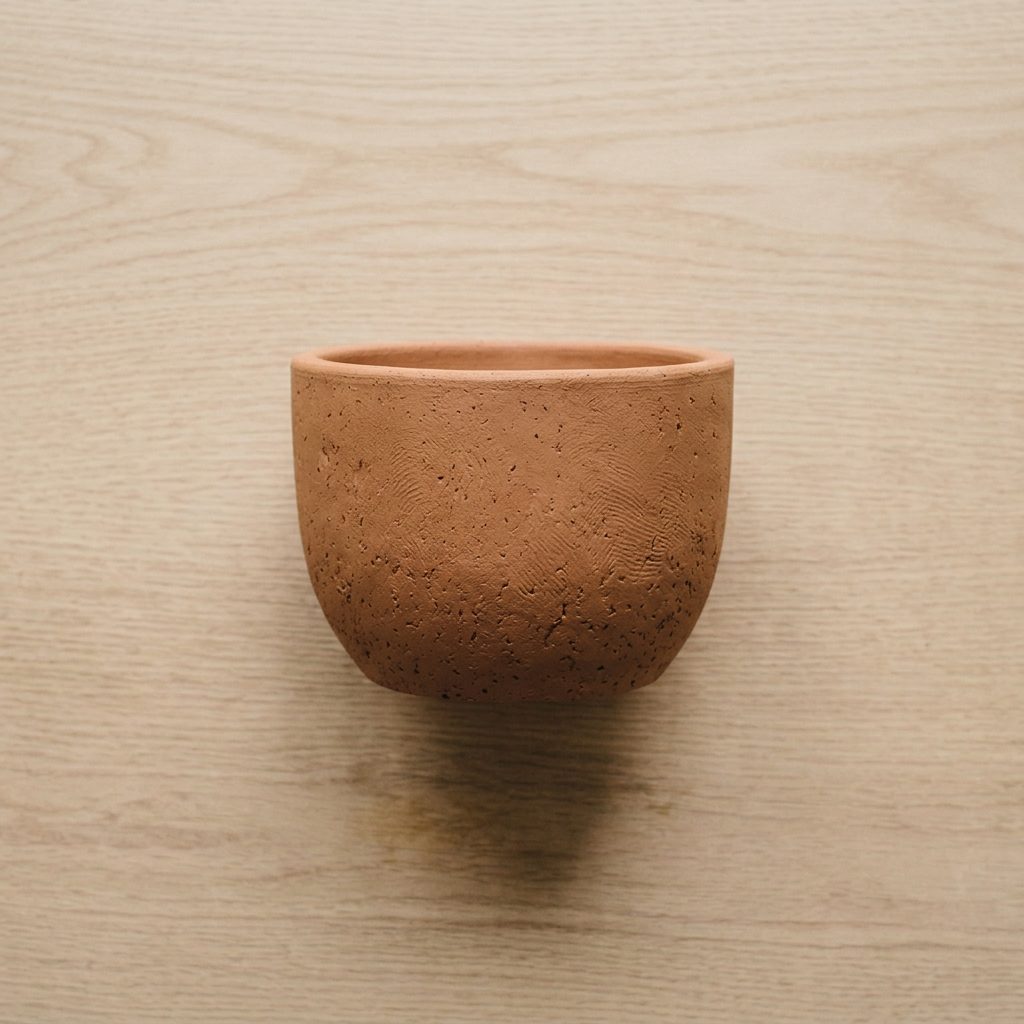
An air dry clay pinch pot is the oldest way of making a vessel and the fastest way to learn wall thickness. Start from a ball with no cracks in it, press a thumb to the base, then pinch upwards in rings, turning constantly, until the wall is an even 8mm.
The pinch pot is the oldest way of making a vessel and still the best way to learn what wall thickness means. There is no tool between your hands and the clay, so every mistake is visible immediately.
Almost all of those mistakes are the same one: an uneven wall. A pot that is 5mm on one side and 12mm on the other dries at two speeds and splits along the join between them.
The techniques hub has the coil and slab methods this leads into.
Materials
- Terracotta air dry clay
- A little water
- Fine sandpaper
Tools
- Small bowl of water
- Wooden modelling tool
- Plastic scraper
- Damp sponge
- Wire cooling rack
Twenty-five minutes at the table, then two or three days of drying.
How do you make an air dry clay pinch pot?
Roll a smooth ball with no cracks in it, press a thumb down to about 8mm from the base, then pinch the wall upwards in rings, turning constantly, until it is an even thickness all the way round.
1Set out what you need

Water and a damp sponge are the two things that matter most, which is not obvious until the first rim splits.
A wooden modelling tool helps with the rim and the base. Everything else here is done with fingers.
Work with a lump about the size of a small orange. Larger than that and the wall is hard to keep even.
2Roll a ball with no cracks in it

Roll it between both palms until the surface has no lines at all. Any crack here opens into a split later, and always at the rim.
If lines will not close, the clay is too dry. Work in a few drops of water and roll it again.
Smooth is not the same as round. A slightly oval ball is fine; a round ball with a fold across it is not.
3Press a thumb down to the base
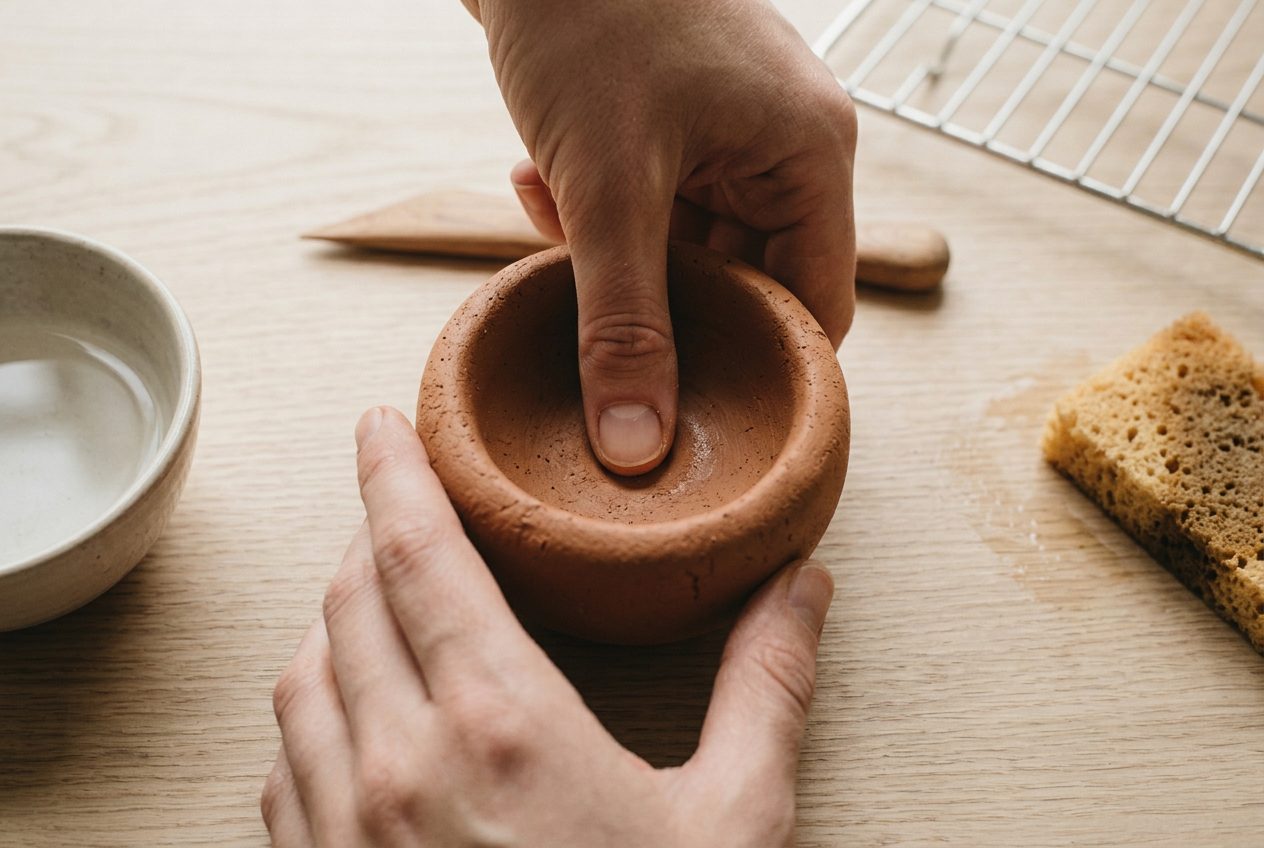
Straight down, and stop about 8mm from the bottom. Judge it by feel through the clay with the fingers underneath.
That gap is the base thickness and it is fixed from this moment. It cannot be adjusted later without wrecking the pot.
Keep the base close to what the wall will be. A thick base with thin walls is the classic cause of a crack right around the bottom.
4Pinch the wall up in rings, turning

Thumb inside, fingers outside, one squeeze, then a quarter turn. Complete a full circle before moving upwards.
Working one spot for too long is what makes a thin patch, and thin patches cannot be thickened afterwards.
Keep a damp finger on the rim as you go. The rim is thin, exposed and heavily worked, so it dries first and splits first.
5Flatten the base and true the rim
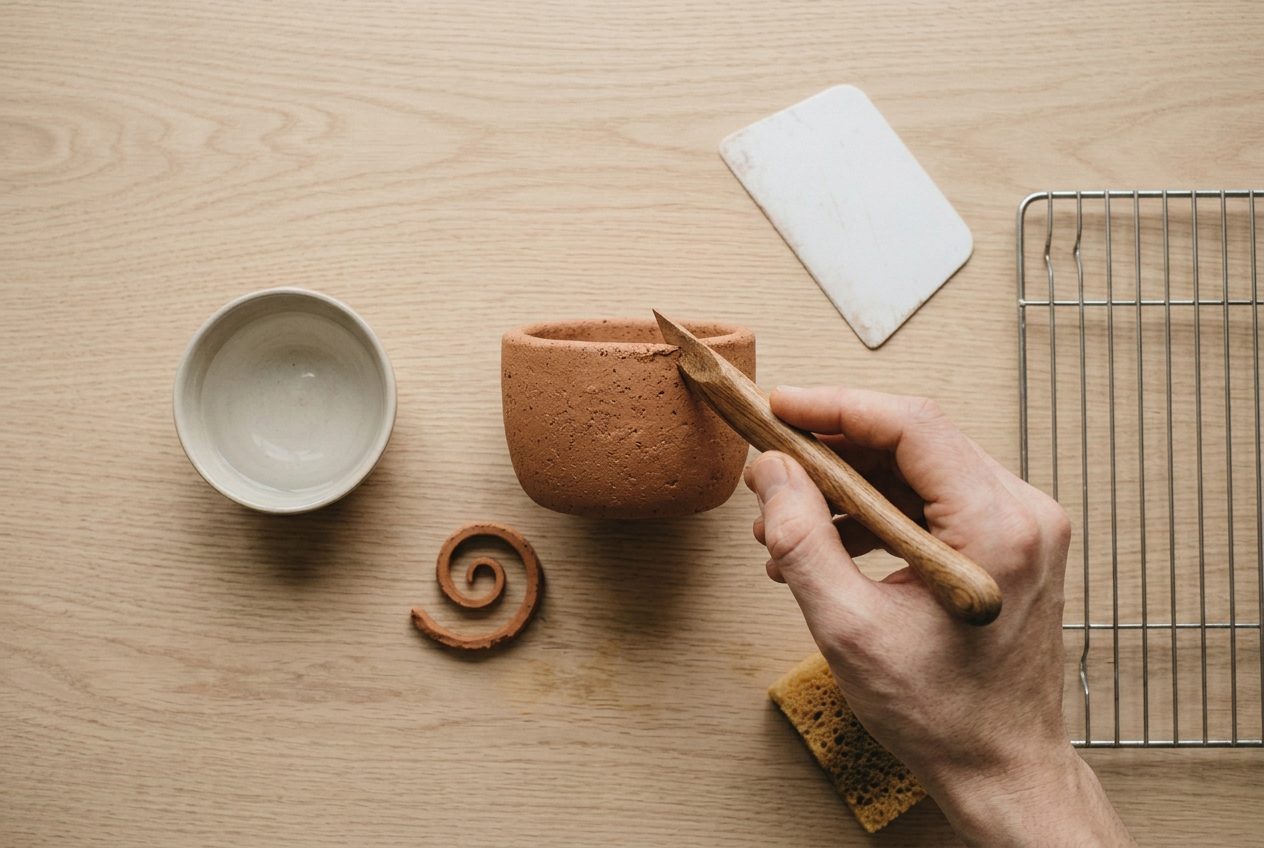
Press the pot gently down on the table to flatten the base. It needs to sit without rocking, and this is the moment to fix that.
Trim the rim level with the tool, then smooth it with a wet fingertip. Small splits close completely if they are caught now.
Sponge the outside lightly to even the surface. Do not soak it; wet clay slumps.
6Dry it slowly upside down

Rim down for the first day. The base is the thickest part and the rim the thinnest, so this evens out the drying rate between them.
Turn it the right way up for the remaining days. Two to three days in all at these thicknesses.
Away from heat and sun, as always. The air dry clay hub has the full drying timings and the weight test that proves it is done.
If it goes wrong
| Problem | Likely cause | How to fix it |
|---|---|---|
| The rim split into a wavy cracked edge | The clay dried as it was worked, or the wall was pinched too thin at the top | Wet a fingertip and smooth the split closed as soon as it appears. Keep the rim slightly thicker than the wall below it. |
| The wall is thick on one side and thin on the other | The pot was not turned between squeezes, so one side got most of the work | Pinch a quarter turn at a time, all the way round, before moving up. Thin patches cannot be thickened afterwards. |
| The base cracked as it dried | The base was left much thicker than the wall, so it shrank later and pulled against the sides | Keep the base within a millimetre or two of the wall thickness. Fill a dried crack with paste made from the same clay. |
| It slumped and lost its shape | The clay was too wet, usually from too much water added while smoothing | Use water sparingly and let a soft pot firm up for twenty minutes before refining it. A slumped pot has to be reworked from a ball. |
Why do pinch pots crack at the rim?
Because the rim is thin, heavily handled, and exposed to air on both faces at once.
Every squeeze thins it slightly and every minute of work dries it slightly. By the time a pot is finished, the rim has usually lost more water than anywhere else, and dry clay under pressure splits.
The fix is not more water at the end but a damp finger throughout. Run a wet fingertip round the rim every minute or so while pinching, and small splits close before they become cracks.
Keeping the rim marginally thicker than the wall below helps too. It looks better and it dries at a rate closer to the rest of the pot.
Once dry, a rim crack can be filled with a paste of the same clay and water, dried slowly and sanded flush. The troubleshooting hub covers the same repair on flat work.
What can you actually use a pinch pot for?
Anything dry, and nothing wet without help.
Air dry clay softens in water, so a pot that will hold a plant, a candle in a glass, or anything damp needs a proper sealer and ideally a liner. As a dish for keys, rings, paperclips and buttons it needs nothing at all.
It is also the best possible practice piece. Making six teaches wall thickness faster than reading about it, and the sixth one is always noticeably better than the first.
Two pinched forms joined rim to rim make a hollow ball, which is the starting point for beads, ornaments and rattles. That trick is worth knowing early.
Textured on the outside and sealed inside, they are the most useful things most people make. The home decor hub covers the finishes that suit them.
Frequently asked questions
How thick should a pinch pot wall be?
About 8mm, and even all the way round. Thinner walls dry faster than the base and crack where the two meet.
Why does my pinch pot crack at the rim?
The rim is the thinnest, most worked and most exposed part, so it dries first. Keep a damp finger on it and work quickly.
How long does a pinch pot take to dry?
Two to three days at 8mm walls, upside down for the first day. It is ready when it no longer feels cool against the hand.
Can a pinch pot hold water?
Not on its own. Air dry clay softens in water, so a pot used for anything wet needs a proper sealer and a liner.