The best salt dough recipe is two parts plain flour to one part table salt to one part warm water, by volume. Mix the salt into the flour dry, add the water slowly, and knead for five minutes. Bake at 100C for two to three hours rather than baking it hot.
Most salt dough failures are decided before the oven is even on. The dough goes in too wet, or it bakes too hot, and both faults show up as the same thing: an ornament that puffs, browns and cracks while you watch it.
The recipe itself is three ingredients and almost no technique. What follows is mostly about ratio and temperature, because that is where the whole thing is won or lost.
If you have never worked with it, the salt dough hub covers the material in more general terms than one recipe needs.
Materials
- 1 cup plain flour (not self-raising)
- 1/2 cup fine table salt
- 1/2 cup warm water
- Matt acrylic sealer
- Acrylic paint (optional)
- Natural twine, for hanging
Tools
- Large mixing bowl
- Wooden spoon
- Measuring cup
- Rolling pin
- Cookie cutters
- A drinking straw, for the hanging hole
- Baking tray and parchment
- Wire cooling rack
Mixing takes about ten minutes. Baking is two to three hours at a low temperature, and rushing that is the single most common mistake.
What is the best salt dough recipe?
Two parts plain flour, one part table salt, one part warm water, measured by volume rather than weight. A cup of flour, half a cup of salt and half a cup of water makes enough for eight or nine medium ornaments.
1Set out your ingredients
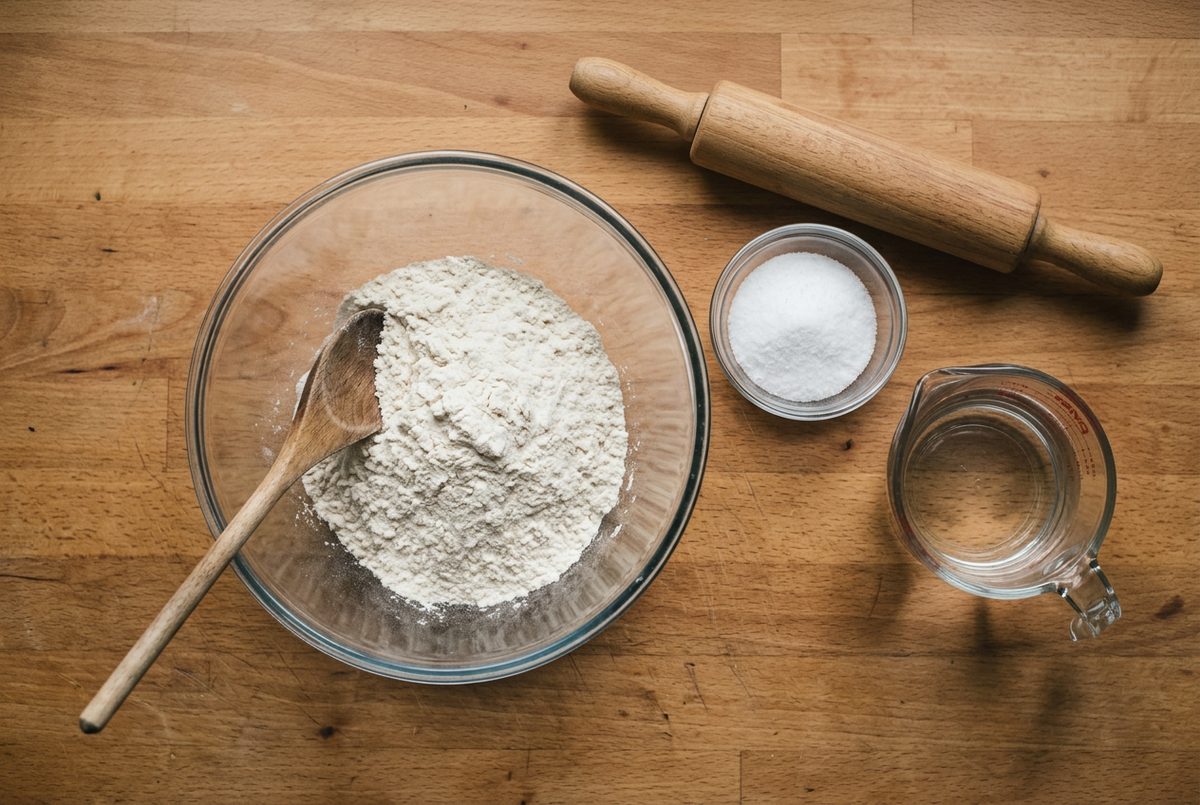
Measure everything before you start mixing. Once your hands are in the bowl you will not want to be levelling off a cup of salt one-handed.
Use plain flour, not self-raising. Self-raising flour contains a raising agent, and a raising agent is exactly what makes an ornament dome up in the oven.
2Mix the salt into the flour dry
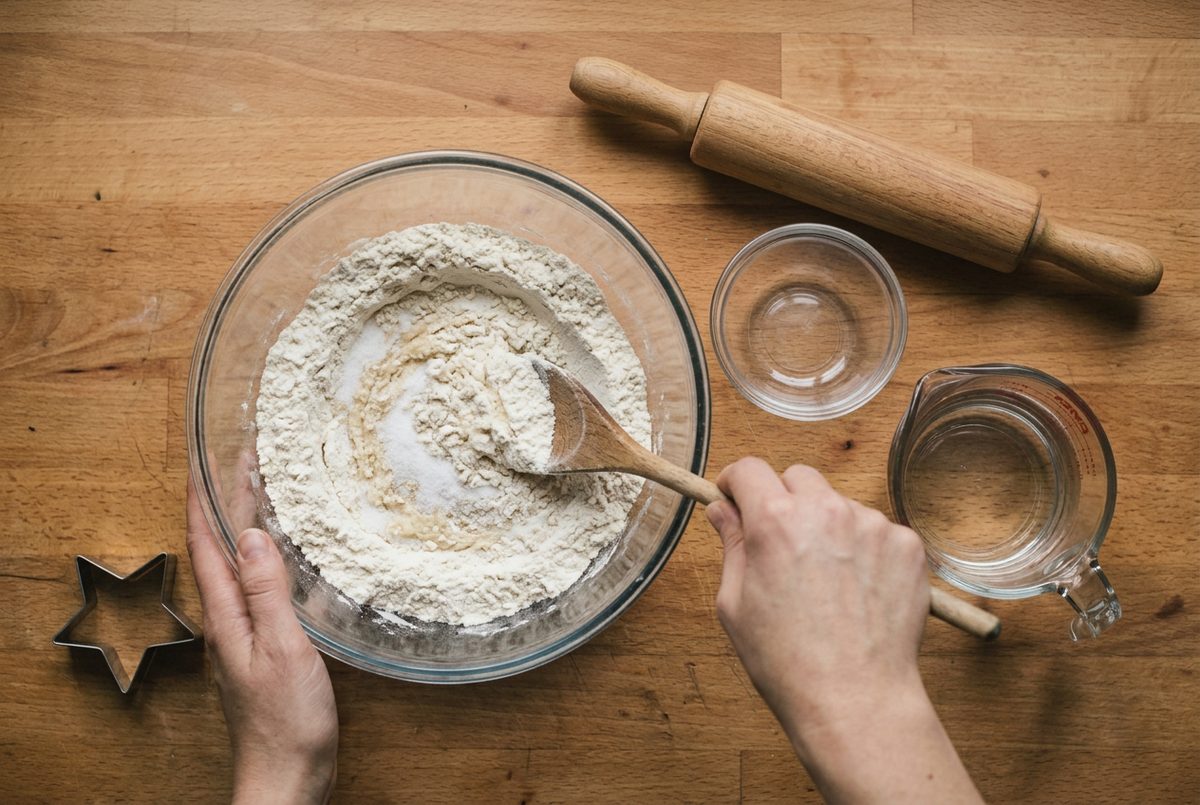
Stir the salt through the flour thoroughly while both are dry. Thirty seconds of work here saves a lot of trouble later.
Salt added to an already wet dough never fully dissolves. You get gritty pockets that draw moisture in from the air for months afterwards, which is why some ornaments go faintly damp and soft on a shelf long after they came out of the oven hard.
3Add the water gradually
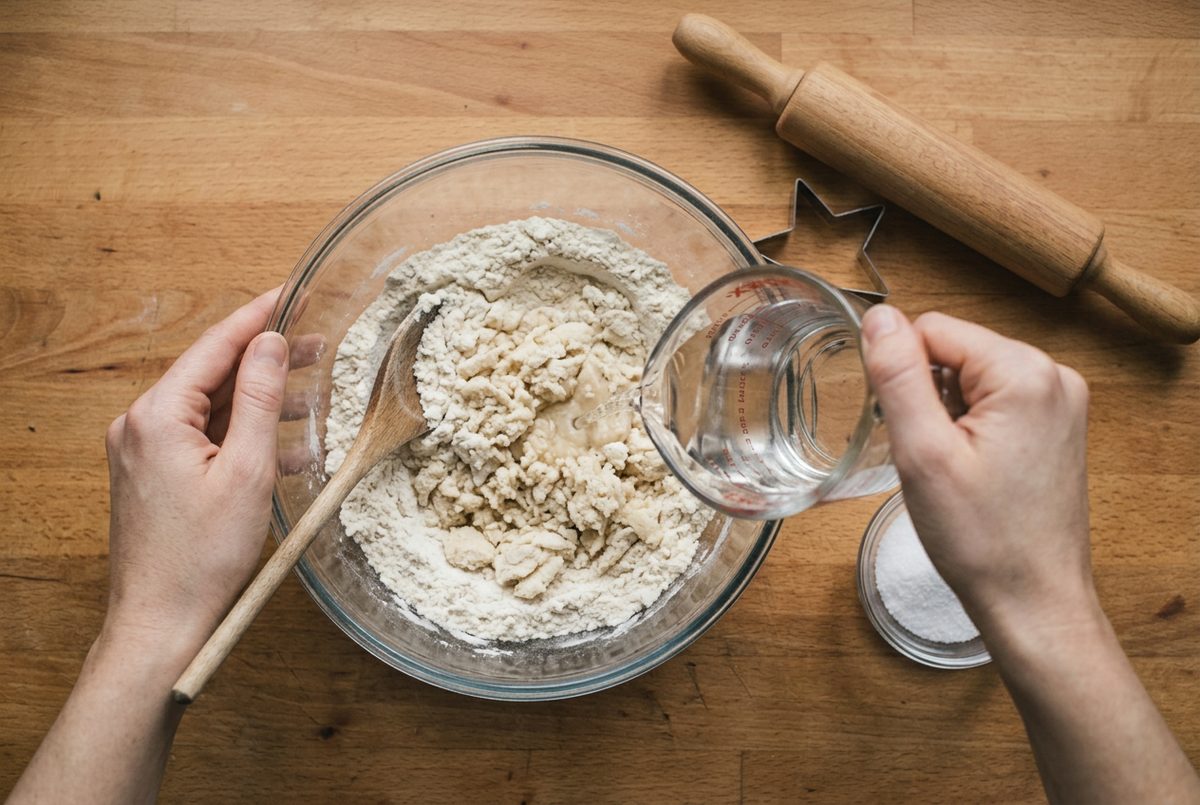
Pour in about two thirds of the water, stir, then add the rest a little at a time. Stop as soon as it comes together into a ball.
Dough that is even slightly too wet is the second cause of puffing. The extra water turns to steam in the oven and lifts the surface. You can always add a splash more water to a dry mix; you cannot take it back out.
4Knead until it is smooth
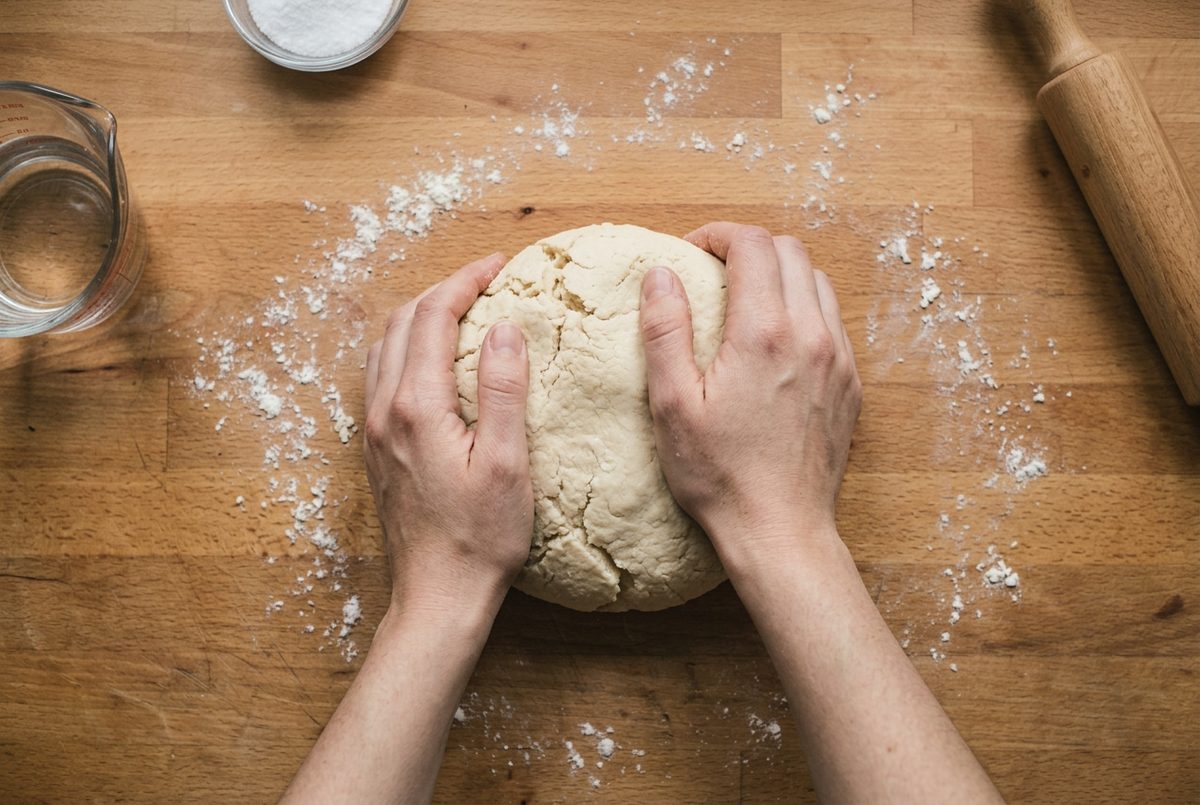
Knead for a solid five minutes on a lightly floured surface. It starts out crumbly and looks wrong, then turns smooth quite suddenly.
Underkneaded dough cracks at the edges the moment you roll it out. If it is still tearing after five minutes it is too dry, so wet your hands rather than tipping another spoonful of water into the bowl.
5Roll and cut your shapes
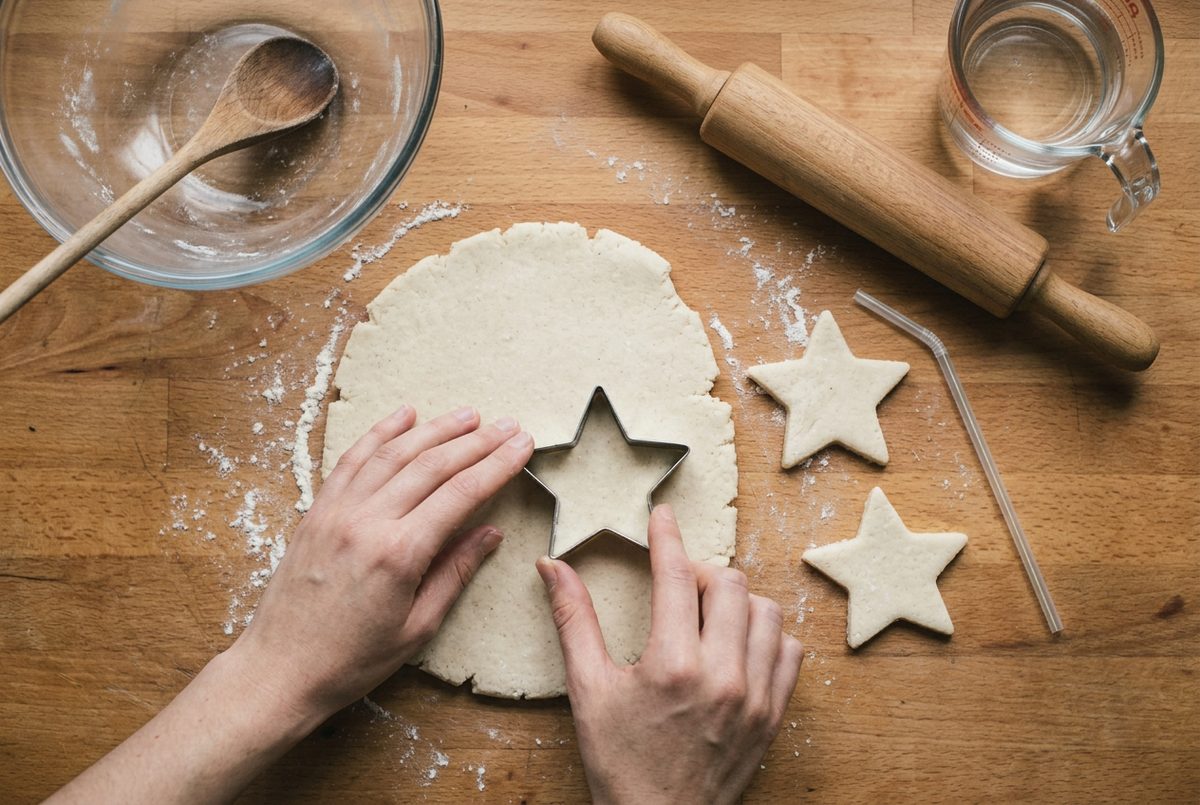
Roll to about 6mm. Thinner and the shapes turn brittle; thicker and the middle stays soft long after the edges are done.
Punch the hanging hole now with a drinking straw, and put it further in from the edge than looks necessary. A hole close to the edge is where an ornament breaks a year later.
6Bake low and slow

Bake at 100C, or the lowest setting your oven has, for two to three hours. You are drying these out, not cooking them.
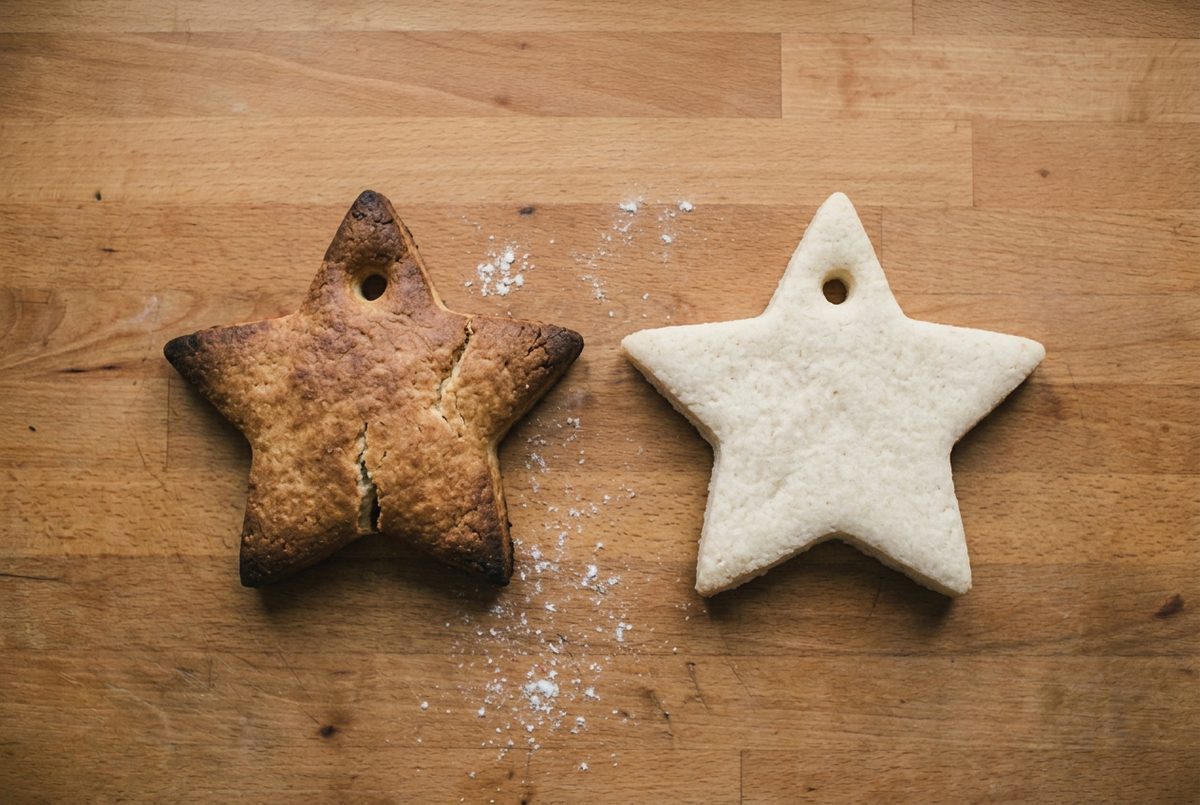
Do not turn the oven up to speed this along. Anything above about 120C browns the surface and puffs the middle, and both are permanent. If your oven runs hot, prop the door open a crack with a wooden spoon.
7Check, cool, then seal
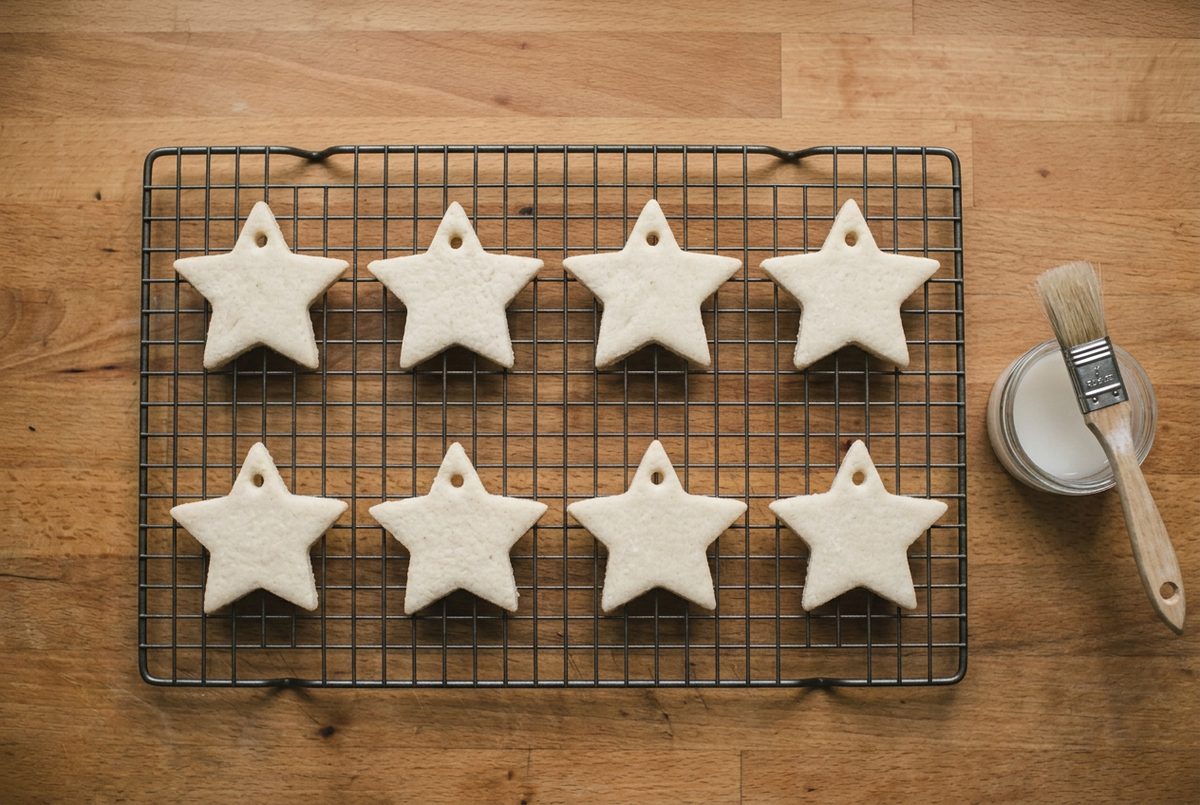
They are done when the surface is hard all over and the underside sounds hollow rather than dull. Cool them completely on a wire rack before you paint anything.
Seal them once painted, and seal the back as well as the front. Salt is hygroscopic, meaning it pulls moisture out of the air indefinitely, so an unsealed ornament slowly softens over a damp winter. The finishing guides cover which sealers hold up on a porous surface like this.
A batch baked at 100C and a batch baked at 160C sit side by side below. Same dough, same tray, same thickness.
If it goes wrong
| Problem | Likely cause | How to fix it |
|---|---|---|
| The ornaments puffed up and domed in the oven | The oven was too hot, or the flour was self-raising, or the dough was mixed too wet | Nothing rescues a puffed piece once it has set. Next batch, drop to 100C, check the flour packet says plain, and hold back some of the water until the dough just comes together. |
| They browned instead of staying pale | Baking above about 120C, which toasts the flour rather than drying it | Bake lower and longer, and prop the oven door open a crack with a wooden spoon if your oven runs hot. A browned piece can be painted over but never goes pale again. |
| A piece went soft again weeks after baking | It was never sealed, or only the front was sealed, and the salt drew moisture out of the air | Dry it out again at 100C for an hour, cool it, then seal every face including the back and the inside of the hanging hole with two thin coats. |
| The dough cracked at the edges while rolling | Underkneading, or a mix that was slightly too dry | Knead for another two or three minutes with damp hands. Add water by wetting your hands rather than pouring it in, which is far easier to overdo. |
Variations worth trying
Press a sprig of rosemary, a piece of coarse lace or the back of a fork into the surface before baking and lift it away, leaving the texture behind. Textured ornaments take a paint wash far better than flat ones do.
Swap a spoonful of the flour for cinnamon for a warmer colour and a scent that lasts a season or two. It weakens the dough slightly, so keep those a little thicker.
Rolled thicker and cut larger, the same dough makes gift tags and place settings. The Christmas ornaments section has more on planning a batch with enough lead time to actually dry.
Why did my salt dough puff up in the oven?
Almost always heat, occasionally self-raising flour, sometimes both. Water trapped in the dough turns to steam faster than it can escape through the surface, and the surface lifts to let it out.
The fix is temperature, not time. Drop the oven to 100C and accept that it takes three hours. A puffed ornament cannot be flattened once it has set, and a domed one will not sit flat against a tree branch or a wall.
Air-drying works too if you are not in a hurry: two to three days on a wire rack, turned daily, with no oven involved at all. It is slower but it never puffs, and the troubleshooting section covers what to do when a piece has gone soft after painting.
Frequently asked questions
How long does salt dough take to bake?
Two to three hours at 100C for pieces rolled to about 6mm. Thicker pieces take longer, not hotter. They are ready when the surface is hard all over and the underside sounds hollow when you tap it rather than dull.
Can you air dry salt dough instead of baking it?
Yes, and it never puffs that way. Leave the pieces on a wire rack for two to three days, turning them once a day so both faces lose moisture at the same rate. It is slower but more forgiving than an oven that runs hot.
Why is my salt dough sticky?
Too much water. Work in a little more flour a spoonful at a time until it stops clinging to your hands. Sticky dough also puffs in the oven, because the extra water has to leave as steam and lifts the surface on its way out.
Does salt dough need to be sealed?
Yes. Salt is hygroscopic, so it pulls moisture out of the air indefinitely and an unsealed ornament slowly softens over a damp winter. Two thin coats of matt acrylic sealer on every face, including the back, is enough.

Save this for later