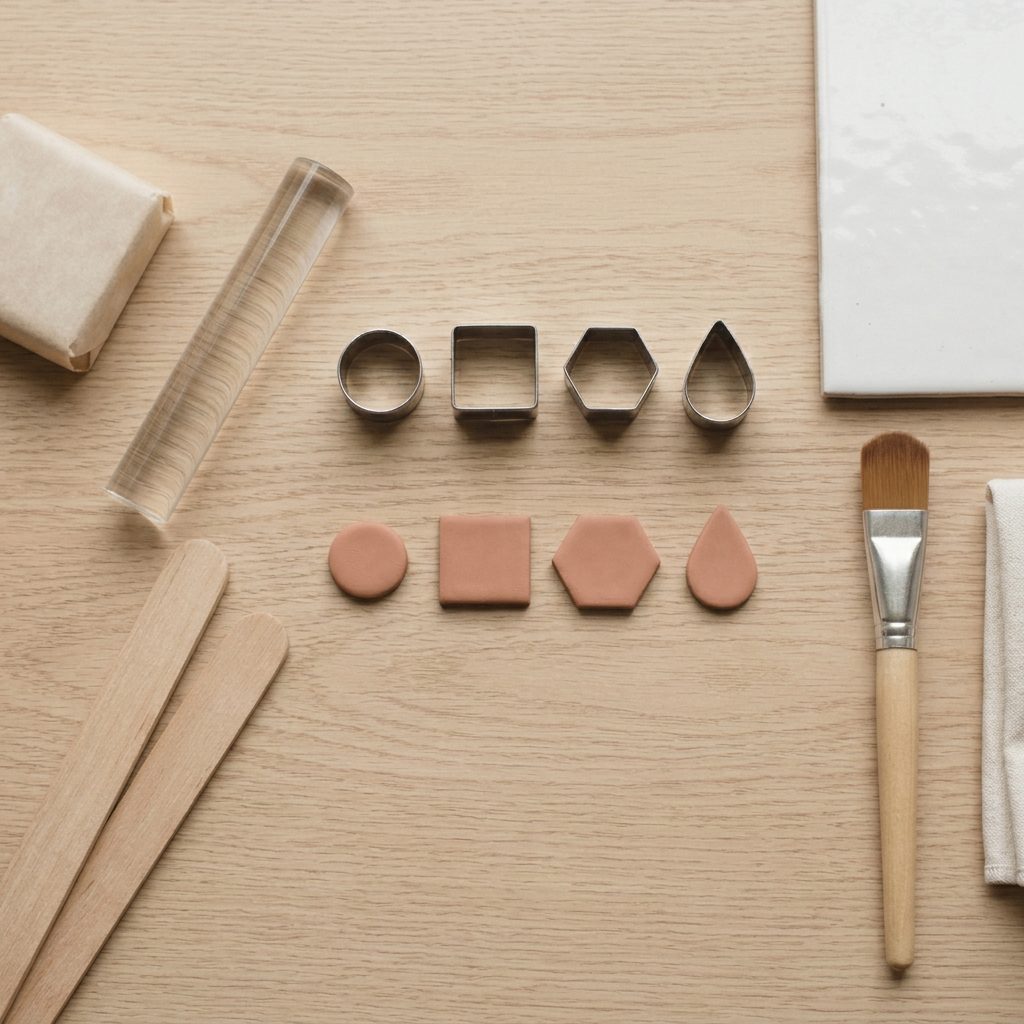
Polymer clay cutters cut cleanly on cold clay and drag on warm clay. Roll an even sheet, chill it for ten minutes, press the cutter straight down with no twist, peel the waste away rather than lifting the shape, then brush the cutters clean.
Polymer clay cutters look like the easy part of a project and are usually where the shape goes wrong. Warm clay drags, a twisted cutter bevels the edge, and lifting the shape instead of the waste stretches it out of true.
Cold clay, a straight push, and lifting the waste away fix all three. None of it depends on owning better cutters.
The tools hub covers the rest of the kit worth buying for clay work.
Materials
- Polymer clay in a muted colour
- A little cornflour, for stubborn brands
Tools
- Clear acrylic roller
- Two guide strips about 3mm thick
- Small metal or resin cutters
- White ceramic tile
- Soft flat brush
- Lint-free cloth
Fifteen minutes to cut a full sheet of shapes cleanly.
How do you use polymer clay cutters properly?
Roll an even sheet, chill it for ten minutes, press the cutter straight down without twisting, lift the waste away instead of the shape, tidy the edge with a fingertip, then wash and dry the cutters before they go away.
1Set out what you need
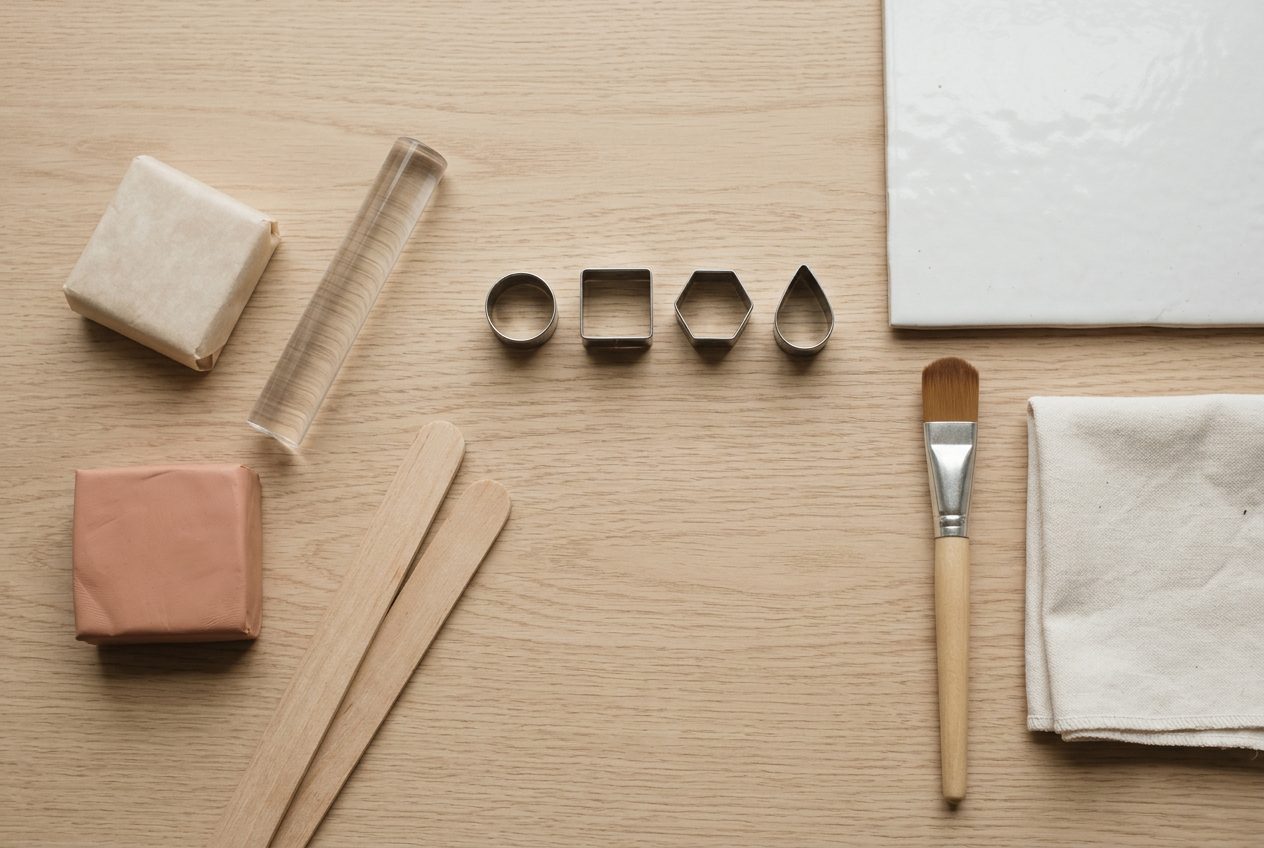
Metal cutters give the cleanest edge and last indefinitely. Resin ones cut well too and cost less, but they cannot go in hot water and they lose their edge if they are stored loose in a drawer.
A soft brush is the one accessory worth having. It clears crumbs from inside a cutter far better than a fingertip, which just smears them.
2Roll an even sheet
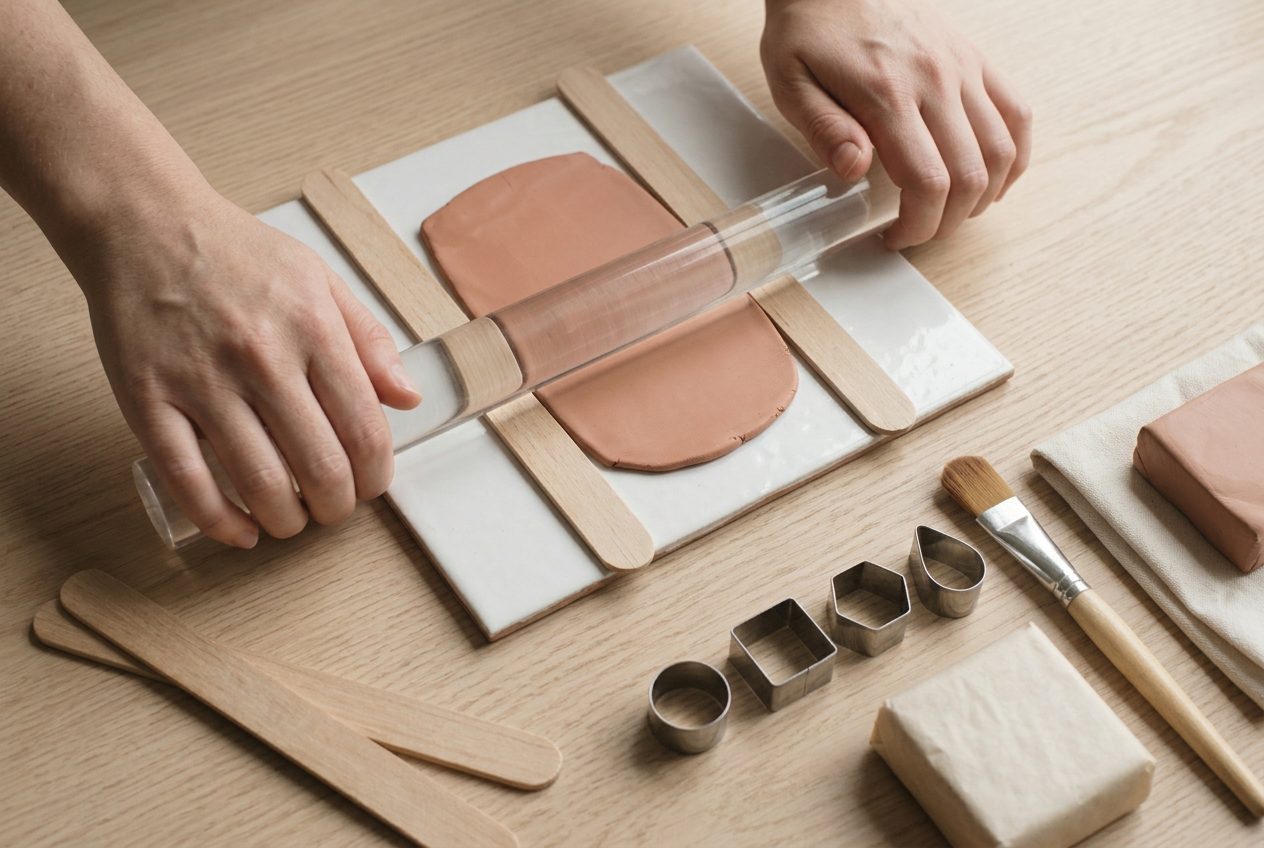
Roll between guide strips. An uneven sheet gives shapes of different thicknesses, and a cutter pressed into a thick patch squeezes clay out sideways instead of cutting through it.
Roll on the tile the pieces will be baked on. Every time a cut shape is moved it distorts slightly, and the first move is the one that matters most.
Keep the surface clean. A cutter presses dust and lint into the cut edge, where it shows up as a dark speck after baking.
3Chill the sheet before cutting

Ten minutes in the fridge, or twenty minutes somewhere cool, makes a visible difference to every cut edge. Cold clay parts cleanly; warm clay stretches and drags.
This is the single biggest improvement available in this whole process, and it costs nothing but the wait.
Do not freeze it. Clay taken from the freezer sweats as it warms and the moisture marks the surface.
4Press straight down, no twist
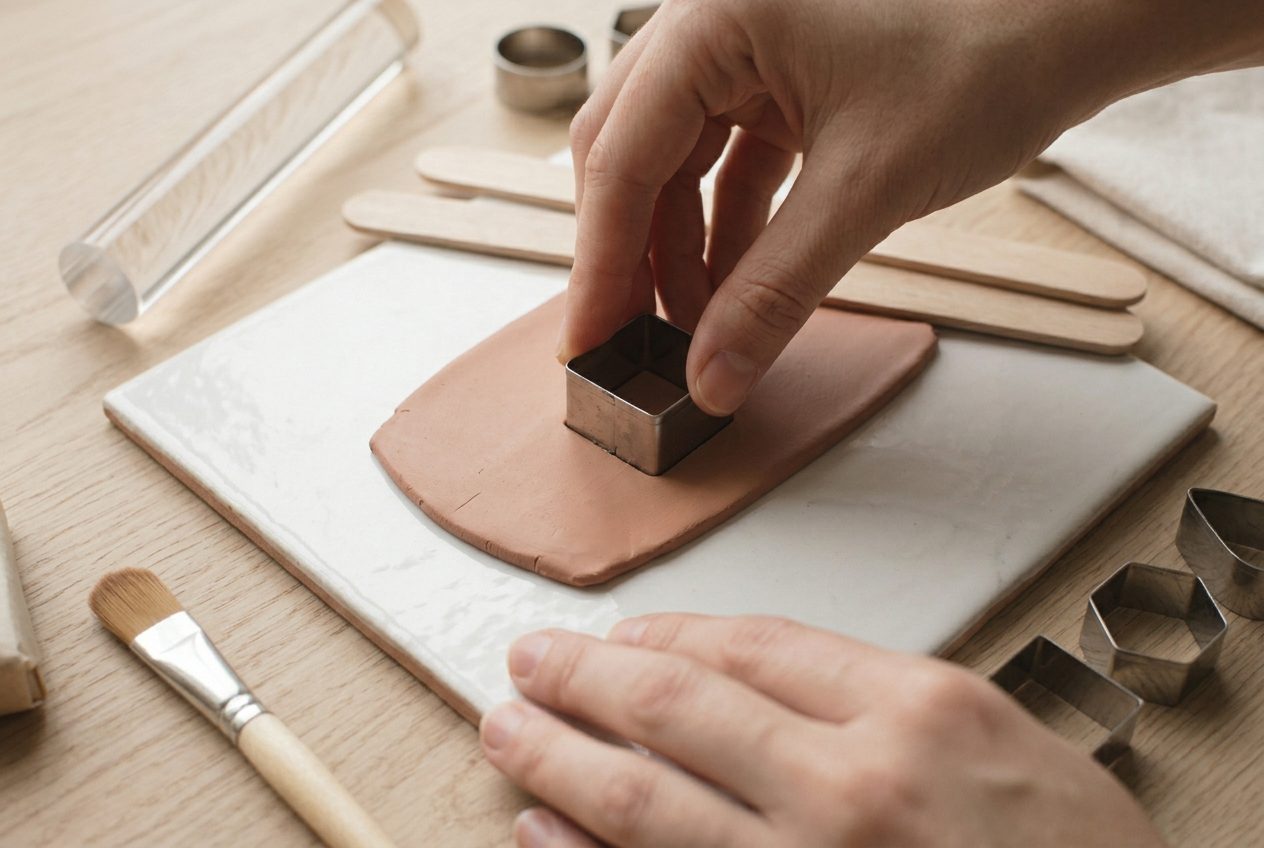
Press with the flat of your fingers, evenly, until the cutter meets the tile. Then lift it straight back up.
Never twist. A twist puts a bevel on one side of the shape and a burr on the other, and once baked those are permanent.
Press each shape well clear of the last cut. Cutting too close leaves a thin strip of waste that collapses and pulls the neighbouring edge with it.
5Lift the waste, not the shape
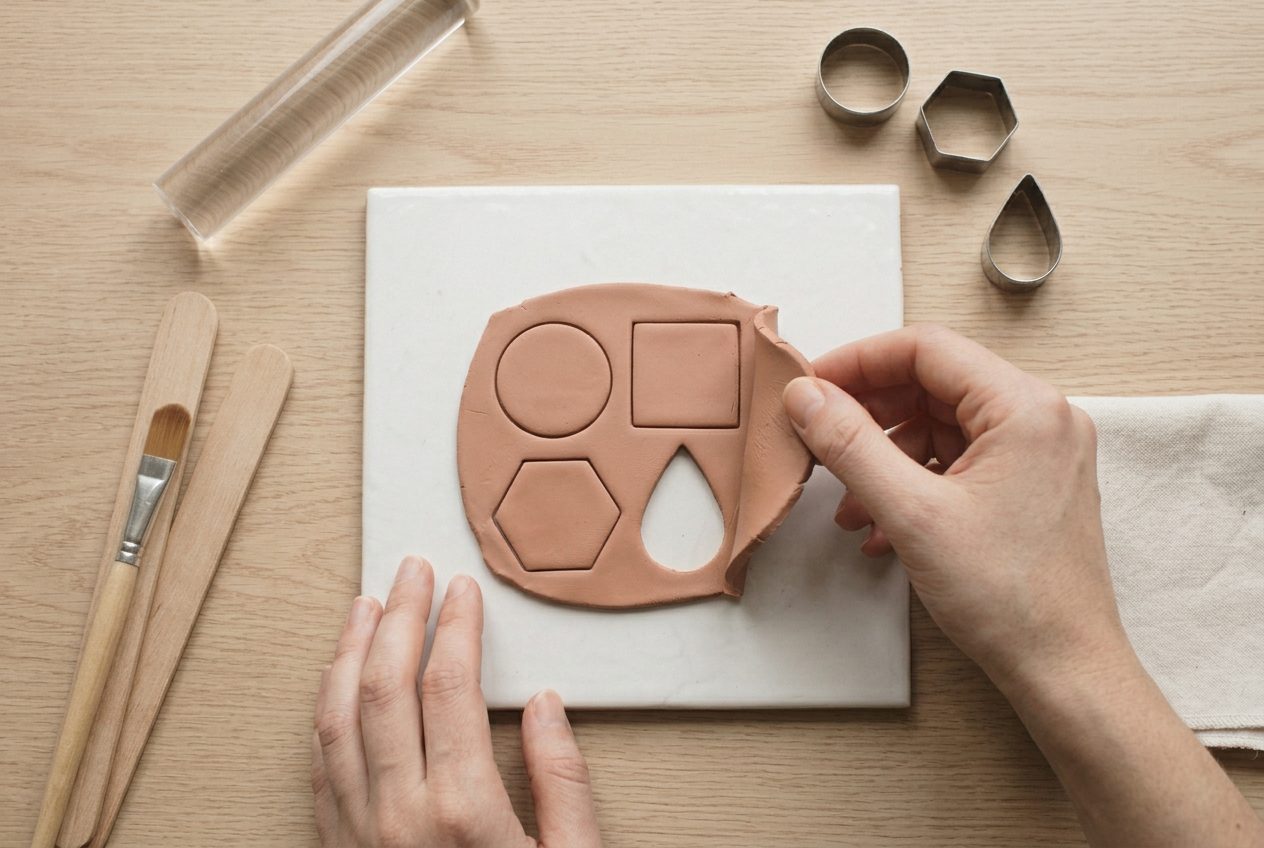
Peel the waste away and leave the shapes on the tile. Picking a soft shape up stretches it, and a stretched circle never goes back to being round.
If a shape lifts with the waste, push it gently back down and free it with the tip of a blade rather than a fingernail.
Then tidy any furred edge with a fingertip or the soft brush. A light touch is enough; anything more rounds the edge you just cut so carefully.
6Clean the cutters before they go away
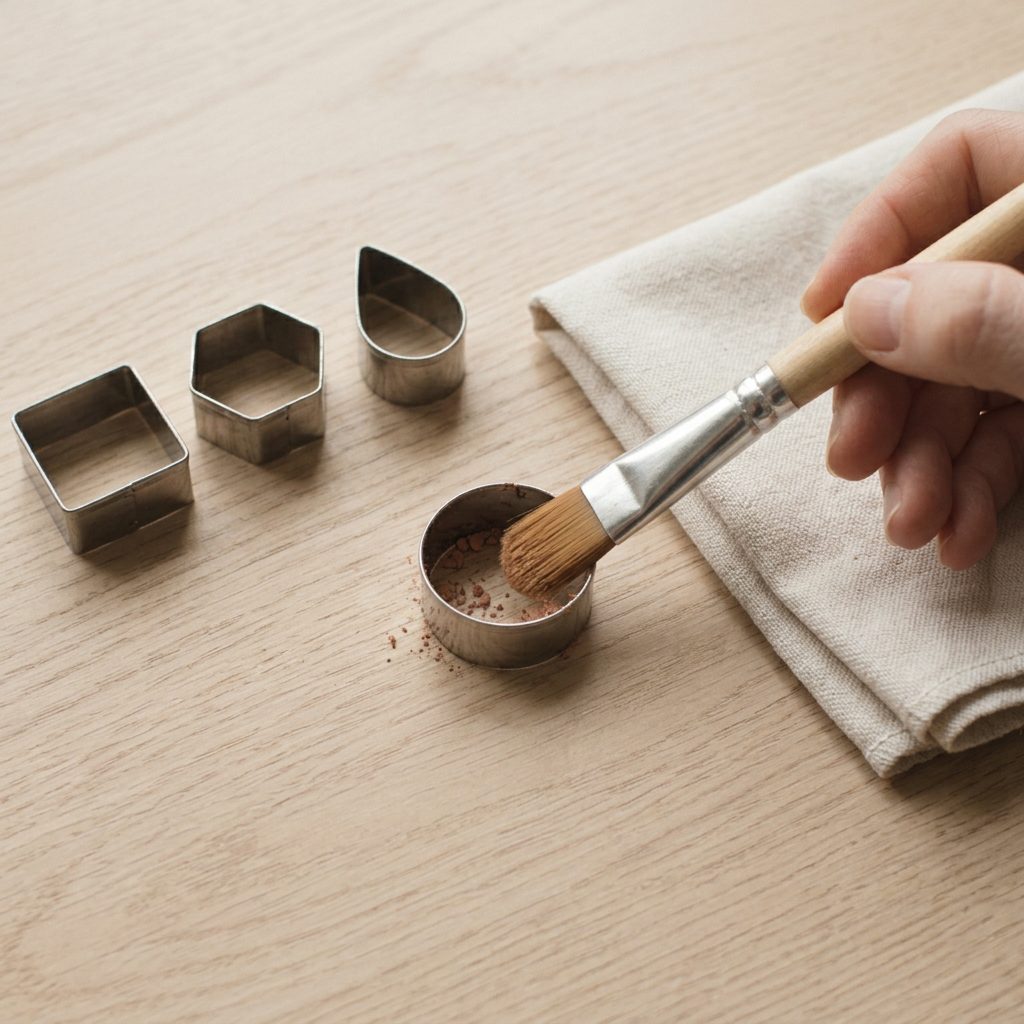
Brush the inside edge out and wipe the cutter with a cloth. Clay left inside dries onto the edge, and dried clay on the cutting edge is what makes the next batch of shapes fuzzy.
Metal cutters can be washed in warm water and dried immediately. Resin cutters must not go anywhere near hot water, which warps them permanently, so brush those and leave it at that.
Store them somewhere they cannot be crushed. The techniques hub covers conditioning, and the polymer clay hub covers what happens to clay stored badly between projects.
If it goes wrong
| Problem | Likely cause | How to fix it |
|---|---|---|
| The clay sticks inside the cutter | The sheet is warm or slightly greasy from handling, so it grips the inside face | Chill the sheet for ten minutes, or dust it very lightly with cornflour. Press a stuck shape back down against the tile to release it. |
| The cut edges are bevelled or furred | The cutter was twisted, or the clay was too soft to part cleanly | Press straight down and lift straight up on chilled clay. A furred edge can be touched up with a fingertip; a bevel cannot. |
| The shapes came out stretched or oval | They were picked up off the tile while soft instead of having the waste peeled away | Leave every cut shape in place and remove the surrounding clay instead. Re-roll a stretched shape rather than trying to correct it. |
| A resin cutter no longer cuts a true shape | It was washed in hot water, which softens and warps the plastic | Nothing recovers a warped cutter. Clean resin cutters with a dry brush and a cloth only, and store them flat. |
Why does polymer clay stick in the cutter?
Because the clay is warm, soft, or slightly greasy from handling.
Warm clay grips the inside of a cutter as the cutter lifts, so the shape comes up with it and then falls out distorted. It is the same problem as a warm sheet dragging under the blade, and it has the same answer: chill the clay for ten minutes.
A very light dusting of cornflour on the sheet helps with stubborn brands, and so does dipping the cutting edge in water before each cut, though water can leave a faint mark on pale clay.
If a shape is stuck, do not shake the cutter. Press it back down against the tile so the clay flattens slightly and releases, then lift the cutter alone.
Can you wash polymer clay cutters?
Metal ones, yes. Resin ones, no.
Steel and tinplate cutters wash in warm soapy water and should be dried straight away so they do not spot. Any clay residue left on the edge dries into a ridge that ruins the next cut.
Resin and 3D-printed cutters are the ones to be careful with. Hot water softens the plastic and warps the shape, sometimes so slightly you do not notice until a batch of shapes comes out subtly wrong. Brush them, wipe them with a dry cloth, and store them flat.
Never leave any cutter soaking. Water gets into the folded seam of a metal cutter and rusts it from the inside, which then transfers to pale clay. The troubleshooting hub covers marks and specks that appear in a finished piece.
Frequently asked questions
Why does polymer clay stick in the cutter?
Because it is warm and soft. Chill the sheet for ten minutes, or dust it lightly with cornflour, and the shapes drop out cleanly.
Should you chill polymer clay before cutting?
Yes. Ten minutes in the fridge is the single biggest improvement available to a cut edge, and it costs nothing but the wait.
Can you wash polymer clay cutters?
Metal ones can be washed in warm soapy water and dried immediately. Resin and 3D-printed cutters warp in hot water and should only be brushed.
Are metal or resin clay cutters better?
Metal cuts more crisply and lasts indefinitely. Resin is cheaper and comes in far more shapes, but it blunts and cannot be washed in hot water.