

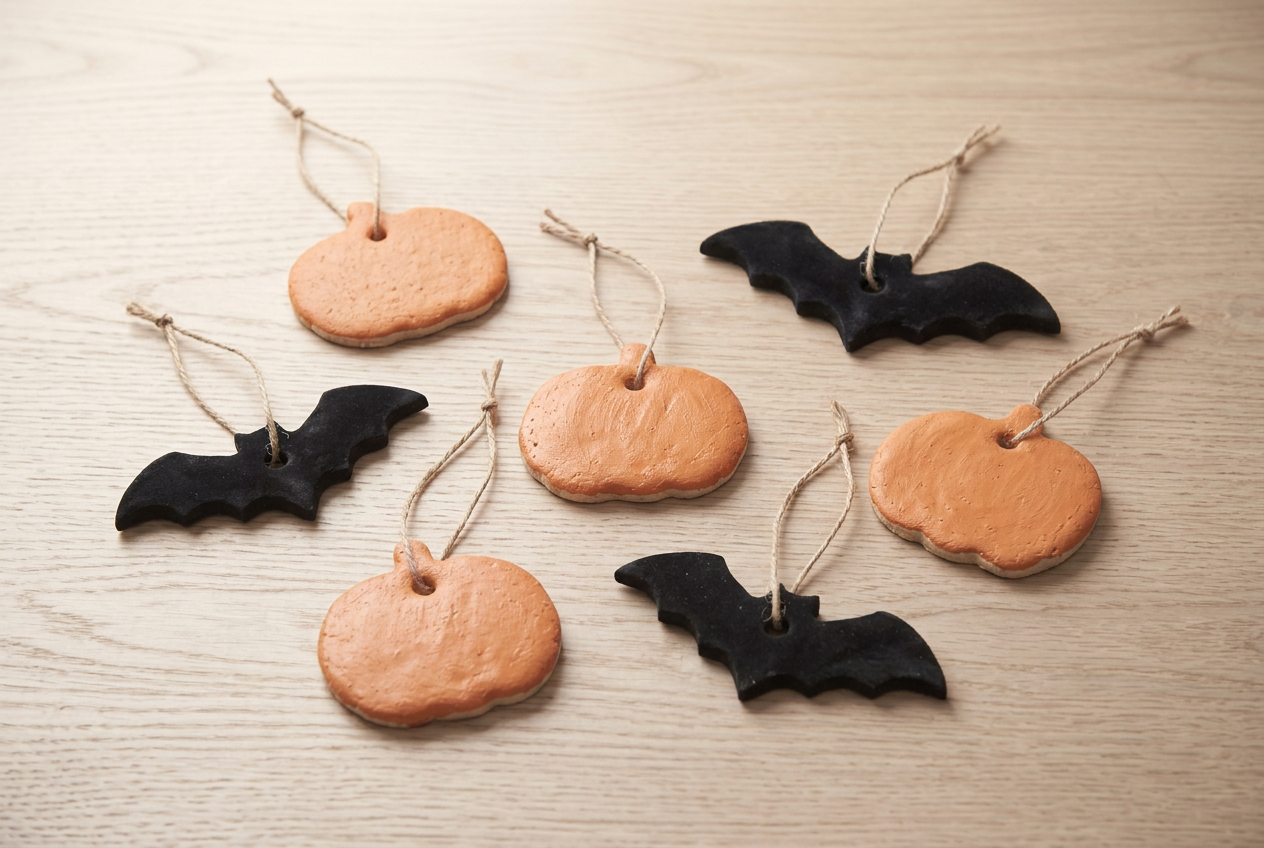
Salt dough Halloween decorations keep their shape when the dough is mixed at two parts flour to one part salt, rolled a full 8mm, and baked at 100C for three hours rather than browned at a normal oven temperature. Sealing both faces is what stops them going sticky by November.
Salt dough Halloween decorations fail in a way that is obvious the moment the oven door opens. The pumpkins have puffed into pillows and the bats have lost their wing shape entirely.
It is almost never the recipe. It is the oven temperature, and a normal baking heat is roughly three times too high for what is being asked here.
The halloween hub has the rest of the decorations. This is the cheapest project on it by a wide margin, and the only one a five-year-old can do most of.
Materials
- 300g plain flour
- 150g fine table salt
- About 150ml warm water
- Matt acrylic paint in orange, black and white
- Matt acrylic sealer
Tools
- Wooden rolling pin
- Two 8mm flat wooden guide strips
- Pumpkin and bat cutters
- Plastic drinking straw
- Flat baking tray and baking paper
- An oven thermometer
Forty-five minutes of work and three hours in a low oven.
How do you make salt dough Halloween decorations that keep their shape?
Mix two parts flour to one part salt, roll a full 8mm between guide strips, cut without twisting, and bake at 100C for three hours rather than browning them at a normal temperature.
1Set out what you need
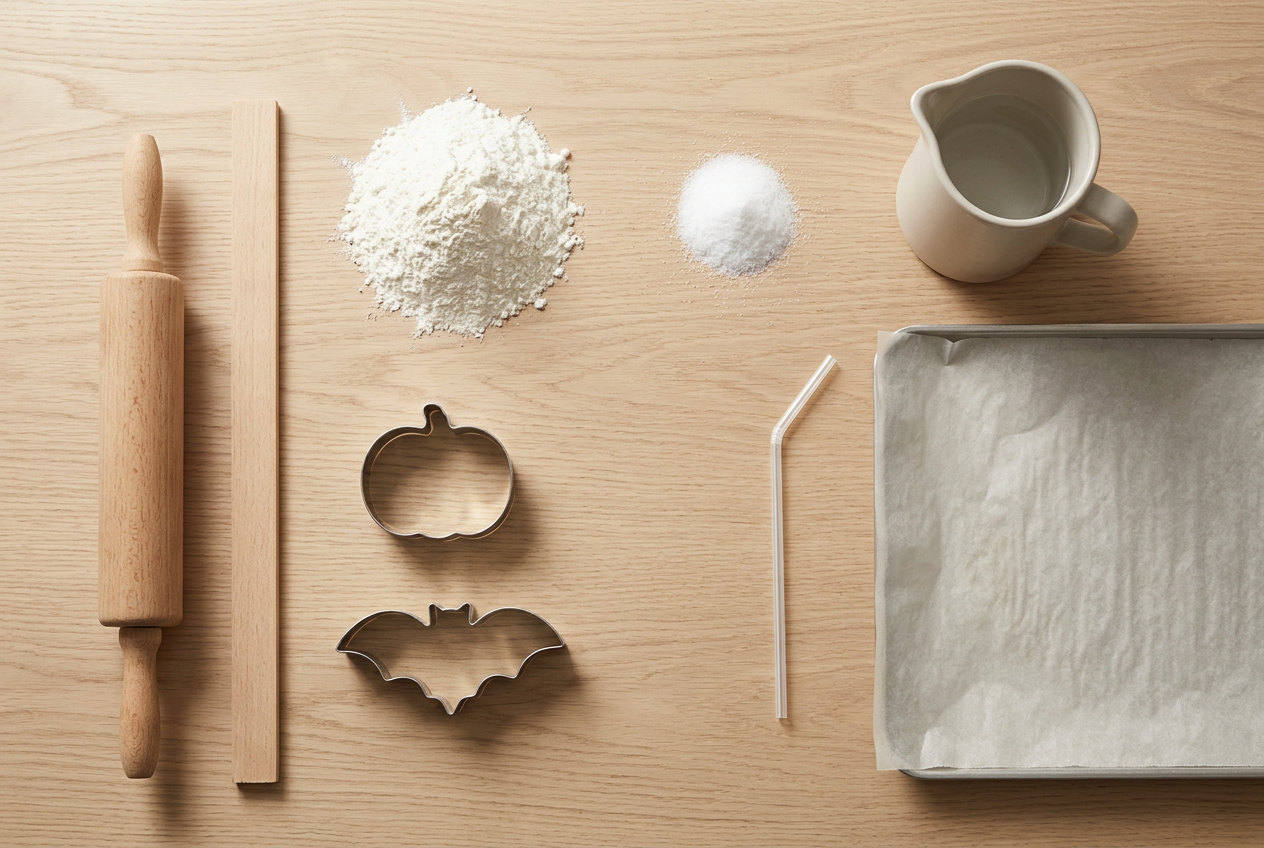
Three ingredients, and all of them are already in the kitchen.
The guide strips are the item people skip and the one that decides the outcome. They make every shape exactly the same thickness, and shapes of different thicknesses cannot all be baked correctly at once.
Cutters with simple outlines work far better than detailed ones. A pumpkin with a clear stem and a bat with blunt wings both survive; anything with a fine point does not.
2Mix two parts flour to one part salt
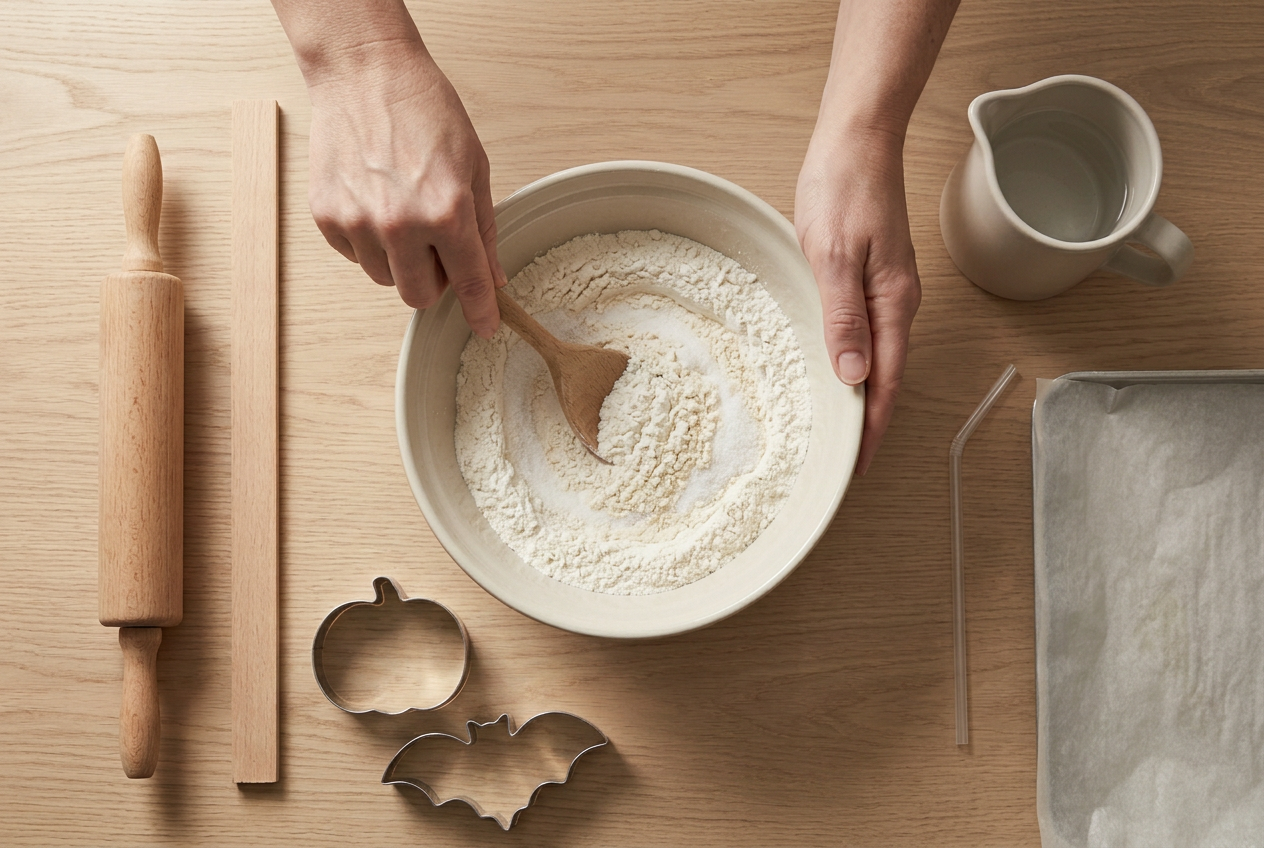
300g flour to 150g salt, stirred together dry before any water goes in. Mixing them dry matters, because salt added to wet dough never disperses evenly.
Then warm water a little at a time until it comes together into a ball. About 150ml, but stop looking at the number and start looking at the dough.
The ratio is doing real work. Too much salt and the edges crumble as you lift the shapes; too little and there is nothing to stop the dough rising in the oven.
3Knead until it stops sticking
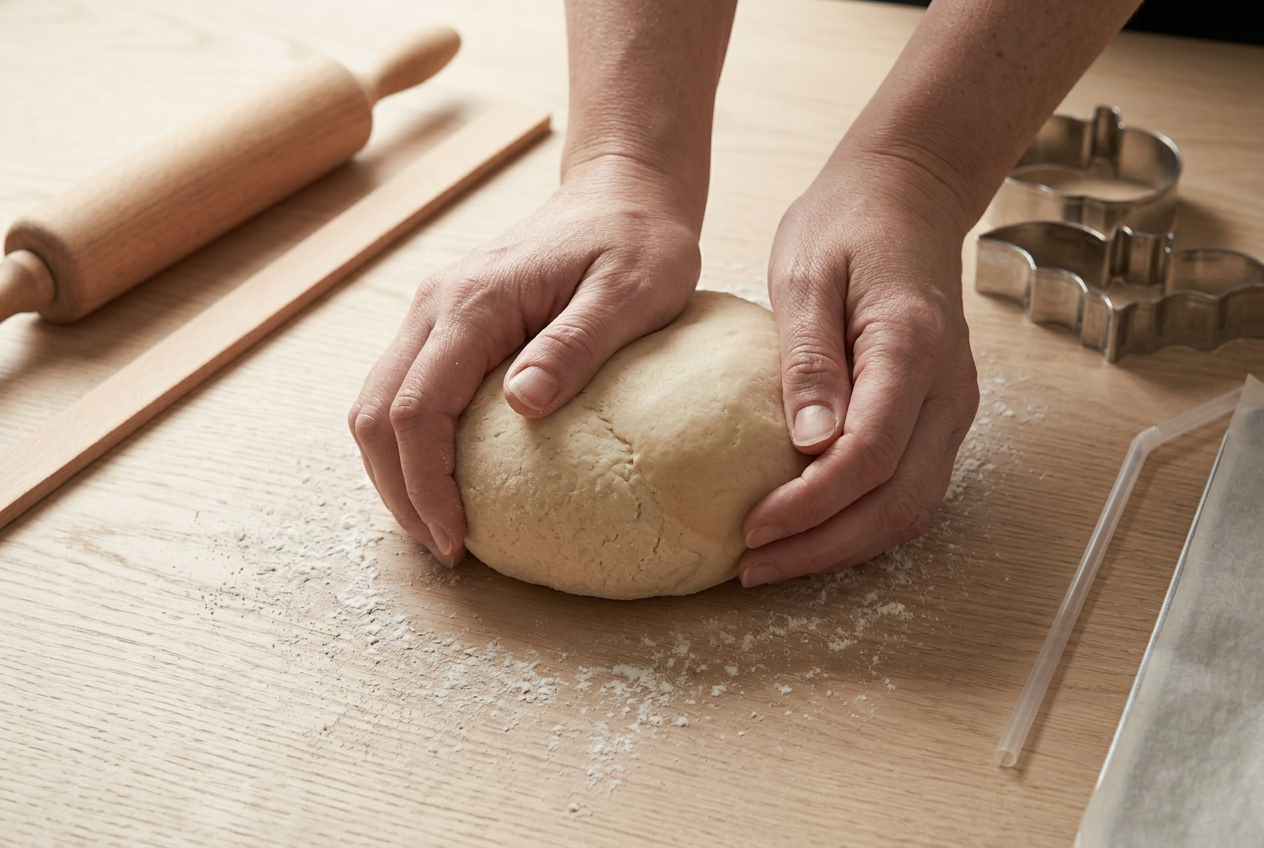
Knead for about five minutes, until the surface goes smooth and stops sticking.
Under-kneaded dough looks finished and behaves badly. It cracks along the cut edge the moment a shape is lifted off the table, and no amount of care with the spatula prevents it.
If it stays tacky after five minutes, work in a little more flour. If it cracks as you fold it, wet your hands rather than adding water to the bowl.
4Roll to an even 8mm and cut
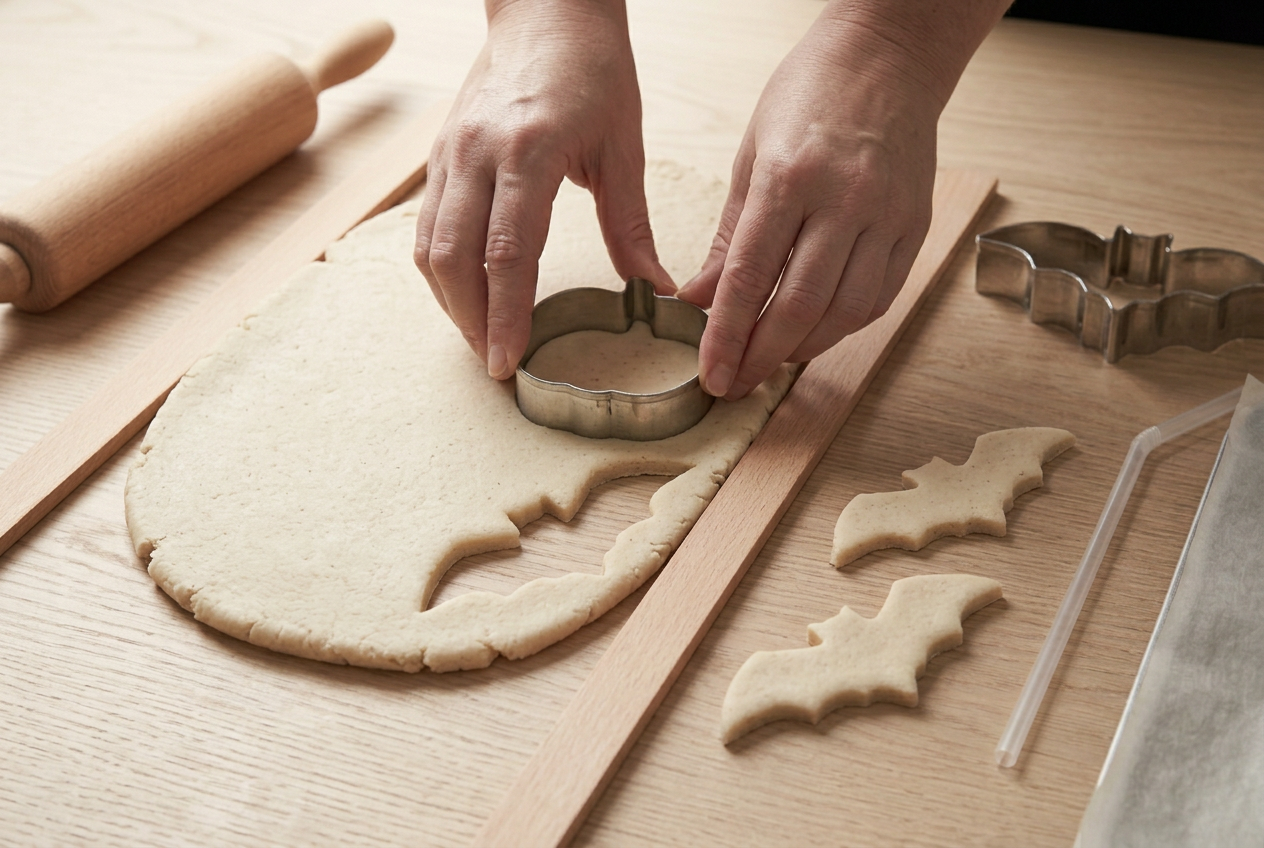
Roll between the guide strips with the pin riding on both at once, so the sheet is a true 8mm everywhere rather than 8mm in the middle and 5mm at the edges.
Press each cutter straight down and lift it straight up. Do not twist.
Twisting is the specific cause of puffing. It smears the dough over and seals the cut edge, so the steam that forms inside during baking has nowhere to escape and lifts the whole shape into a pillow.
5Punch hanging holes with a straw
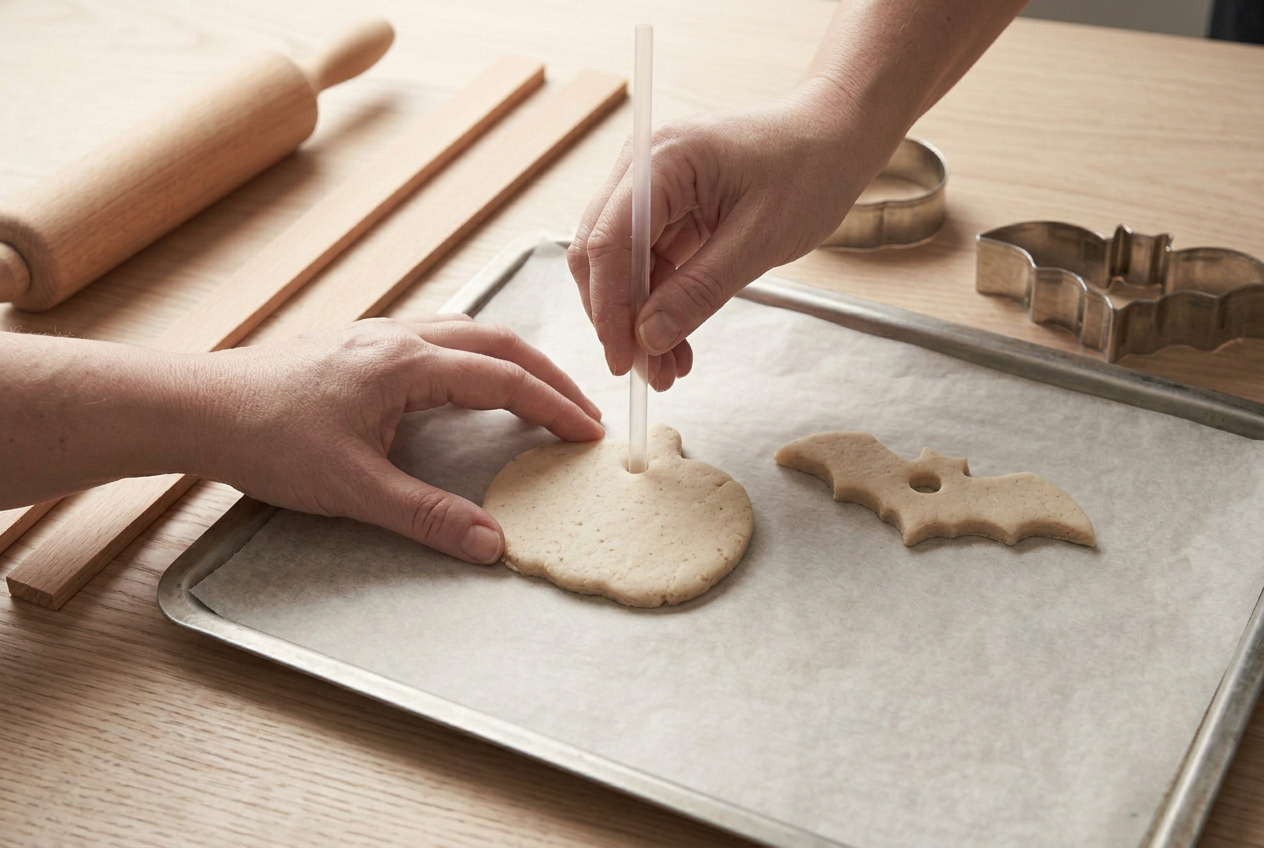
Push the straw right through, about 1cm in from the top edge, and lift the plug of dough out with it.
A skewer seems like the obvious tool and is the wrong one. It pushes dough sideways instead of removing it, and that displaced dough swells back during baking until the hole has closed.
Move the shapes to the lined tray before punching rather than after. Lifting a shape with a hole in it is when the hole tears.
6Bake low and slow, then paint and seal
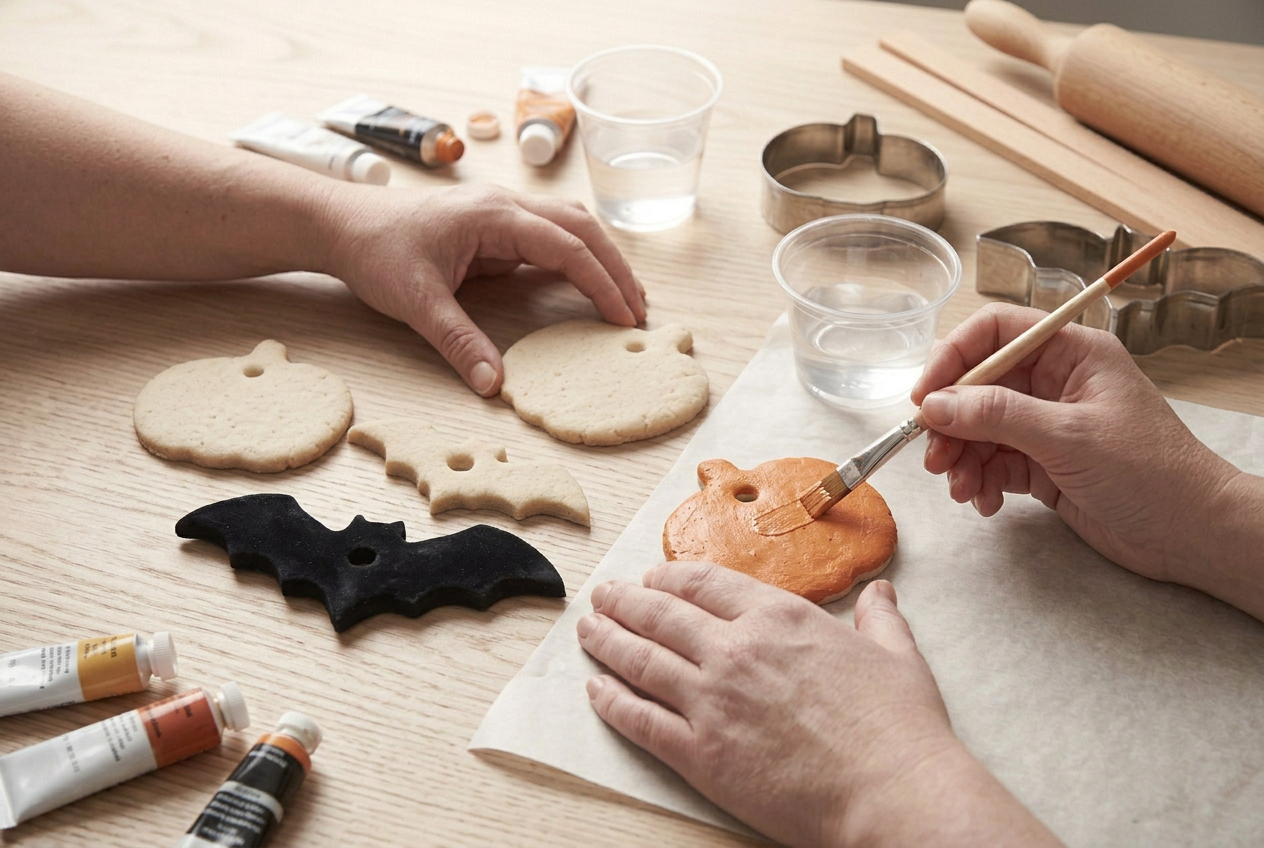
100C for three hours, turned over halfway. Use a thermometer rather than the dial, because ovens routinely run twenty degrees out and twenty degrees matters here.
They are done when they sound hard rather than dull when tapped, and when the back is as pale as the front. Any browning means the oven was too hot.
Cool completely before painting. Then seal every face, including the backs and the inside of the hanging hole. Salt pulls damp out of the air, and an unsealed back is how a perfect decoration goes tacky by November. Sealing salt dough covers which sealers hold, and why salt dough puffs up covers the oven question in more depth.
If it goes wrong
| Problem | Likely cause | How to fix it |
|---|---|---|
| The shapes puffed up into pillows | The oven was too hot, or the cutter was twisted and sealed the edges so steam had nowhere to go | Bake at 100C and no higher, and press the cutter straight down. A puffed shape cannot be flattened once baked, so this one is prevention only. |
| They went soft and tacky a few weeks later | Salt draws moisture out of the air, and unsealed or half-sealed dough absorbs it | Seal every face including the back and the inside of the hanging hole. A tacky decoration can be dried out at 100C for an hour and sealed properly. |
| Cracks opened across the shapes in the oven | The dough was too dry when mixed, or it went into a hot oven rather than a cool one | Add water a teaspoon at a time until the dough is soft but not sticky. Fill baked cracks with a paste of flour and water and bake again for an hour. |
| The hanging hole closed up | It was made with a skewer, which pushes dough aside rather than removing it, so it swells back during baking | Use a straw and lift the plug out. A closed hole can be reopened by drilling gently with the straw again before the shape is fully hard. |
What can children do safely, and what should they not?
Nearly all of it, which is what makes this worth doing with them.
Mixing, kneading, rolling and cutting are all theirs. Kneading in particular is the part small children are genuinely good at and the part that most affects the result, so it is a rare case where the help is real rather than tolerated.
The oven is the adult’s, and so is the sealing, because acrylic sealer needs ventilation.
The one firm rule is that salt dough is never eaten. It looks exactly like biscuit dough and contains enough salt to make a small child or a dog seriously ill, so it should be named as not-food from the start and cleared away rather than left on the side. The top 10 halloween clay ideas roundup has shapes for older children who want something harder.
Frequently asked questions
How long do salt dough Halloween decorations last?
Years, if they are sealed on both faces and stored somewhere dry. Unsealed they last one season at best, because the salt pulls damp out of the air and slowly softens the piece.
Can salt dough be air dried instead of baked?
Yes, but it takes two to three days per side and the shapes must be turned daily. Baking at 100C does the same job in three hours and gives a harder result, which matters on thin cut shapes.
Is salt dough safe for young children to make?
The making is, and it is one of the few craft materials that is. It should never be eaten, though, because the salt content is high enough to be genuinely dangerous to a small child or a pet.
What paint works on salt dough?
Matt acrylic, once the shapes are completely cool and bone dry. Paint applied to warm dough traps moisture underneath, which is the usual reason decorations go soft behind an apparently sound painted surface.



