

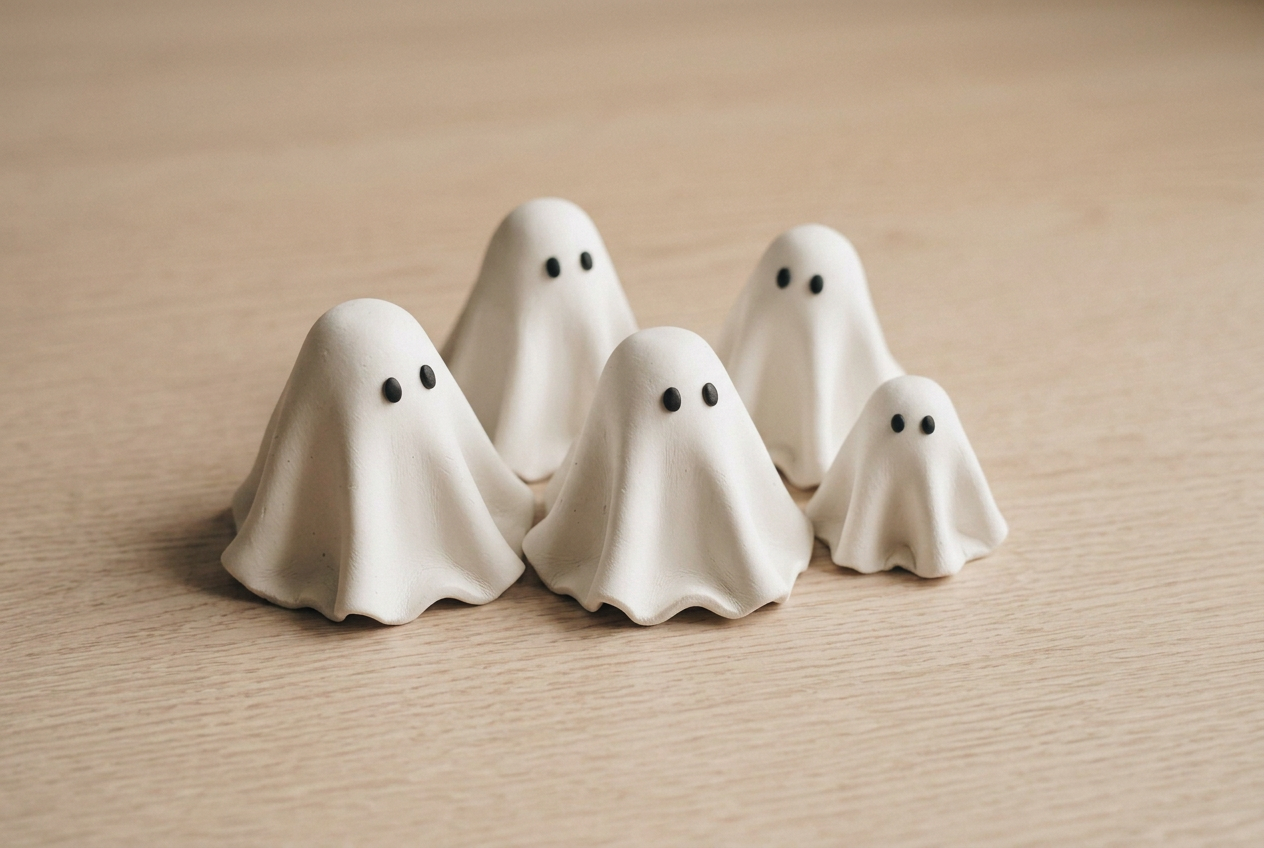
Polymer clay ghosts stand up when the base is wider than the head and the clay inside it is solid rather than hollow. Draping the hem over a foil cone gives the cloth its fall, and baking them upright on a tile keeps them from leaning as they cure.
Polymer clay ghosts are the easiest Halloween shape to make and the easiest to get subtly wrong. They come out of the oven leaning, and a leaning ghost reads as a mistake rather than as movement.
There are only two causes. The base is narrower than the head, or they were picked up while still warm.
The halloween hub has the rest of the decorations. This one takes an afternoon rather than a week, because polymer clay bakes instead of drying.
Materials
- One block of white polymer clay, 56g
- A pea-sized piece of black polymer clay for the eyes
- Kitchen foil
- Matt varnish, optional
Tools
- A white ceramic tile to work and bake on
- Small craft knife
- Wooden ball stylus, or the end of a paintbrush
- Soft make-up brush
- An oven thermometer
Fifty minutes including the bake, and one block of clay makes three.
How do you make polymer clay ghosts that stand up?
Build the drape over a foil cone, cut the hem in a wave so the widest points touch the surface, press the base out wider than the head, and bake them standing on the tile you built them on.
1Set out what you need
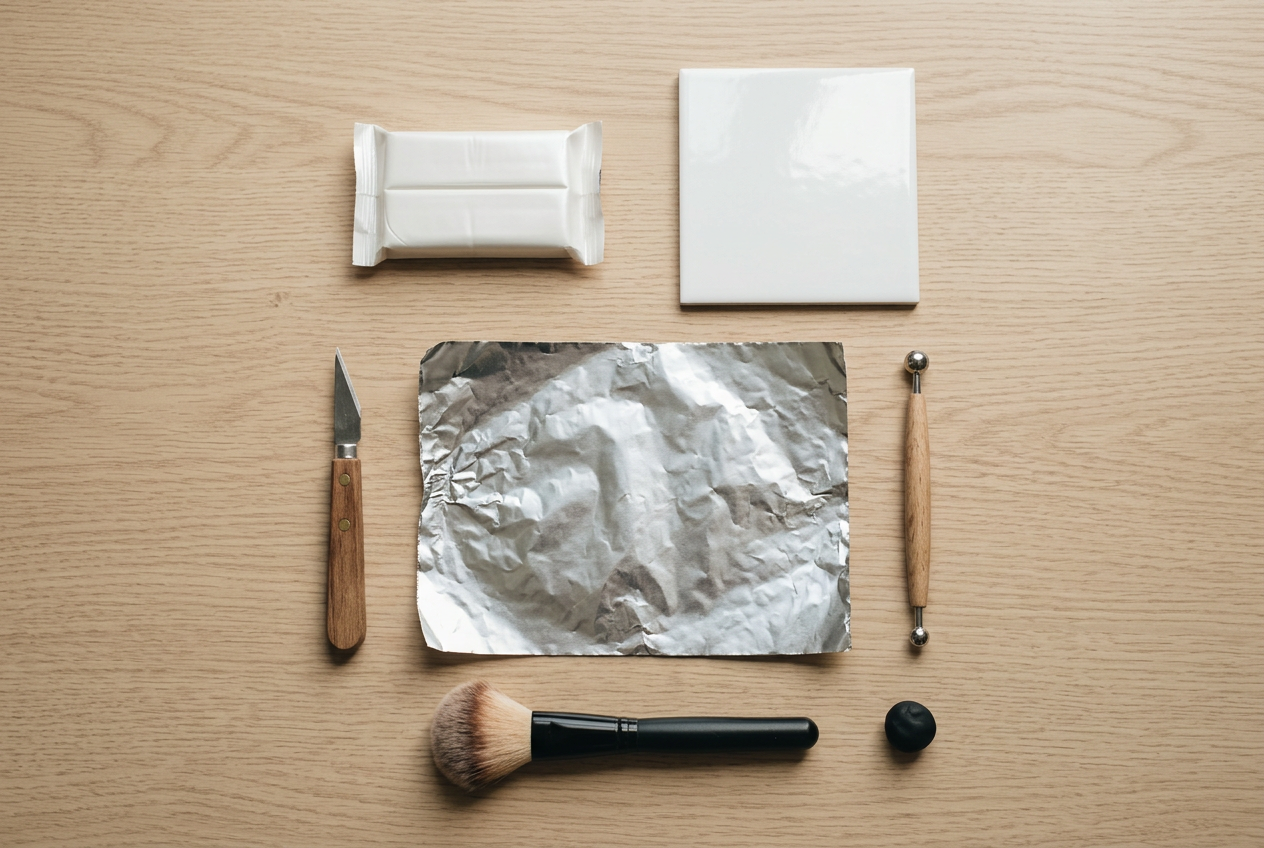
One block of white clay makes three figures at this size, which is the right number to make.
The tile matters more than it looks. It is the work surface and the baking tray at once, so the shape never has to be lifted between building and baking, and lifting is when they deform.
An oven thermometer is the other item worth having. Polymer clay that bakes ten degrees cool stays soft and bends; ten degrees hot and it browns.
2Build a foil cone for the drape

Crush a square of foil into a cone about 5cm tall, with a base wider than you think you need.
The foil does two jobs. It gives the clay something to fall over, which is where the folds come from, and it keeps the inside of the figure from being a cold solid lump that never reaches temperature.
Squash the bottom flat against the tile. A rounded foil base makes a rounded clay base, and that is the shape that topples.
3Roll and drape the sheet

Roll to 3mm and cut a rough circle about 11cm across. Rough is fine; none of that edge survives.
Lay it over the cone from directly above and let it fall. Folds that happen on their own look like cloth, and folds arranged one at a time look like they were arranged one at a time, which is exactly the tell to avoid.
Resist tidying. The first drape is almost always the best one.
4Cut the hem wavy, not straight
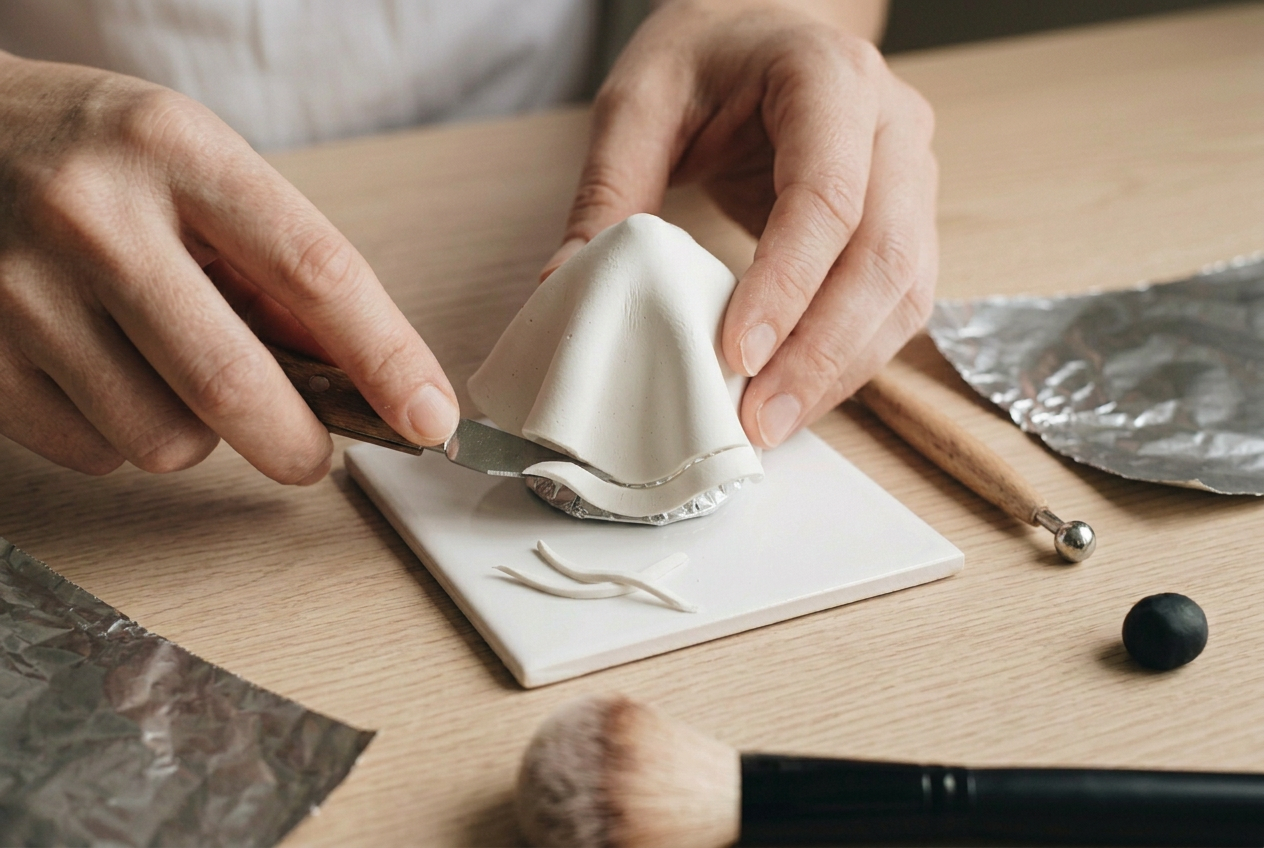
Trim the bottom edge in a shallow wave rather than a level line, leaving the widest points of the wave touching the tile.
This single cut is what separates a ghost from a cone. A straight hem is a geometric object; a wavy one implies cloth moving, and the eye fills in the rest.
Keep the waves uneven. Three shallow curves of different widths beat six identical scallops.
5Widen the base and set the eyes
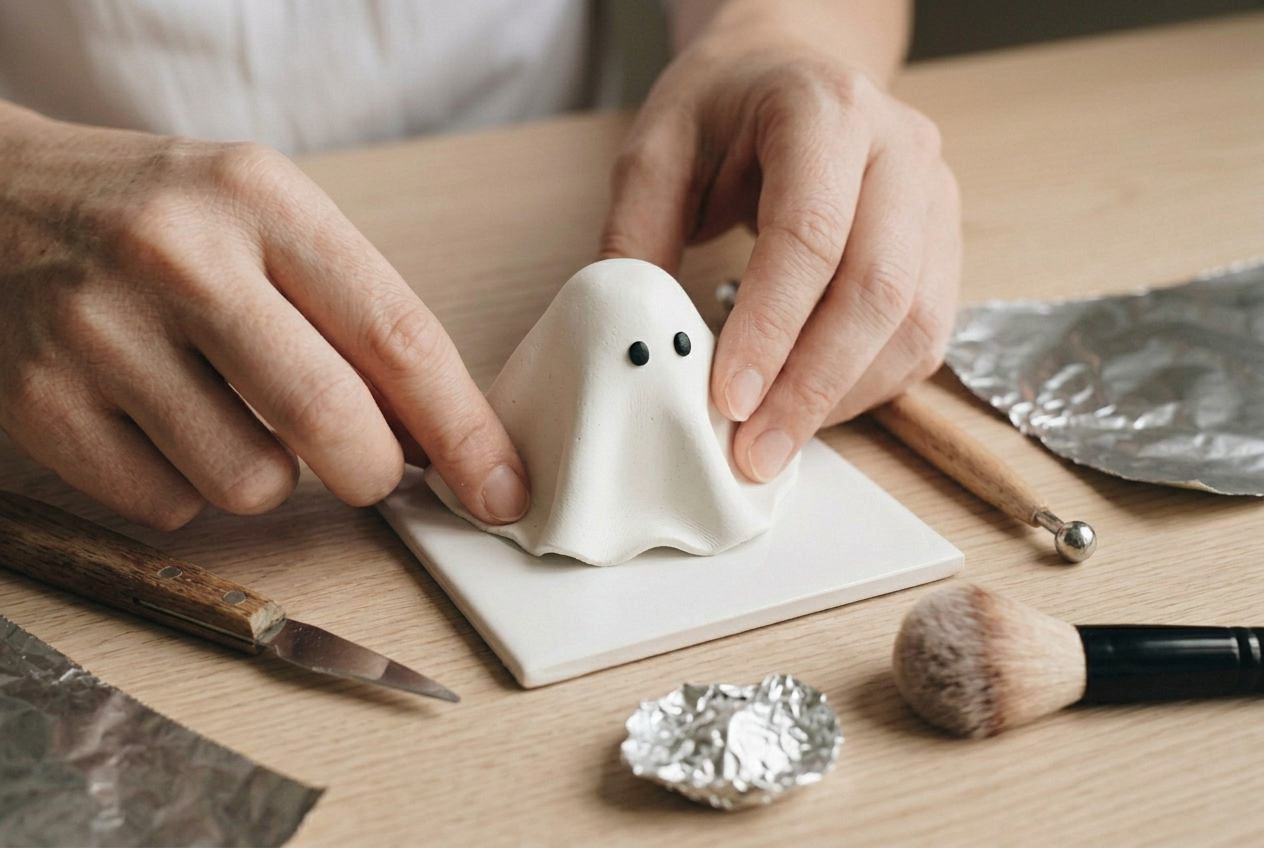
Press the hem outward all round until the footprint is visibly wider than the head. This is the whole argument of the article: a ghost falls over for one reason, which is a base narrower than the mass above it.
Then two tiny balls of black clay for the eyes, pressed in until they sit slightly below the white surface rather than on top of it. Eyes that sit proud catch the light and fall off.
Keep them small and set them wide. Large close-set eyes read as a snowman.
6Bake upright and cool on the tile
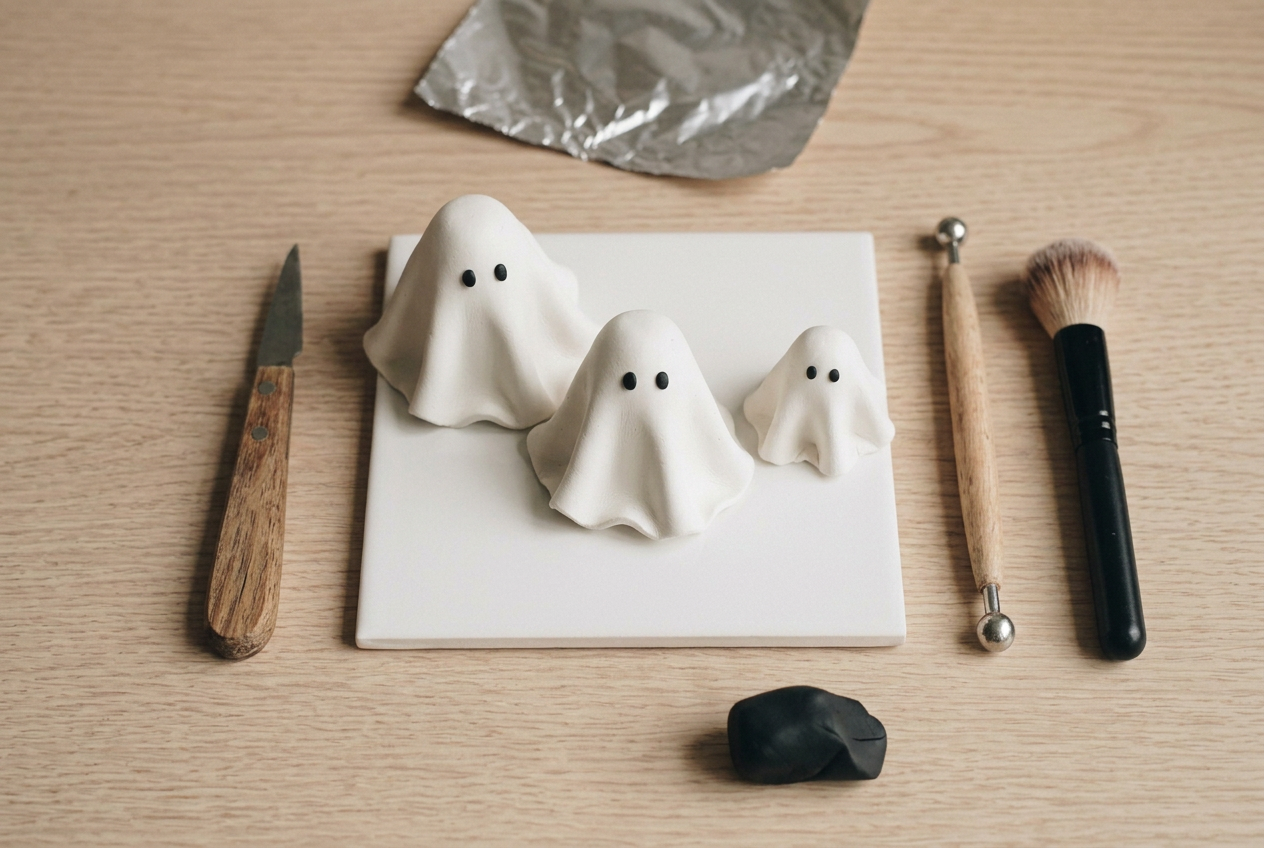
Bake on the tile at the temperature printed on the packet, checked with a thermometer rather than trusted to the dial, for thirty minutes.
Then leave them alone. Warm polymer clay is soft enough to sag under its own weight, and every lean comes from someone picking one up at twenty minutes to see how it went.
If the surface reads as plastic under indoor light, a matt varnish fixes it. Polymer clay glaze covers which ones stay matt, and how to bake polymer clay covers the temperature question properly.
If it goes wrong
| Problem | Likely cause | How to fix it |
|---|---|---|
| The ghost leans after baking | It was moved or laid down while still warm, or the base was narrower than the head | Cool them standing on the tile without touching them. A leaning ghost can sometimes be corrected by reheating for ten minutes and letting it cool against a straight edge. |
| The surface came out shiny and blotchy | Overworked clay, or fingerprints pressed into the drape and then baked in | Brush the surface with a soft make-up brush before baking and handle by the foil cone. A baked shine can be knocked back with fine sanding and a matt varnish. |
| The hem cracked away from the body | The clay was under-conditioned, so it was still crumbly when it was draped | Condition until the sheet folds without splitting at the crease. A cracked hem can be filled with liquid clay and rebaked. |
| The eyes sank in or fell out | They were pressed on after the surface had stiffened, so there was nothing to bond to | Press them in while the drape is fresh, and press until the black clay is slightly below the white surface rather than sitting on it. |
Can you make a whole group of ghosts at once?
Yes, and a group is the point. One ghost on a shelf is an ornament; five at different heights is a scene.
Make them 6cm, 7cm, 8cm, 9cm and 10cm rather than all one size, and vary the drape direction so they are not all facing the same way. Two looking slightly away from the group does more for the arrangement than any amount of detail on the faces.
Bake them all on the same tile with a finger’s width between them. Crowded figures touch as the clay relaxes in the first minutes and fuse at the hem.
The top 10 halloween clay ideas roundup shows what they look like alongside the pumpkins and the bats.
Frequently asked questions
Does the foil have to come out before baking?
No, and it should stay in. Foil is oven safe, it supports the drape while the clay softens in the first minutes of baking, and it stops a solid mass of clay from staying cold in the middle.
What size do polymer clay ghosts need to be?
Between 6cm and 10cm tall. Below 6cm the folds close up and it reads as a blob; above 10cm a 3mm drape is no longer stiff enough to hold its own shape while it bakes.
Can air dry clay be used instead?
It can, but the drape is much harder. Air dry clay stiffens as you work it, so the folds have to be right within a few minutes, and the thin hem is prone to cracking as it dries.
Do they need varnishing?
Only if you want them matt. Baked white polymer clay has a faint satin sheen that photographs well as it is, and a matt varnish is worth it only where that sheen reads as plastic under warm indoor light.



