An air dry clay mini vase starts as an 8cm ball, opened with a thumb and pinched out to an even 8mm wall before the neck is drawn in. It dries slowly for three days, gets three coats of sealer inside, and takes dried stems or a hidden glass insert.
An air dry clay mini vase is a pinch pot with its neck drawn in, and it takes about twenty minutes to shape. The catch is that it will never hold water, whatever the sealer tin claims.
Make it for dried stems, or drop a test tube or a small glass inside it and treat the clay as a cover. Built that way it lasts for years; filled with water it softens from the inside and the base gives out.
The air dry clay hub has the material basics, and the rest of the home decor pieces use the same pinch-and-smooth method.
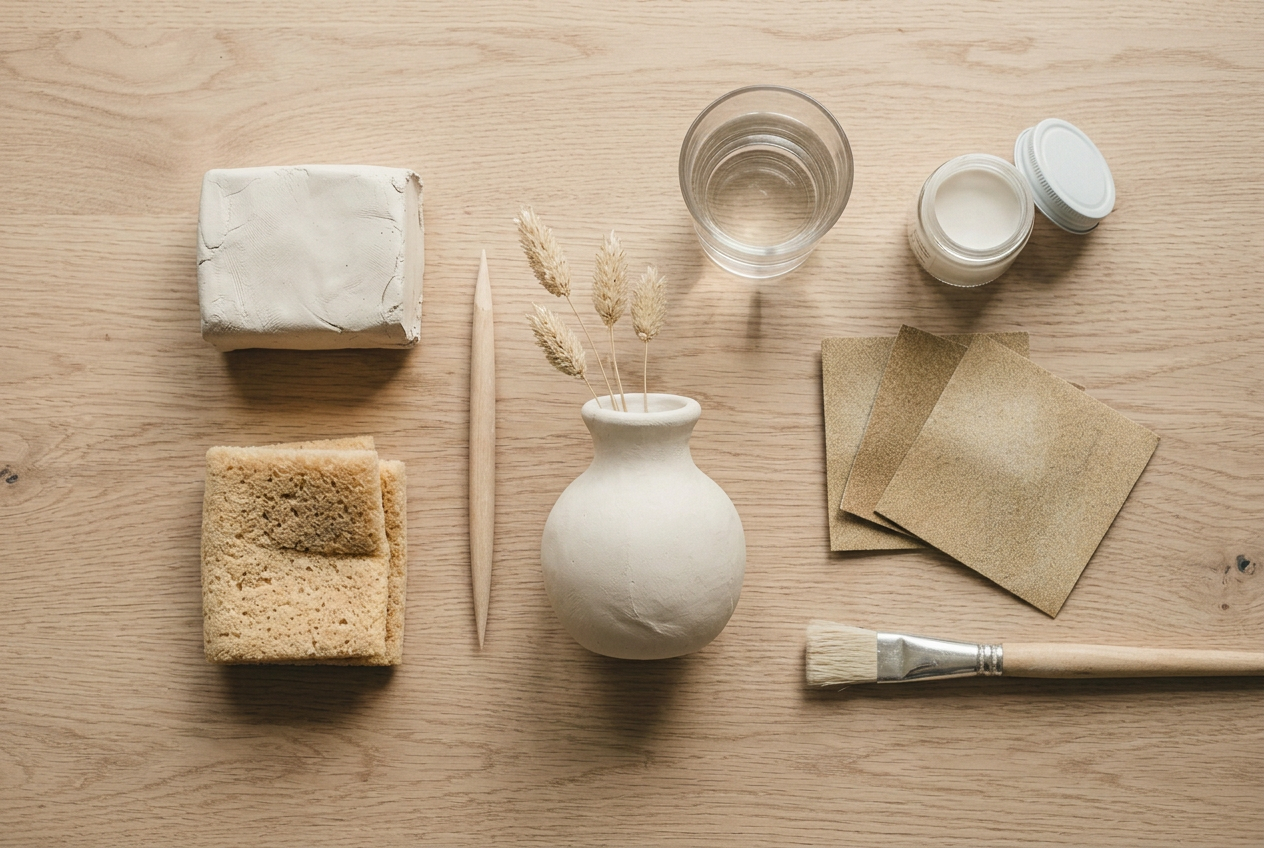
Materials
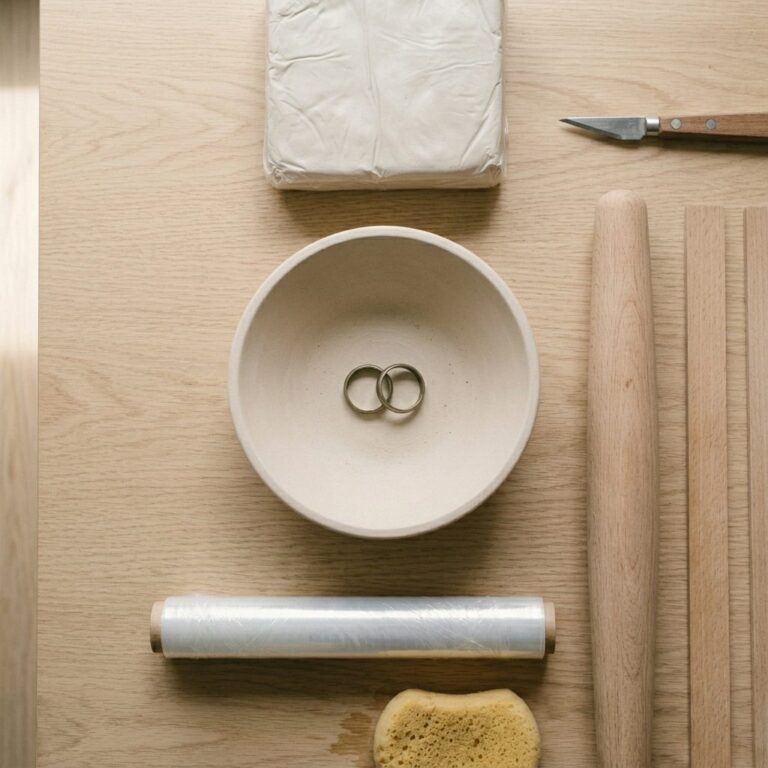
- Air dry clay, about 300g
- Matt acrylic sealer
- A test tube or narrow glass, optional
Tools
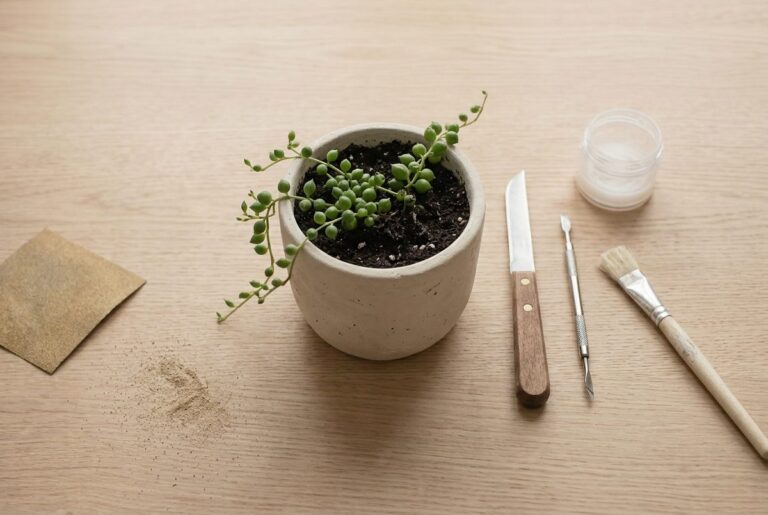
- Damp sponge
- Pointed wooden modelling tool
- Fine sandpaper
- Soft flat brush
- A small glass of water
- Wire cooling rack
Twenty-five minutes of shaping, then three days of slow drying before it can be sealed.
How do you make an air dry clay mini vase?
Roll a ball, press a thumb into the centre, pinch the walls out to an even 8mm, draw the neck in with your fingertips, smooth it with a damp sponge, then dry it slowly for three days and seal the inside.
1Set out what you need
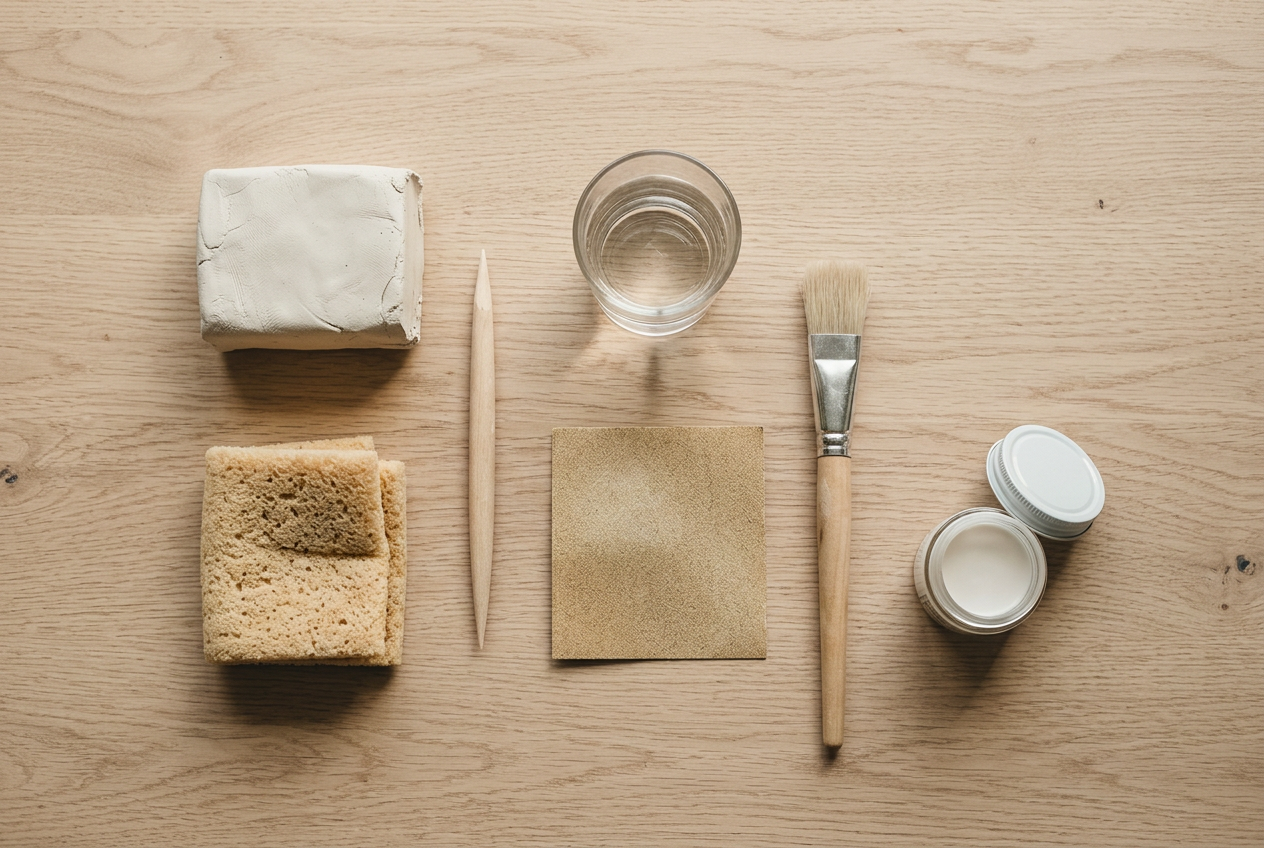
There is almost nothing to buy. The sponge does most of the finishing, and a pointed wooden tool is only there for tidying the inside of the neck where fingers no longer fit.
Keep the glass of water on the table but use it sparingly. Wet clay is the main cause of a collapsed wall, and a barely damp sponge holds all the water this project needs.
2Shape a smooth ball
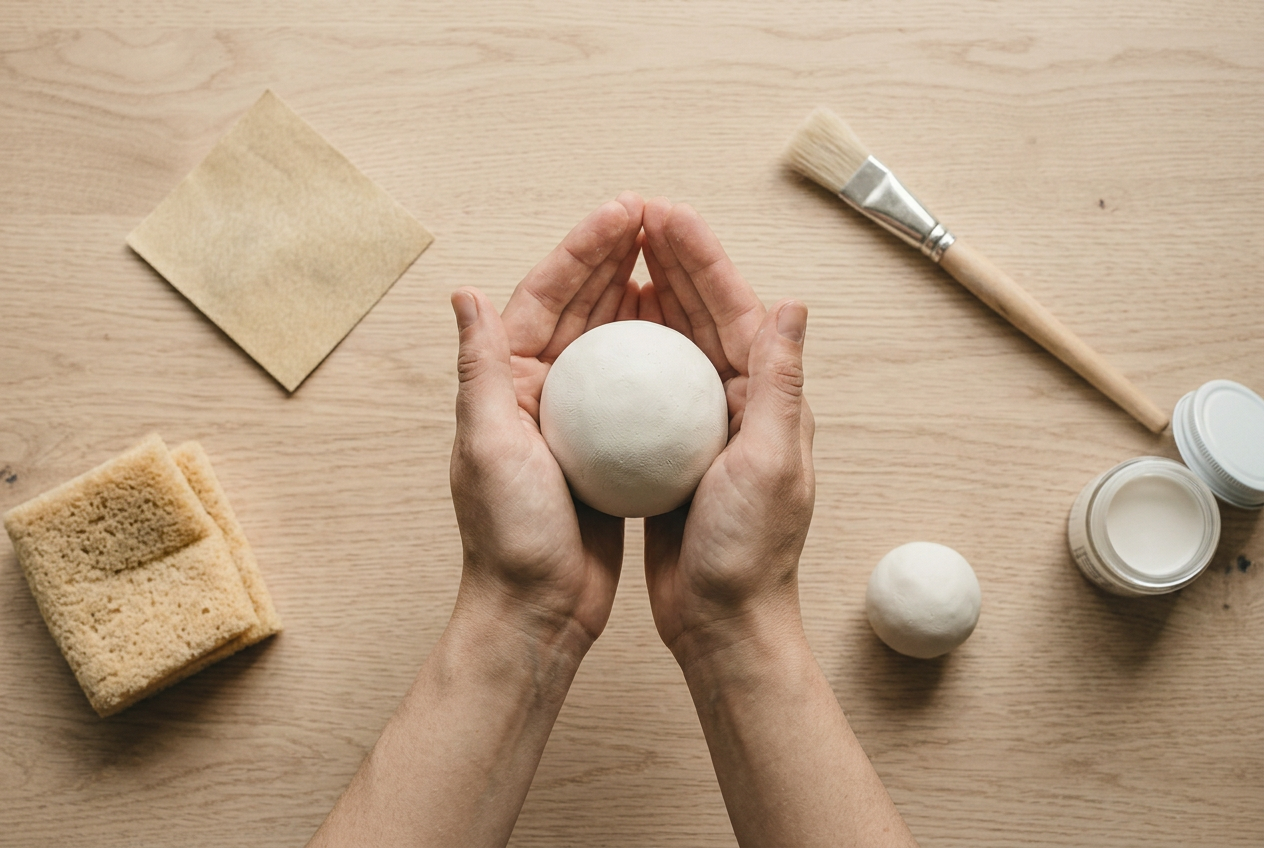
Knead a lump for two or three minutes, then roll it into a ball about 8cm across. That gives a finished vase of roughly 9cm tall once the walls are opened out.
Look for cracks in the surface as you roll. A crack at this stage means the clay is drying already, and every pinch from here will open it further. Work a few drops of water in and knead again rather than pressing on.
A smooth ball matters more than it sounds. Any fold left in it becomes a seam in the wall, and seams are where a pinch pot splits as it dries.
3Open it into a pinch pot
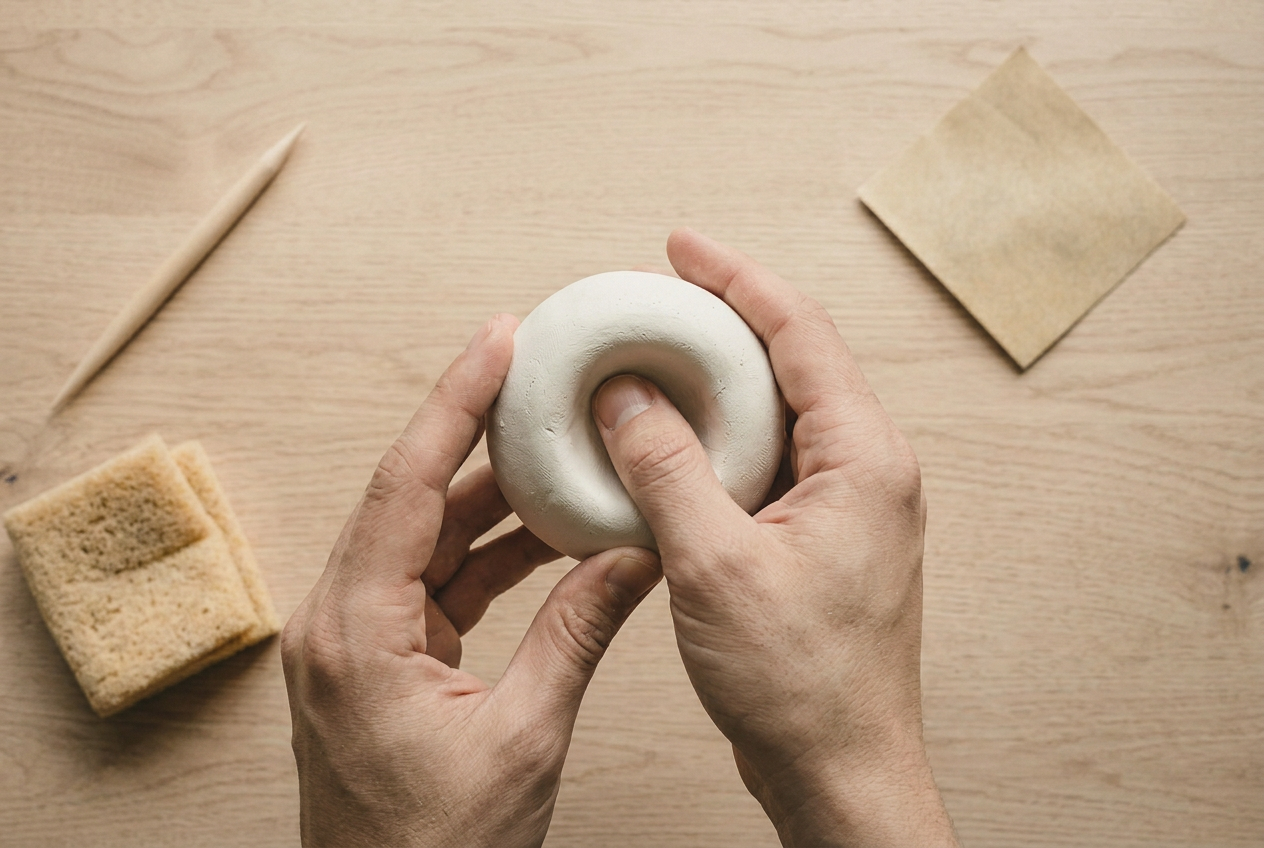
Press a thumb into the middle, straight down, stopping about a centimetre from the bottom. Then pinch: thumb inside, fingers outside, rotating the ball a little after each pinch.
Work from the base upwards in rings. Pinching randomly gives a wall that is thin in some places and thick in others, and the thin parts dry first and crack.
Aim for an even 8mm wall. Thinner is elegant and fragile; much thicker and the vase takes a week to dry through and cracks at the base while it does.
4Draw the neck in
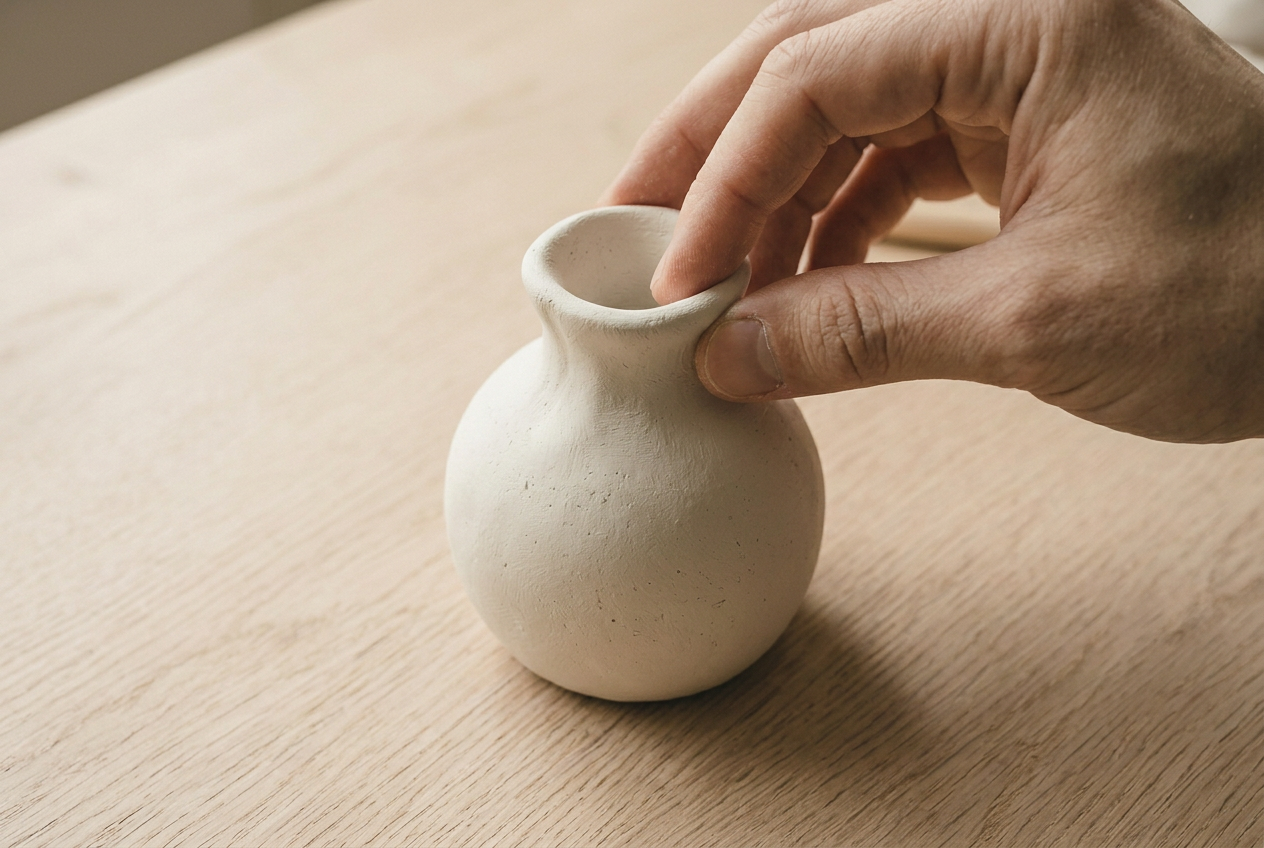
Squeeze gently around the top rim with the fingertips of both hands, turning the vase as you go, until the opening narrows to two or three centimetres.
The neck is what makes it a vase rather than a pot. It also does real work: a narrow neck holds a few stems upright instead of letting them splay flat against the rim.
Go around several times taking a little each pass. Trying to close the neck in one go buckles the wall, and a buckle in a curved wall cannot be pushed back out.
5Smooth it inside and out
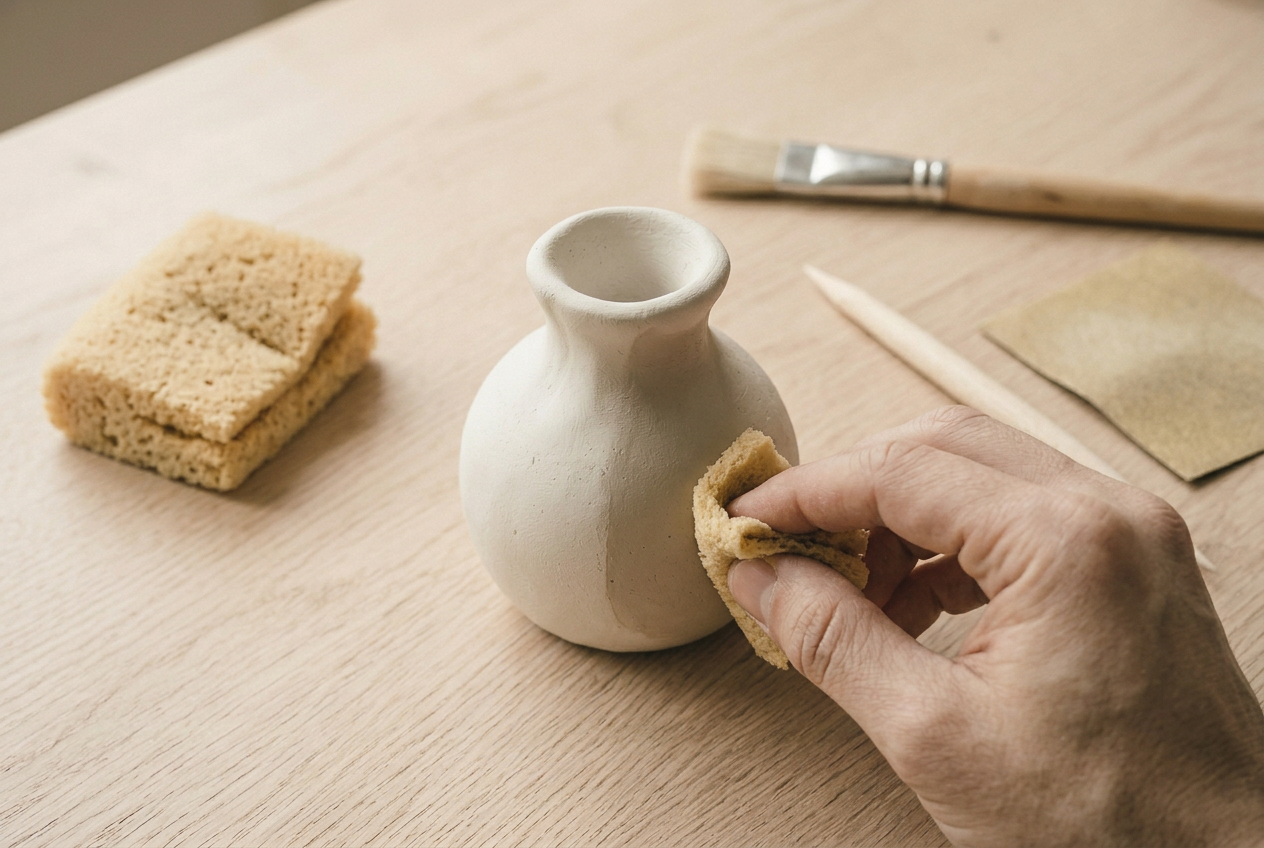
Work a barely damp sponge over every surface, then reach into the neck with a pointed tool and tidy what the sponge cannot get to.
Do this now rather than sanding later. Smoothing soft clay takes two minutes; sanding hard clay takes twenty and puts real stress on a thin curved wall.
Pay attention to the rim. It is the part every eye goes to first, and an uneven rim on an otherwise good vase is the only thing anyone will see.
6Dry it slowly, then seal the inside
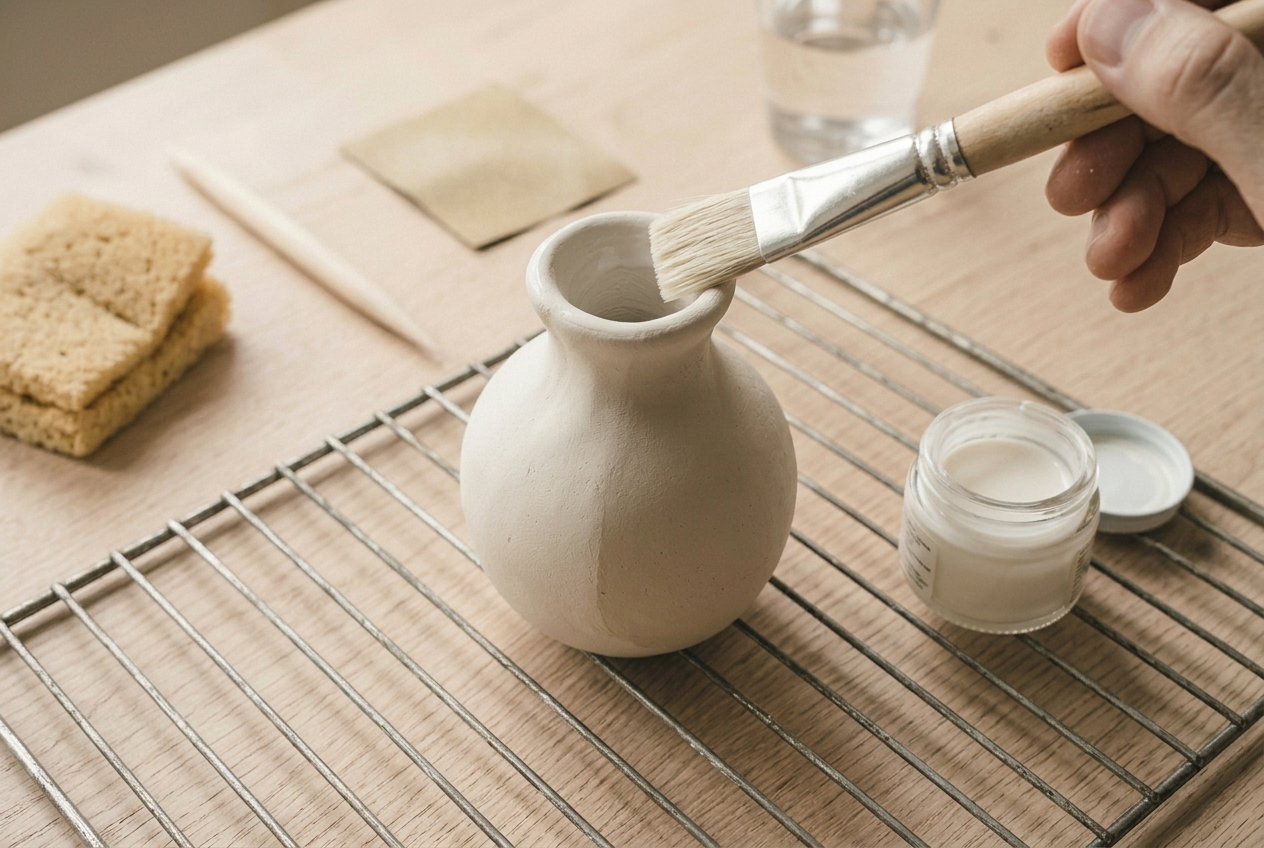
Cover the vase loosely with a cloth for the first day so the thin rim does not race ahead of the thick base, then leave it on a wire rack for two more days, turning it daily. No radiators.
Then seal: three thin coats inside, working right down into the base, and two outside. The inside matters more than the outside, because that is the face that meets whatever you put in it. The finishing guides cover which sealers behave on a porous surface.
Even sealed, keep water out of it. A test tube or a narrow glass dropped inside gives you a vase that takes fresh stems with no risk at all, and nobody can see it once the flowers are in.
If it goes wrong
| Problem | Likely cause | How to fix it |
|---|---|---|
| A crack opened where the wall meets the base | The wall was thinner than the base, so it shrank first and pulled against a section that was still full size | Fill it with a thick clay slip paste, dry it and sand flat. Next time pinch in rings from the base upward and check thickness by feel as you go. |
| The neck buckled while being narrowed | Too much was taken in one pass, so the wall folded rather than compressed | Go round several times taking a little each pass. A buckle in a curved wall cannot be pushed back out once it has formed. |
| The vase went soft after being filled with water | Air dry clay is not fired, so it reabsorbs water no matter how well it is sealed | Dry it out slowly over a week and re-seal, then use a test tube or narrow glass inside it. Treat the clay as a cover rather than a container. |
| The surface is covered in fine cracks | Water was worked into the outside while shaping, swelling the surface against a drier core underneath | Sand them back and fill with slip if they are shallow. Use a barely damp sponge rather than wet fingers next time. |
Can you put water in an air dry clay vase?
No, and this is the single most important thing to know about the material.
Air dry clay is not fired. It hardens by losing water, and it will take that water straight back if you give it any: a vase filled from the tap softens over a few days, goes chalky where the water line sits, and eventually fails at the base where the wall is thickest and slowest to dry out again.
Sealer slows this down without stopping it. Three coats of matt acrylic will survive a splash and a wipe, but not a week of standing water pressing against the film from the inside.
The workaround is simple and invisible. Slide a test tube, a narrow jar or a small glass inside and let the clay be the outside. Dried and preserved stems need nothing at all.
Why did my pinch pot crack while drying?
Uneven wall thickness, nearly every time.
A wall that is 5mm in one place and 12mm in another dries at two speeds. The thin part shrinks first and pulls against the thick part, which is still full size, and the stress goes into whichever section is weakest, usually where the wall meets the base.
The other regular cause is speed. A radiator or a sunny windowsill dries the outside long before the middle, and the same tension appears from a different direction.
Both are prevented at the shaping stage. Pinch in rings from the base upward, check the thickness by feel as you go, and dry the finished piece slowly under a cloth for the first day. The troubleshooting hub has more on what cracks and why.
Frequently asked questions
Can an air dry clay vase hold water?
No. Sealing makes it splash resistant, not waterproof, and standing water will soften the clay from the inside within days. Use dried stems, or hide a test tube or narrow glass inside it.
How thick should the walls of a clay vase be?
About 8mm, and as even as you can manage. Thinner walls crack as they dry; much thicker ones stay damp in the middle for a week and split at the base.
How long does an air dry clay vase take to dry?
Three days for a piece this size, covered loosely for the first day and turned daily after that. Forced heat dries the outside first and cracks the wall.
Do you have to seal an air dry clay vase?
Yes, inside and out. Unsealed clay is porous enough to pick up moisture from the air, and the inside is the face that meets whatever you put in it.