Junk journal binding is one stitch repeated, and it holds better than any glued spine. Fold the sheets into signatures, mark three holes down the fold, pierce them from the inside, and sew a pamphlet stitch that starts and finishes at the middle hole.
A junk journal is mostly a collection of interesting paper, and the thing that turns a collection into a book is one stitch repeated three times.
Glue is the obvious alternative and it is the wrong one. A glued spine cracks, usually within a year, and it cracks in a way that cannot be repaired without taking the whole thing apart.
The junk journaling hub covers what goes inside once there is something to put it in.
Materials
- Assorted blank and tea-stained paper
- A heavier sheet for the cover
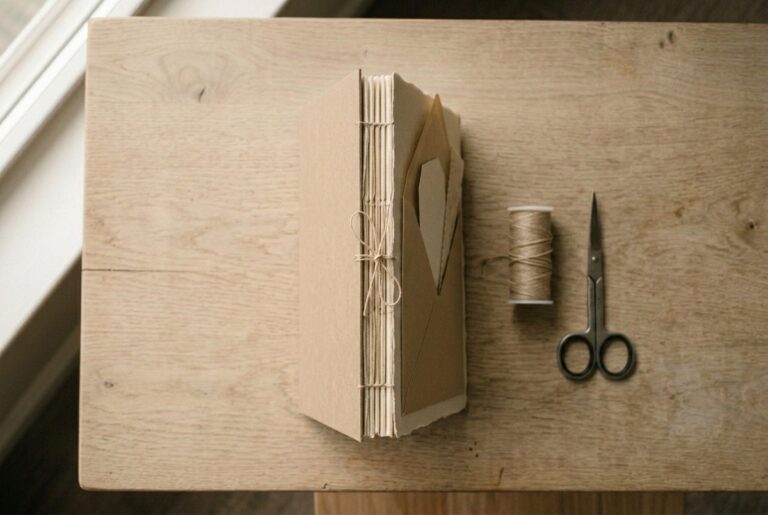
- Waxed linen thread
Tools
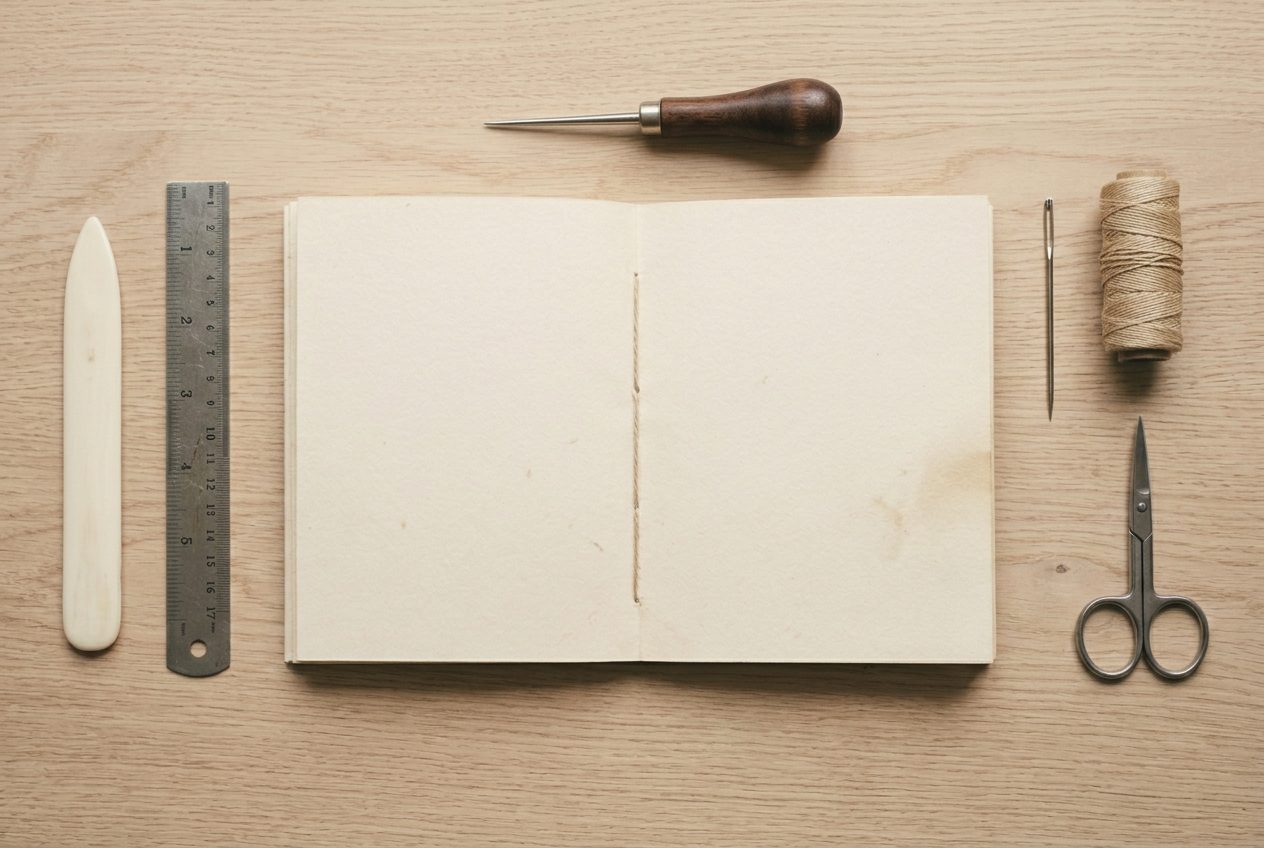
- Bone folder
- Metal ruler
- Sharp awl
- Large eye needle
- Small sharp scissors
Forty minutes for a first attempt, and about fifteen once the order of the stitches is familiar.
What is the easiest junk journal binding for a beginner?
The three hole pamphlet stitch. Fold four to six sheets into a signature, mark three holes down the fold, pierce them from the inside, then sew out and back so the thread starts and finishes at the middle hole.
1Set out what you need
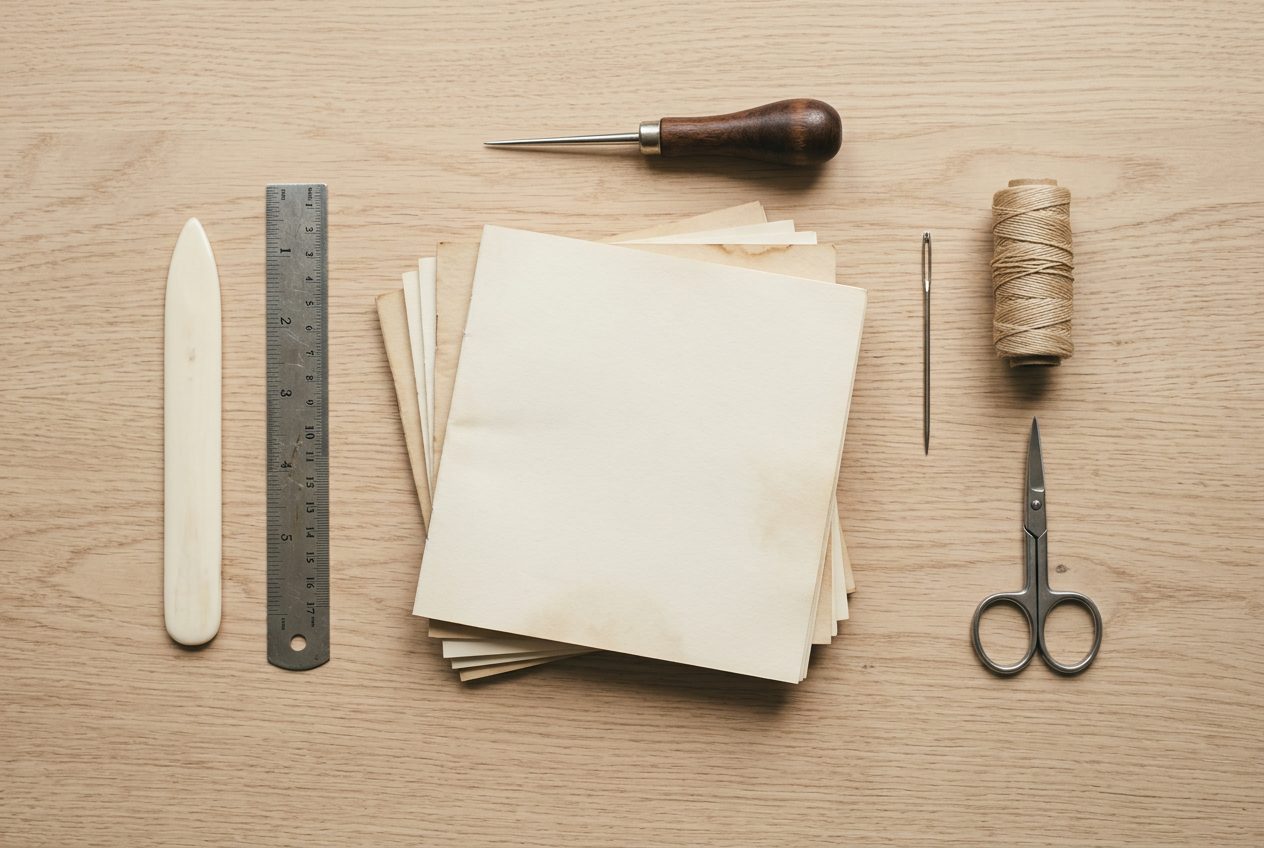
Waxed linen thread is the one item genuinely worth buying. The wax grips the paper, stops the strands separating, and holds tension after the knot.
A bone folder gives a crease that stays closed. A fingernail gives one that springs open every time.
An awl beats a needle for piercing. A needle wanders as it goes through a stack and the holes come out misaligned.
2Fold the sheets into signatures
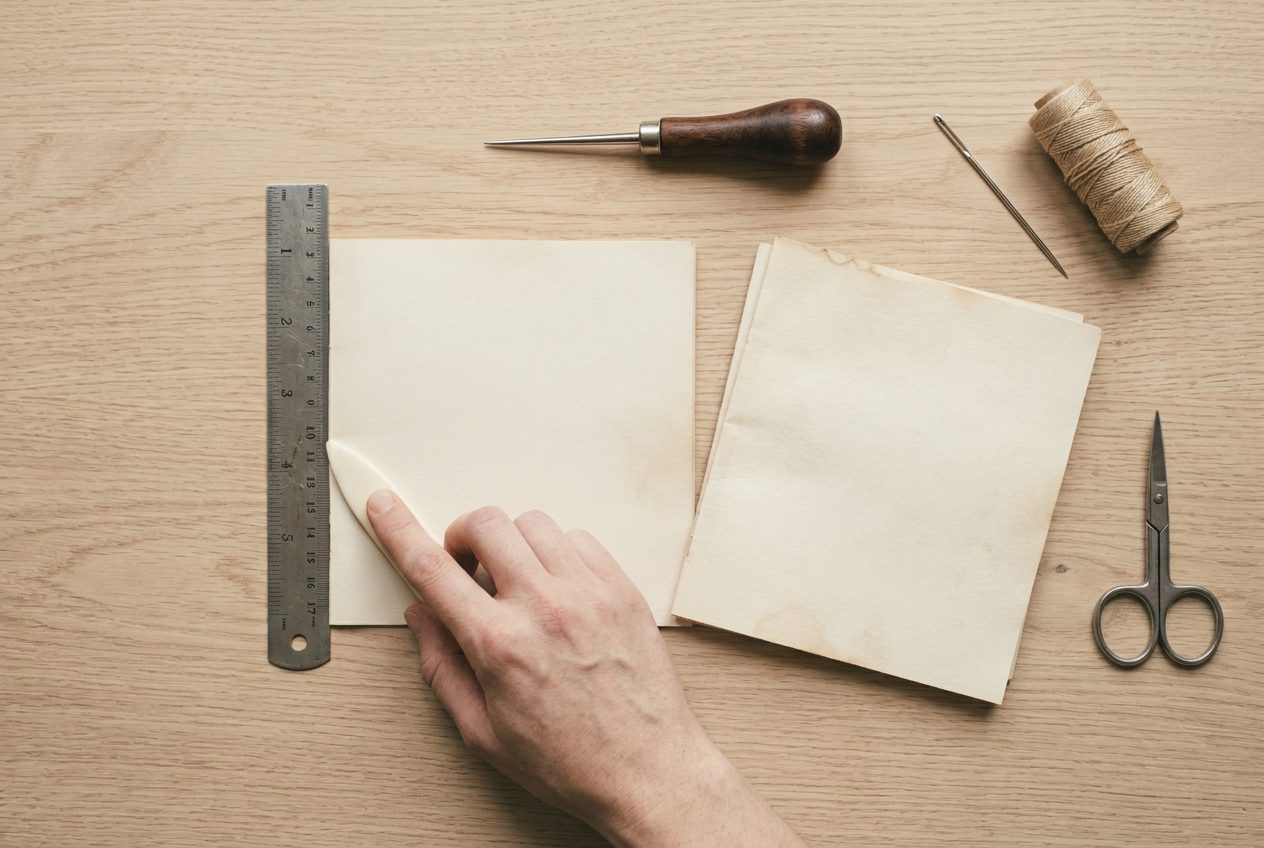
Four to six sheets folded together is one signature. That gives eight to twelve leaves, which is the right weight for a single row of stitching.
Any more and the outer sheet has further to travel around the fold than the inner one, so the spine bulges and the fore-edge steps outwards.
Run the folder along the crease with real pressure. A soft fold makes every later step harder.
3Mark three holes down the fold
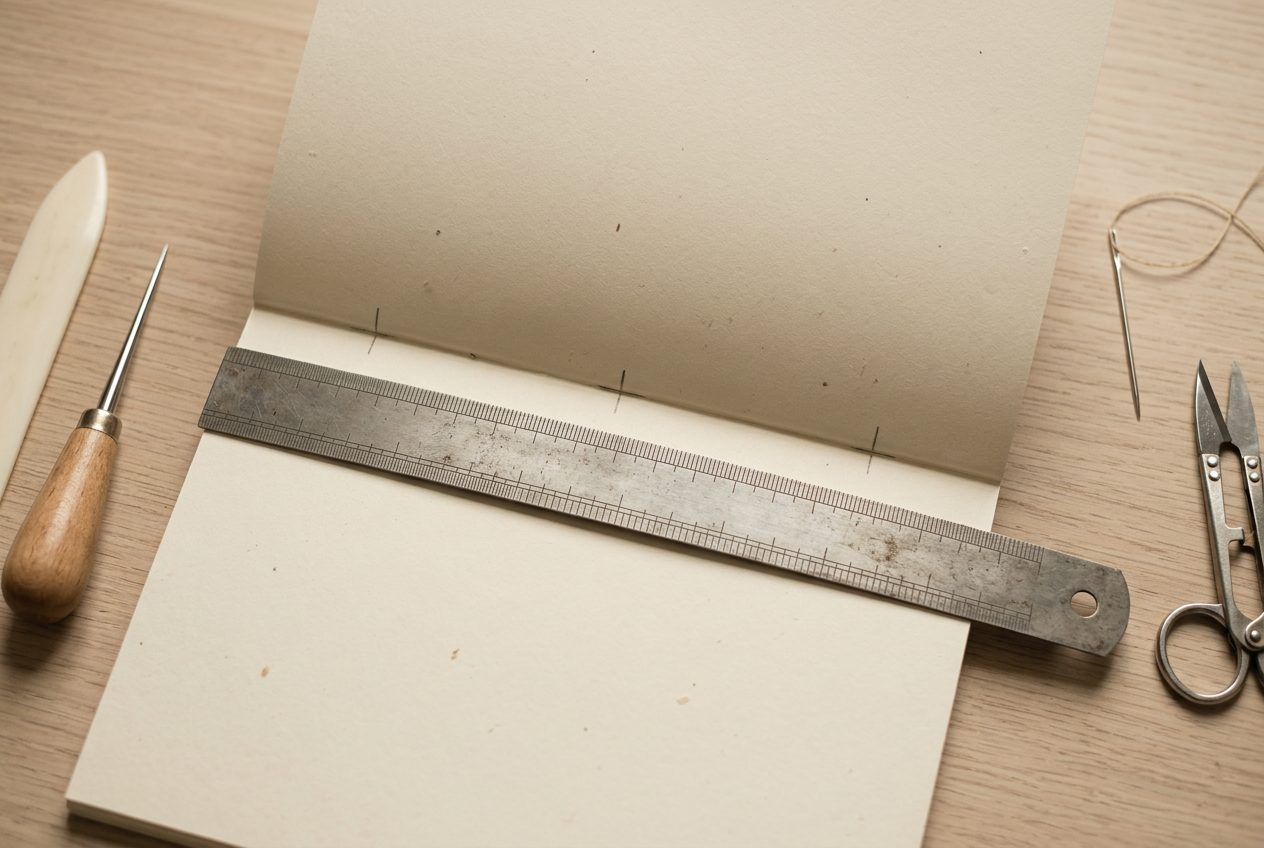
One at the centre and one about three centimetres from each end. That spacing suits anything from a small journal to an A4 one.
Mark on the inside of the fold. Marks on the outside stay visible on the finished spine.
Three centimetres is not arbitrary. Any closer to the ends and the paper between the hole and the edge tears out under tension.
4Pierce the holes from the inside
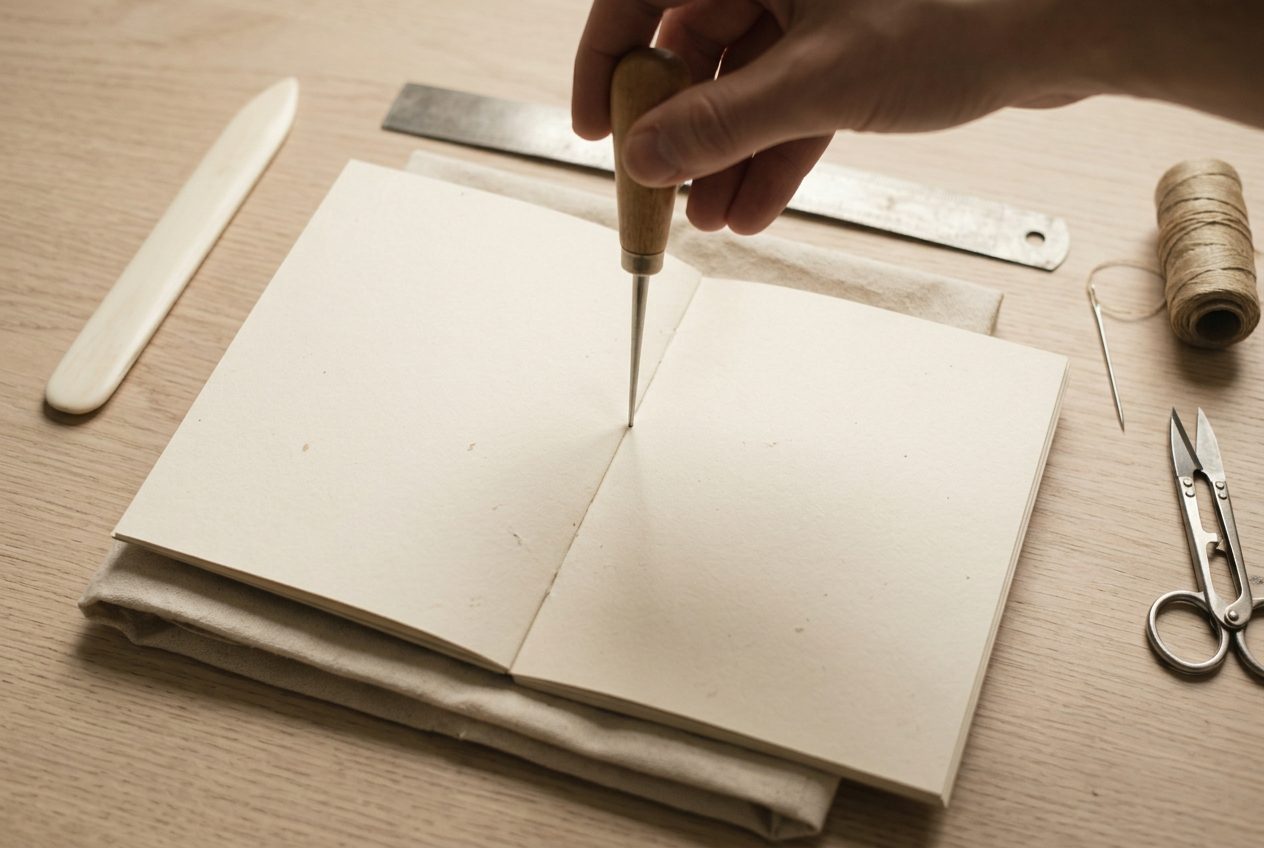
Inside to outside, every time. Piercing from the outside pushes a ragged burr of paper into the spine where it shows.
Work over a folded cloth or a cutting mat. A hard desk blunts the awl and a soft cloth lets the point through cleanly.
Straight through, square to the fold. An angled hole pulls the stitch sideways and the spine sits crooked.
5Sew the pamphlet stitch
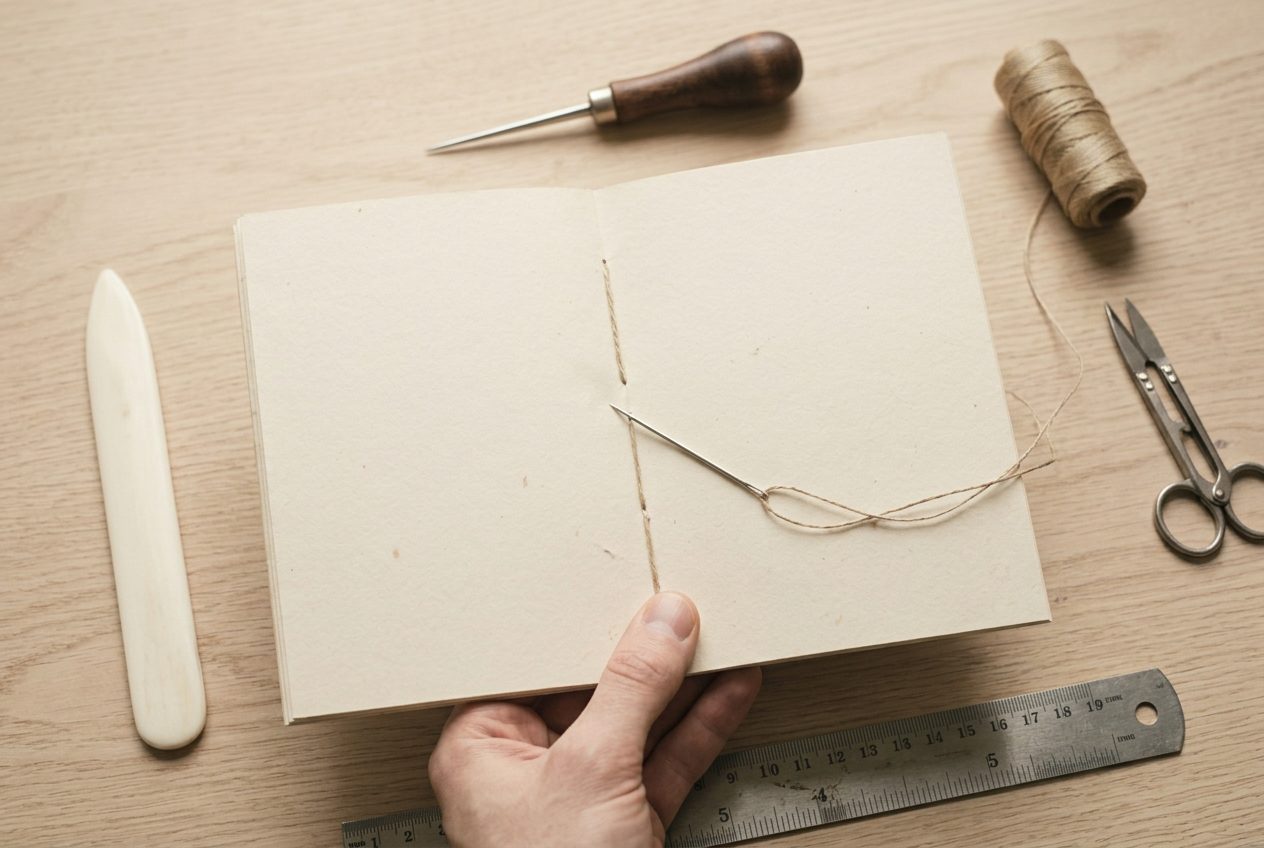
In at the centre from the inside, out at one end hole, along the outside to the far end hole, in, then along the inside back out at the centre.
Both loose ends finish on the inside, on opposite sides of the long central stitch. That is what the knot ties around.
Snug each stitch as you pass it rather than pulling everything tight at the end. Late tightening drags the paper and tears holes.
6Tie off inside and trim the edges
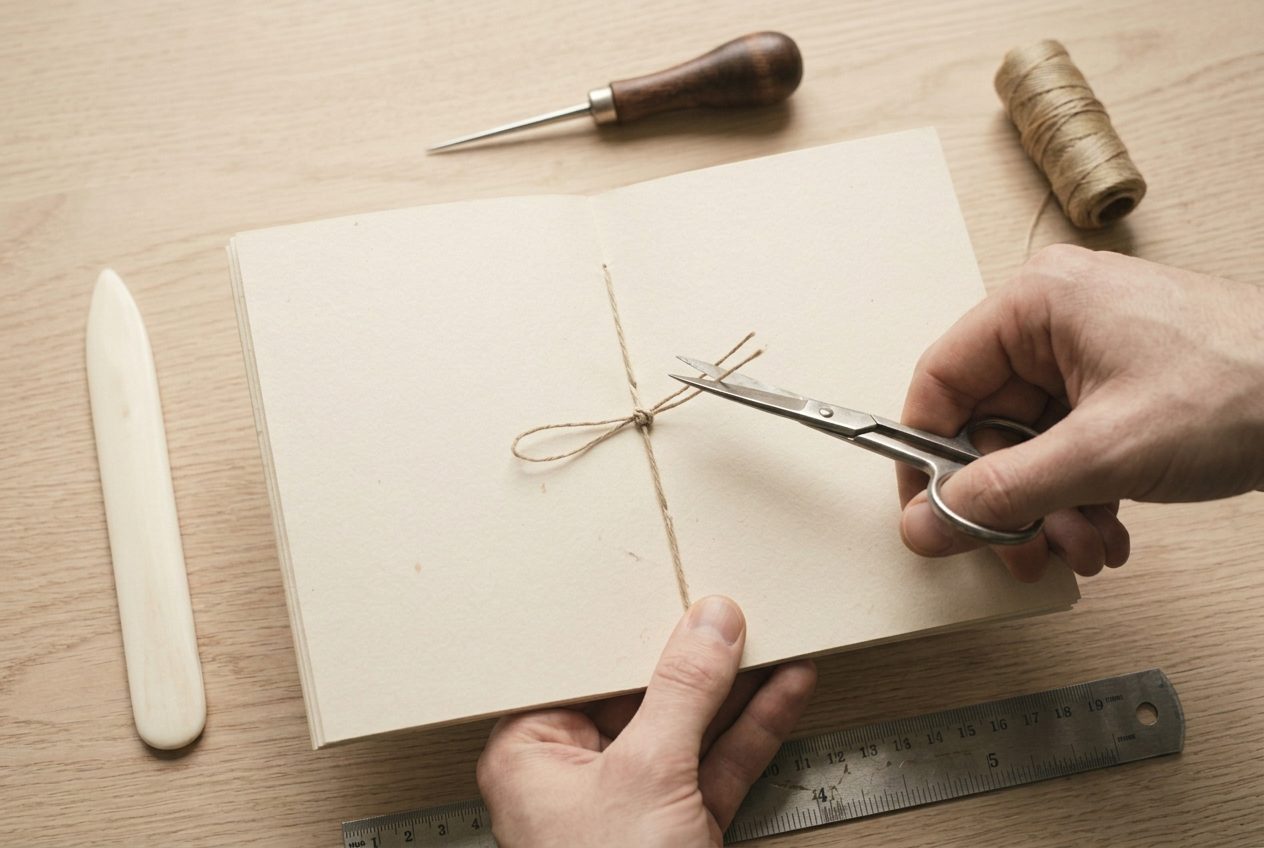
A square knot, tied over the long central stitch so it cannot slide along the spine.
Trim the ends to about a centimetre. Cutting them flush lets the knot work itself loose over time.
Then trim the fore-edge level with a ruler and a sharp blade if the sheets have stepped outwards. The junk journaling hub covers adding pockets and tuck spots once the spine exists.
If it goes wrong
| Problem | Likely cause | How to fix it |
|---|---|---|
| The holes tear out through the fold | The holes were pierced too close to the head and tail, or the paper is thin and unsupported | Keep at least three centimetres from each end, and add a strip of paper inside the fold as a reinforcement. |
| The stitching is loose and the pages sag | The thread was pulled tight in the wrong order, so slack collected at the centre | Sew centre to end to end to centre, snugging each stitch as you pass it, and tie the knot across the long stitch. |
| The spine bulges and will not sit flat | Too many sheets in one signature, so the outer folds have further to travel than the inner ones | Split it into two signatures of four sheets each and bind them separately, or trim the fore-edge level after sewing. |
| The needle splits the thread on the way back | The return pass went through the same hole and caught the first stitch | Enter each hole on the opposite side of the existing thread, and use waxed thread so the strands hold together. |
How many sheets should go in one signature?
Four to six, and the reason is geometry rather than preference.
When a stack of paper is folded, every sheet has to bend around the ones inside it. The innermost sheet travels the shortest distance and the outermost travels the longest, so the outer sheets creep forwards at the fore-edge. With four sheets the step is barely visible. With twelve it is a centimetre and the journal will not close flat.
The spine suffers as well. A thick signature forces the fold open, which puts all the tension on three holes that were never meant to carry it, and the holes tear.
The answer for a fat journal is not a fatter signature but more of them. Three signatures of five sheets each, sewn separately and then joined, gives a journal that lies flat and opens properly.
Joining them is a separate technique and worth learning second, not first. The junk journaling hub covers multi-signature bindings once the pamphlet stitch is comfortable.
Do you need special tools to bind a junk journal?
Two, and both are cheap.
The awl is the first. Anything sharp and rigid will pierce paper, but a proper awl makes a round hole rather than a slit, and a round hole does not lengthen into a tear as the thread pulls on it. A large darning needle pushed into a cork makes a serviceable substitute.
The second is waxed linen thread. Ordinary sewing cotton works for exactly one journal and then frays through at the fold, because it has no wax to protect it where it crosses the paper edge. Waxed thread also grips itself, which is the difference between a knot that holds and a knot that quietly loosens.
Everything else can be improvised. A bone folder can be the back of a spoon. A large eye needle can be a blunt embroidery needle. A ruler is a ruler.
What cannot be improvised is care with the hole spacing, and that costs nothing at all. The tools hub covers which craft tools are worth real money and which are not.
Frequently asked questions
What is a signature in bookbinding?
A small stack of sheets folded together as one unit. Four to six sheets is the usual limit before the spine starts to bulge.
How many holes does a pamphlet stitch need?
Three for most journals: one at the centre of the fold and one about three centimetres in from each end.
What thread should you use for junk journal binding?
Waxed linen thread. The wax grips the paper, stops the strands splitting, and holds the tension after the knot is tied.
Do you need glue to bind a junk journal?
No. A pamphlet stitch holds a signature indefinitely on its own, and glued spines crack long before sewn ones do.