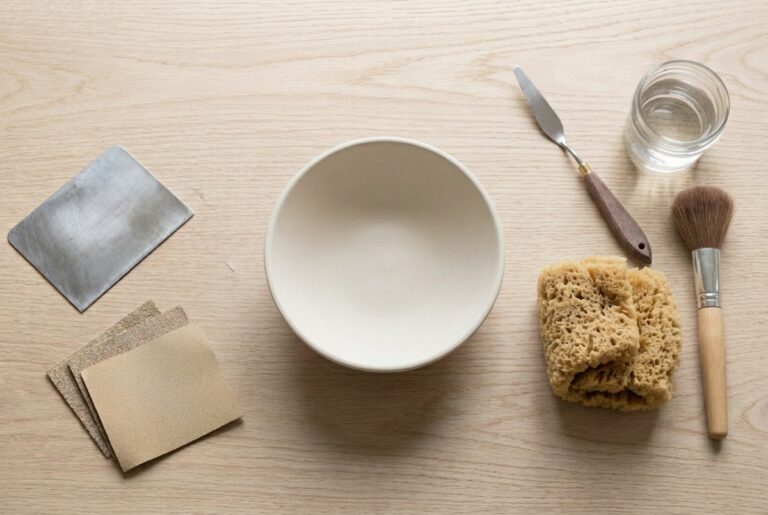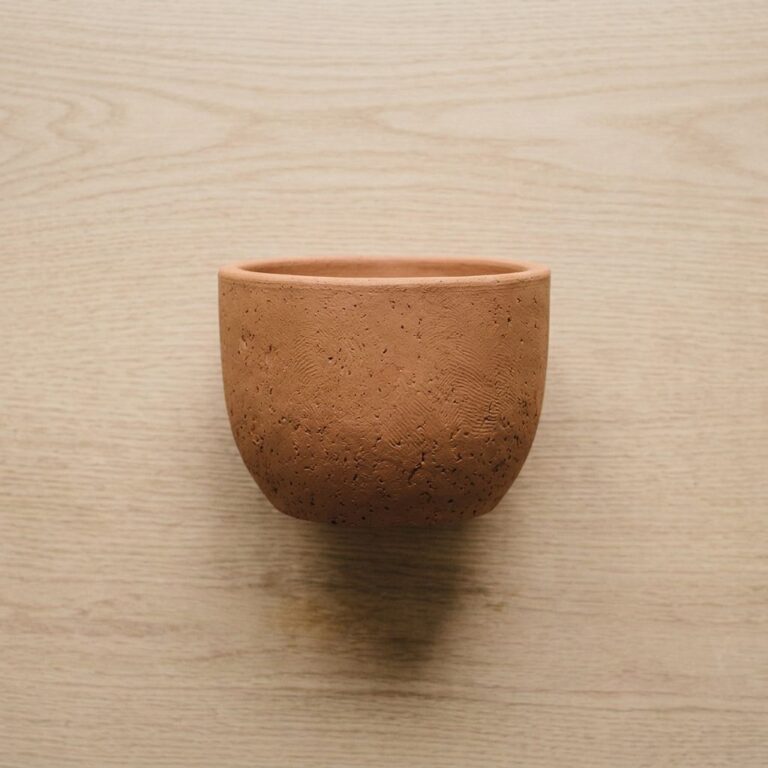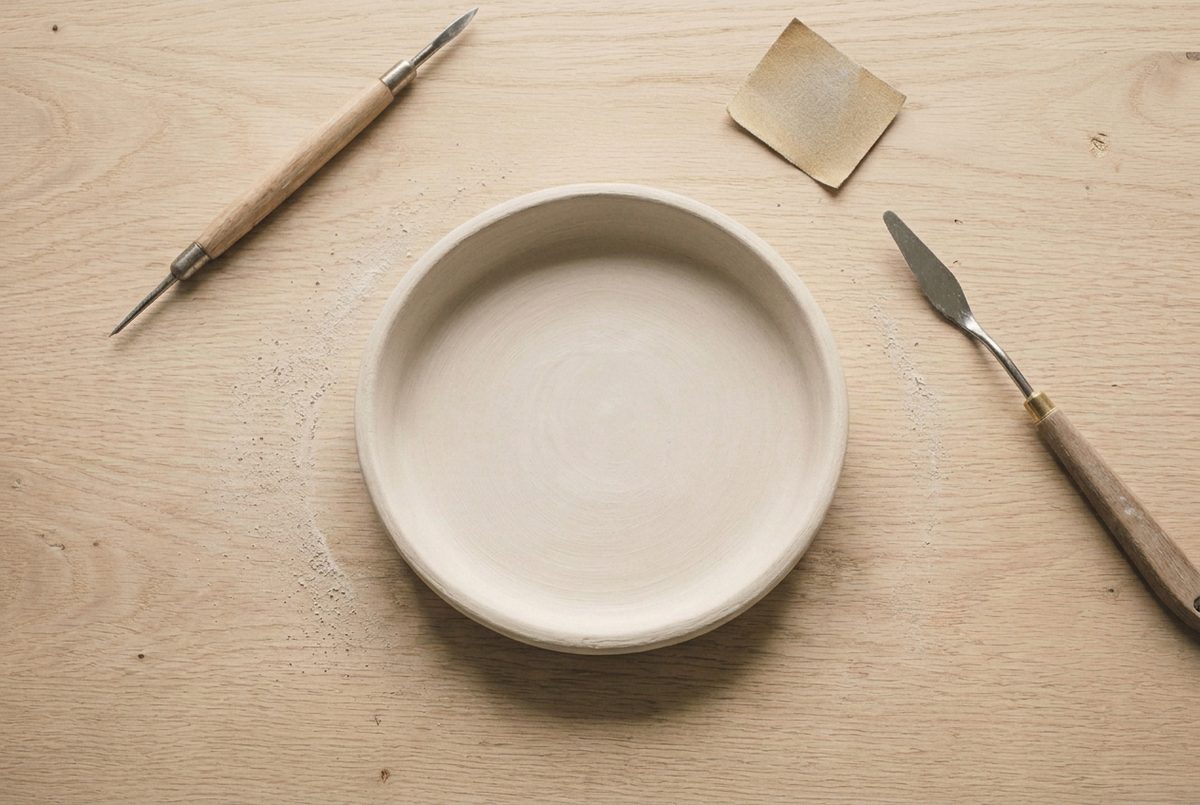
Air dry clay cracking is caused by uneven thickness or drying too fast, both of which make one part shrink while another is still wet. Hairline cracks can be filled with a paste of clay and water, dried, then sanded flat. Cracks through a wall cannot.
A crack is not really a drying fault. It is a shrinkage fault that only shows up during drying.
Air dry clay loses roughly five per cent of its size as the water leaves it. If every part of a piece loses that water at the same rate, it shrinks evenly and nothing happens. If one part is thicker, or one face is exposed and the other is not, that part is still full-size while its neighbour has already pulled in. Something has to give, and clay gives by splitting.
Once you see it that way the fixes are obvious, and most of them happen before the piece is ever set down to dry. The air dry clay hub covers the material more generally.
Materials
- A scrap of the same air dry clay
- A little water
- Matt acrylic sealer
- Acrylic paint (optional)
Tools
- Pointed modelling tool, or a compass point
- Narrow palette knife
- Sandpaper in medium and fine grits
- Soft brush, for dust and for sealing
- A small glass of water
The repair below takes about twenty minutes of work spread over two days, because each fill has to dry before the next.
What causes air dry clay cracking?
Uneven thickness and forced drying, almost always. Both create a situation where one part of the piece has finished shrinking while another has not started.
1Set out what you need
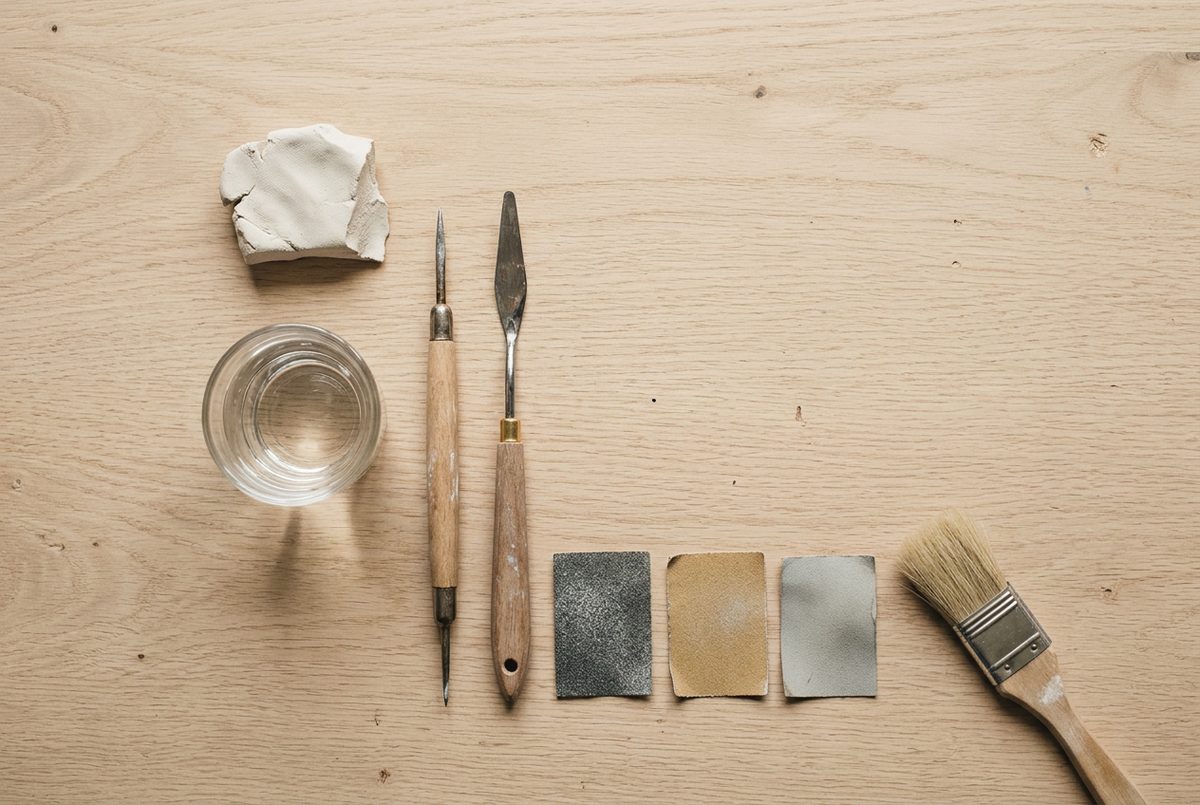
You do not need a filler product. A paste made from the same clay shrinks at the same rate as the piece and takes paint identically, which nothing bought in a tube will do.
Keep a scrap of clay from every project for exactly this. Different brands dry to slightly different shades of off-white and the mismatch shows under a matt sealer.
2Let the piece dry completely first
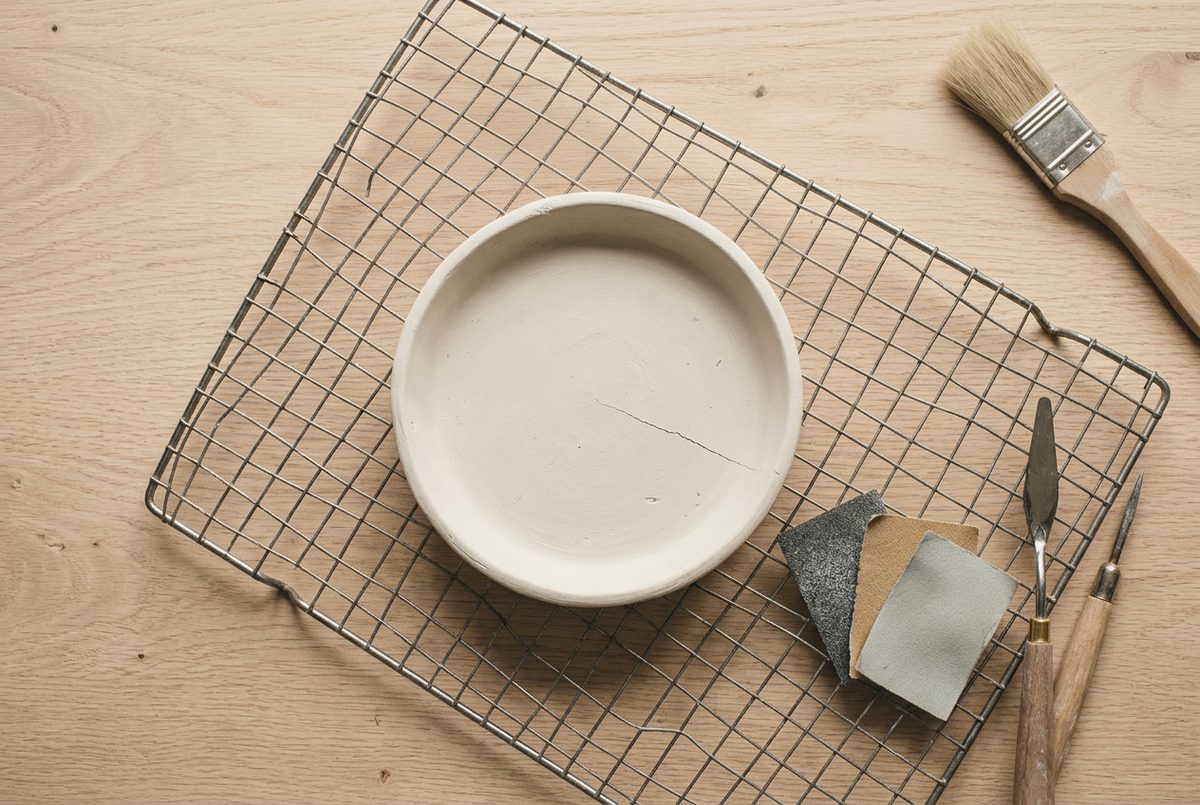
Do not repair a damp piece. It is still shrinking, and anything you fill now will be pushed apart again over the next two days.
Hold it against your cheek. Cool means water is still in there. Wait another day, then check again. The crack may also widen slightly in that time, which is useful information rather than a setback.
3Work out which crack you have
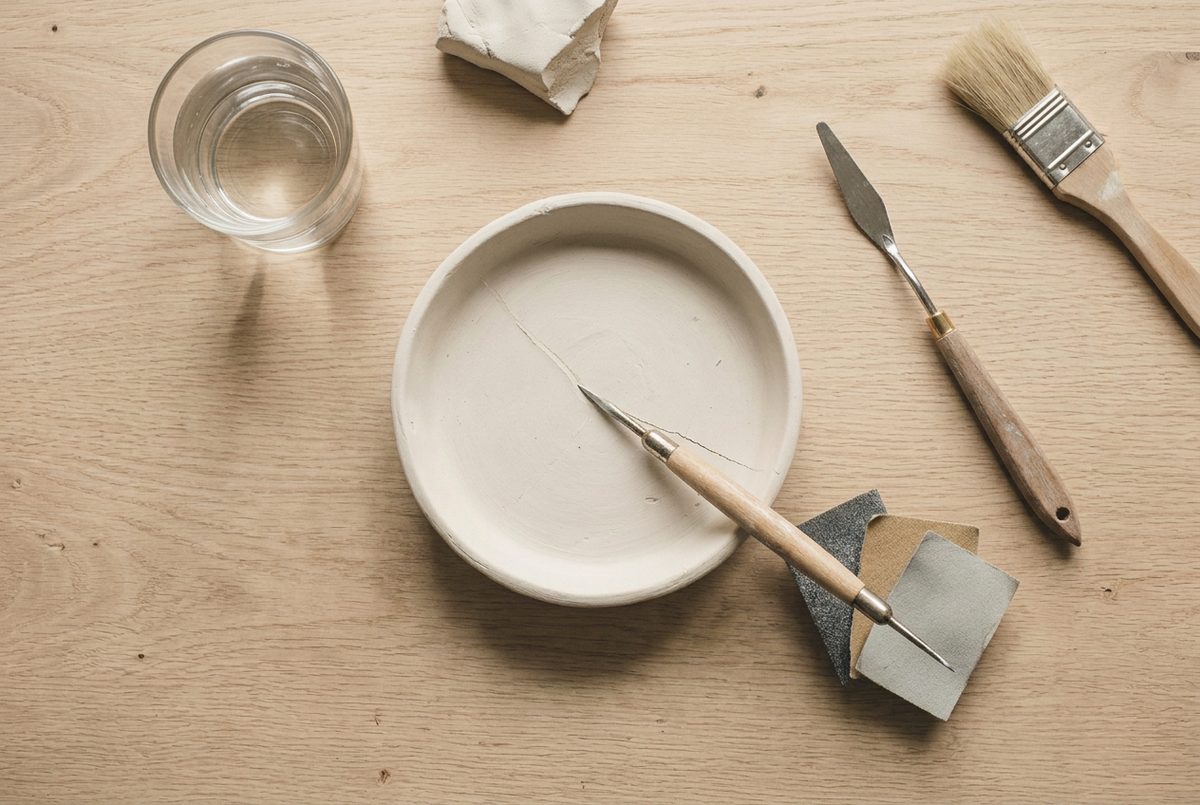
Run a fingernail along it. A hairline crack catches slightly and stops. A structural crack goes right through, and you will see light through it if you hold the piece up.
This is the decision point. Surface cracks fill and disappear. A crack that passes through a wall or a base is the piece telling you it was built wrong, and filling it produces something that looks mended and breaks again at the same line. That one is worth rebuilding rather than repairing.
4Open up the crack
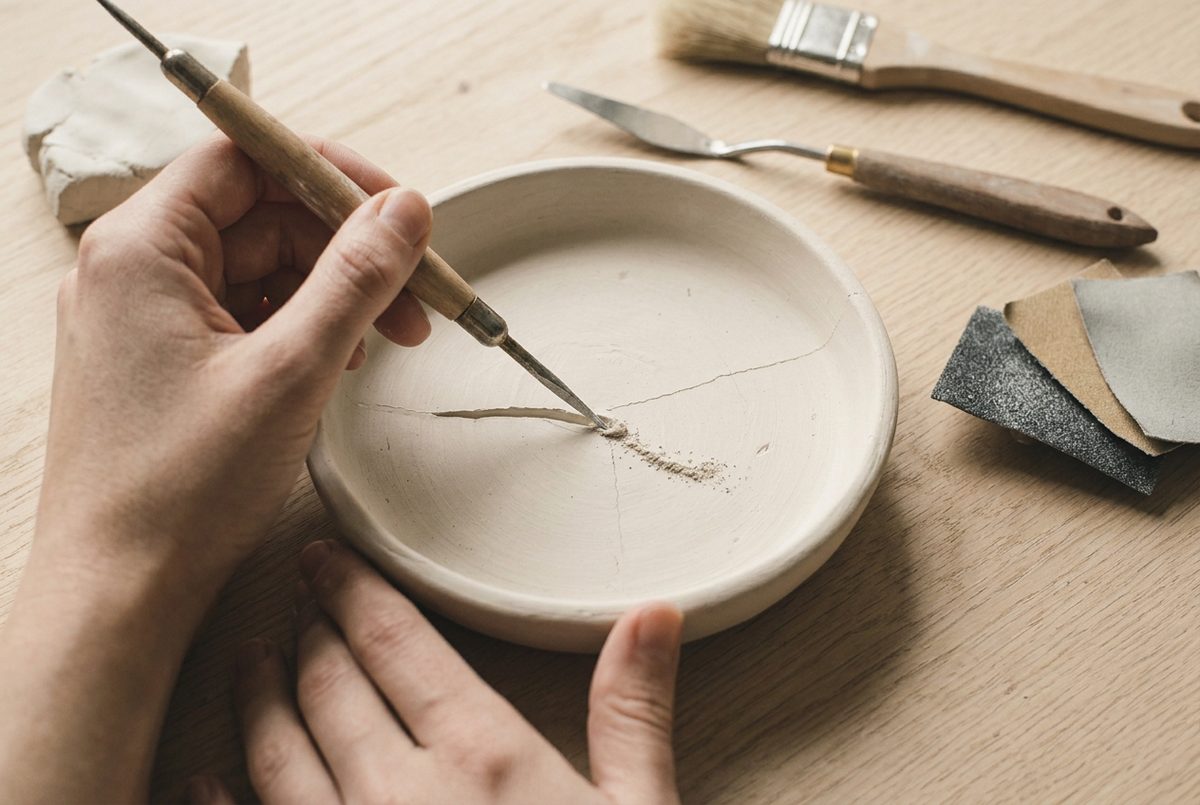
This feels wrong and it is the step that makes the repair work. Drag a pointed tool along the crack to open it into a shallow V, a millimetre or so wide.
Paste pushed into a tight hairline has nothing to grip and sits on the surface as a visible line. Paste pressed into a V has a wedge of material holding it in place, and it disappears.
5Mix the slip paste
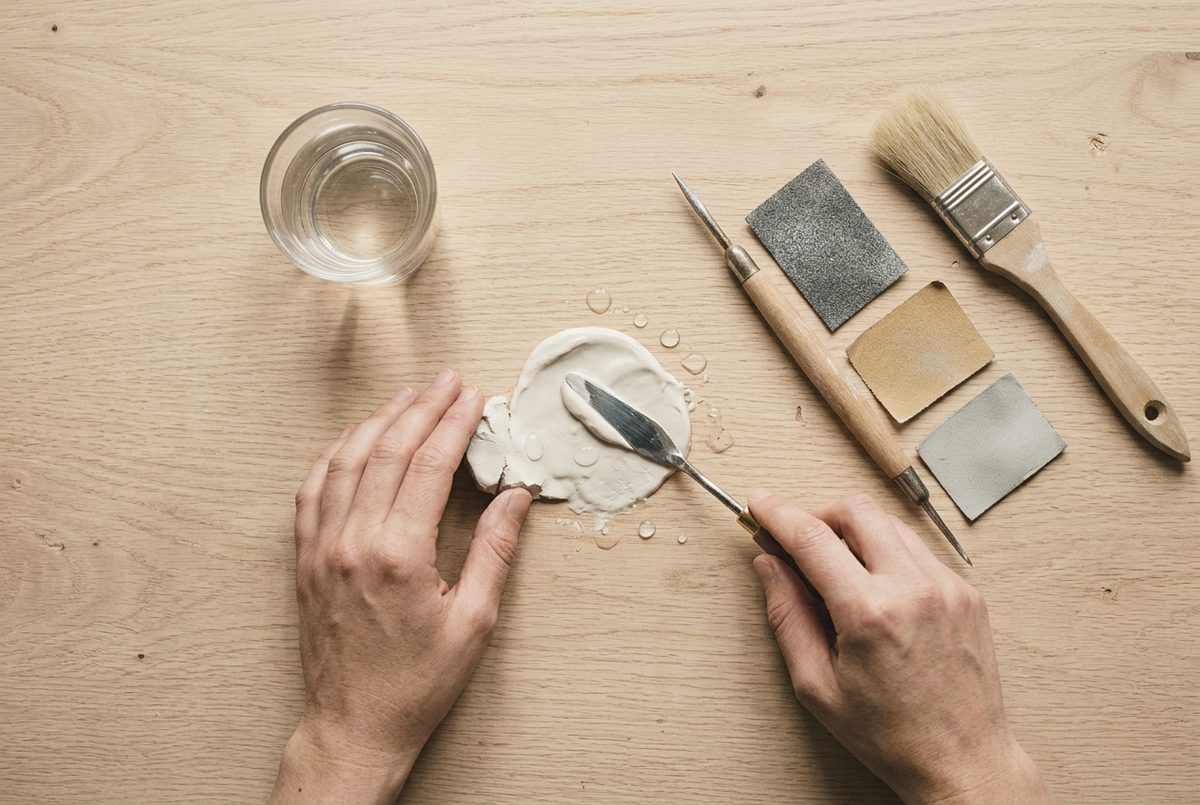
Mash a scrap of clay with a few drops of water until it is about the thickness of yoghurt. Thick enough to hold a peak, loose enough to press into a groove without air pockets.
Too wet is the common error. A runny paste is mostly water, so it shrinks a great deal as it dries and leaves a dip along the repair that you then have to fill again.
6Press the paste in
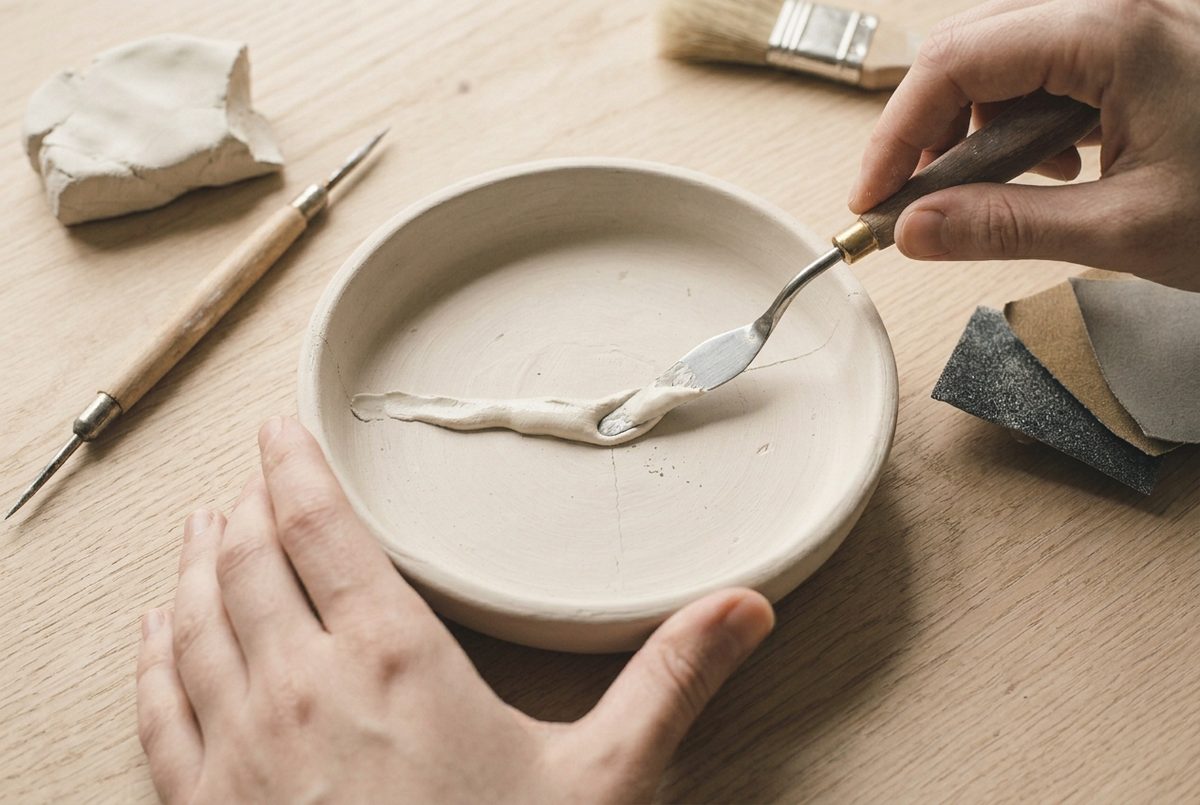
Press it in hard, working across the groove rather than along it, so the paste is forced down rather than dragged over the top.
Leave it standing slightly proud. It will sink as it dries, and a repair finished flush wet always ends up as a shallow trench.
7Dry, then fill again
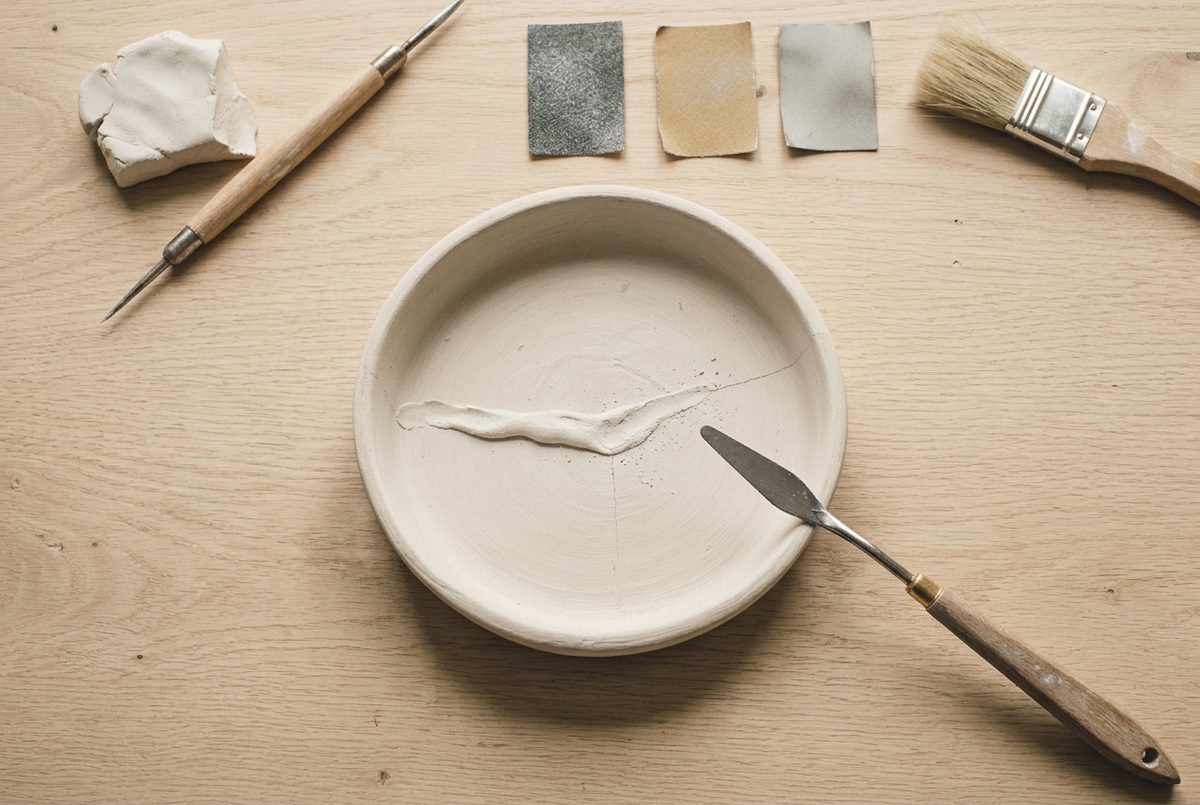
Give it a full day. The paste will shrink and almost always leaves a faint depression, which is normal rather than a failed repair.
Fill it a second time and dry it again. Two thin fills beat one thick one every time, for the same reason two thin coats of sealer beat one thick coat: the thick version shrinks unevenly and cracks along its own middle.
8Sand flat and seal
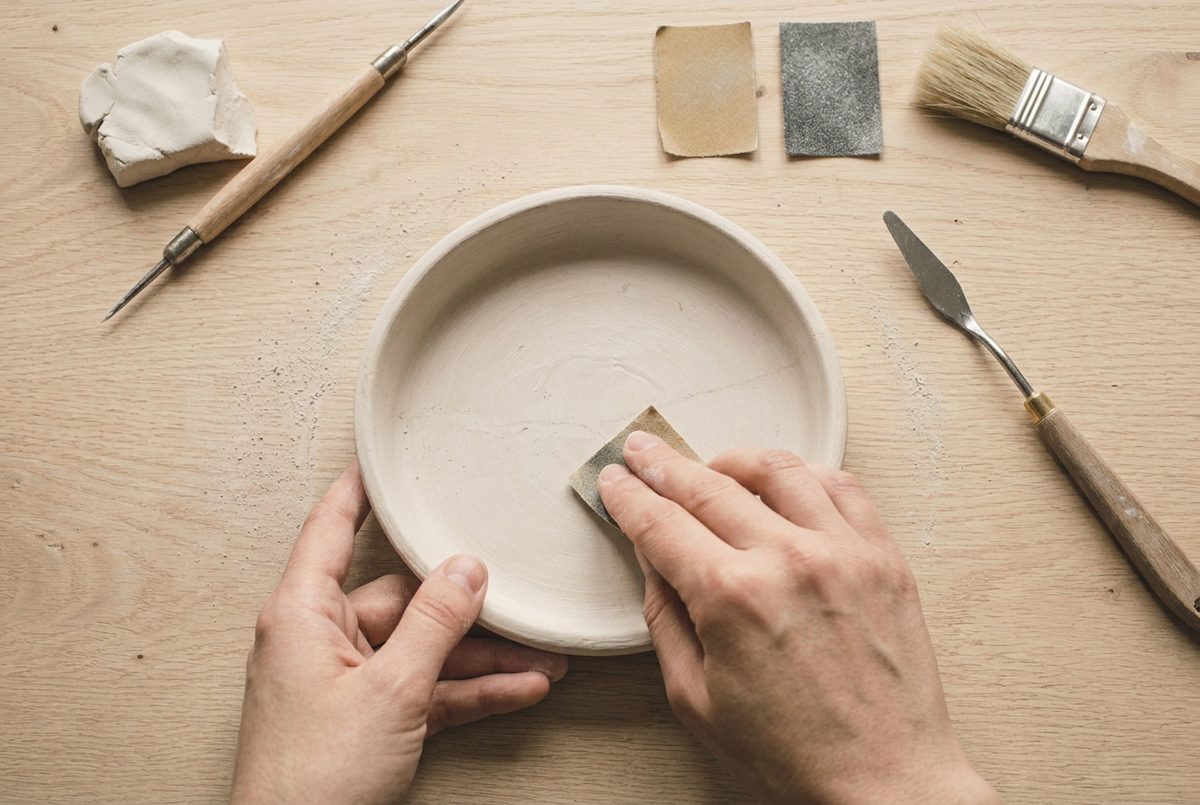
Work up through the grits until the repair is level. Sand in small circles across the line rather than along it, which keeps you from wearing a groove back into the softer filled material.
Then dust it off and seal the whole piece, not just the repair. A sealed piece with one unsealed patch draws moisture in exactly there. Our finishing guides cover the sealing itself in full.
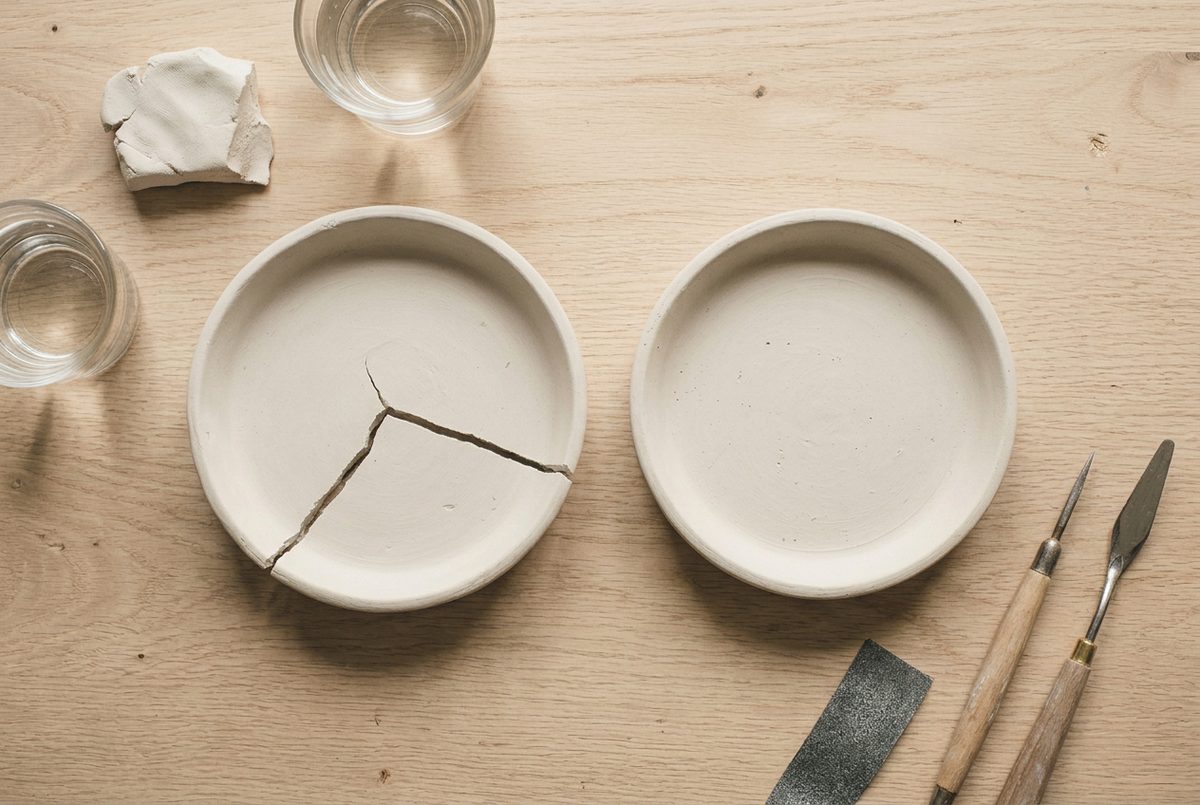
Two dishes from the same batch below, one built at an even thickness and one built thick at the base.
If it goes wrong
| Problem | Likely cause | How to fix it |
|---|---|---|
| The repair shows as a visible line after sealing | The crack was filled without being opened into a V first, so the paste sat on the surface instead of wedging into it | Sand the repair back, open the line into a shallow V with a pointed tool, and fill again in two thin passes. Sealer makes any surface difference more obvious, not less. |
| The filled line sank into a shallow trench | The paste was mixed too wet, so most of its volume was water that left as it dried | Mix the next batch to the thickness of yoghurt rather than cream, and leave each fill standing slightly proud of the surface. Expect to fill twice regardless. |
| The crack reopened along the same line | It was a structural crack through the piece rather than a surface one, or the piece was still damp when it was filled | Nothing reliably holds a through-crack under handling. Rebuild the piece at an even thickness. If it is decorative and never moved, refill it and accept the weakness. |
| The repaired area is a different shade to the rest | The paste was made from a different brand or batch of clay | Keep a scrap from every project for its own repairs. If the shade already differs, paint the whole piece rather than trying to spot-match one patch. |
How do you stop air dry clay cracking in the first place?
Even thickness does most of the work. Roll between two guide strips so the whole piece is the same depth, and where you cannot roll, check by eye against a cut edge.
Slow the drying down. Cover a piece loosely with a cloth or an upturned box for the first day so the exposed faces do not race ahead of the shaded ones, then uncover it. Turn it daily so no face sits against a surface for the whole cure.
Keep heat away from it entirely. A radiator, an oven, a hairdryer or a sunny windowsill all dry the outside while the middle stays wet, and that is the single most reliable way to split a piece. There is no version of this that goes faster.
Join properly. A wall pressed onto a base without scoring and slip is not joined at all, it is resting, and it separates the moment shrinkage begins. The troubleshooting section covers the other common failures.
Can you fix a crack in air dry clay?
Surface cracks, yes, and invisibly if you open them into a V first and fill twice.
Cracks that go all the way through are a different question. You can fill one and it will look fine, but the piece is already weak along that line and it tends to fail there again under any real handling. For something decorative that will sit on a shelf, fill it. For anything that gets picked up, carried, hung or used, rebuild it.
Re-wetting the whole piece to make it workable again rarely helps. Air dry clay that has cured once and been soaked back into a soft state comes out crumbly and short, because the fibres and binders in it do not fully recover. It is fine for making slip paste, and not much else.
Frequently asked questions
Why does air dry clay crack while drying?
Because different parts of the piece shrink at different times. Air dry clay loses about five per cent of its size as water leaves it, so a thicker section still full-size beside one that has already pulled in creates tension, and that tension becomes a split.
Can you fix cracked air dry clay?
Surface cracks, yes, and invisibly if you widen them into a V and fill twice with a paste made from the same clay. Cracks that pass right through a wall or base can be filled cosmetically but stay weak along that line and tend to fail there again.
What can you use to fill air dry clay cracks?
A paste of the same clay mashed with water, nothing else. It shrinks at the same rate as the piece and accepts paint identically. Wood filler, polyfilla and PVA-based fillers all shrink differently and show as a patch under sealer.
Does drying air dry clay faster make it crack?
Yes, and it is the most reliable way to do it. Heat dries the outer surface while the middle is still wet, so the outside shrinks against a full-size core. Radiators, ovens, hairdryers and sunny windowsills all cause this.

Save this for later