Smoothing air dry clay is nine tenths done before the piece dries. A damp sponge while it is soft, a scrape at leather-hard, and a slip fill for any pits. Sanding afterwards is a light tidy-up, and it must always be done dry rather than wet.
Smoothing air dry clay is mostly not a sanding job. By the time a piece is dry enough to sand, the surface you are going to end up with has already been decided.
The work happens in two windows. While the clay is soft, a barely damp sponge takes out tool marks and joins in seconds. When it firms up to leather-hard, a flat scraper shears off anything left. Miss both windows and you are down to sanding a hard, brittle surface that fights back.
There is also one thing never to do, which catches almost everyone: do not wet sand it. The troubleshooting hub covers the rest of what goes wrong with this material.
Materials
- Air dry clay
- A little water, for slip
- A scrap of the same clay
- Matt acrylic sealer
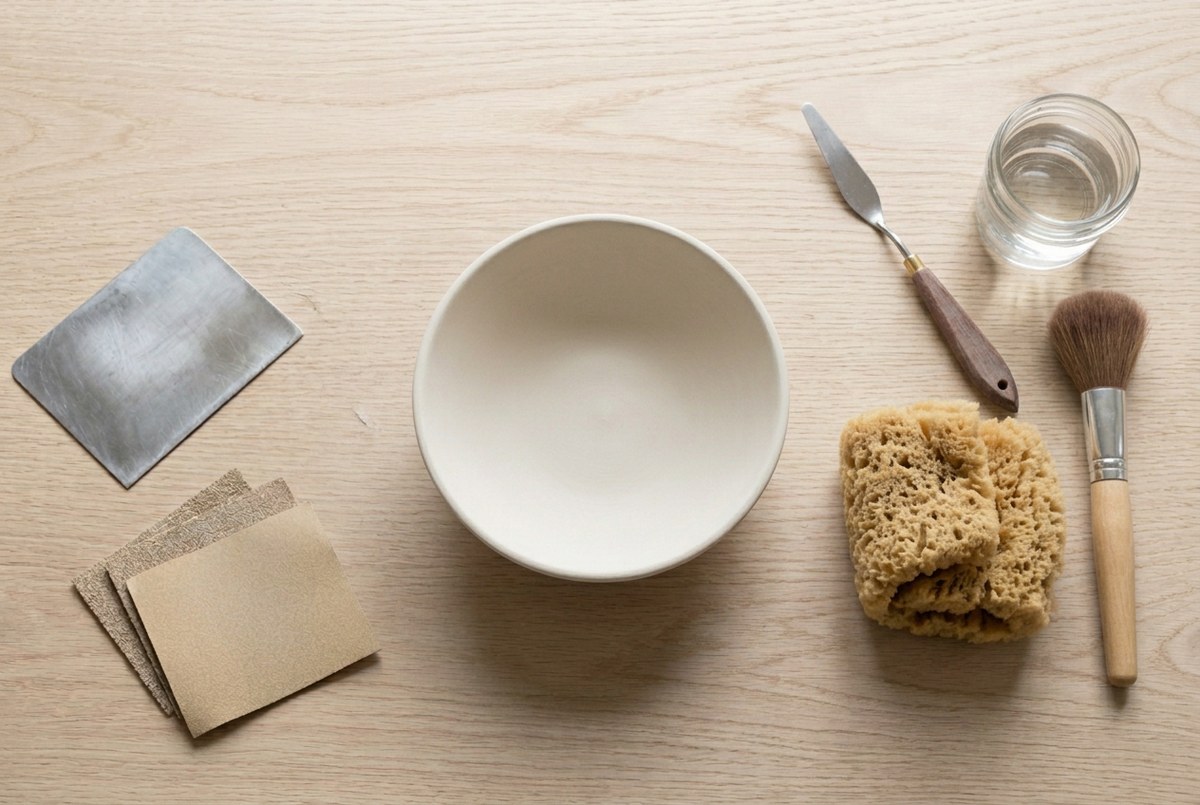
Tools
- Damp sponge
- Flat metal scraper, or an old loyalty card
- Sandpaper in medium and fine grits
- Narrow palette knife
- Soft dusting brush
- A small glass of water
About thirty-five minutes of work in total, but split across three days as the clay firms and then dries.
What is the best way of smoothing air dry clay?
A barely damp sponge while the clay is still soft. Everything else on this page is tidying up what the sponge missed.
1Set out what you need
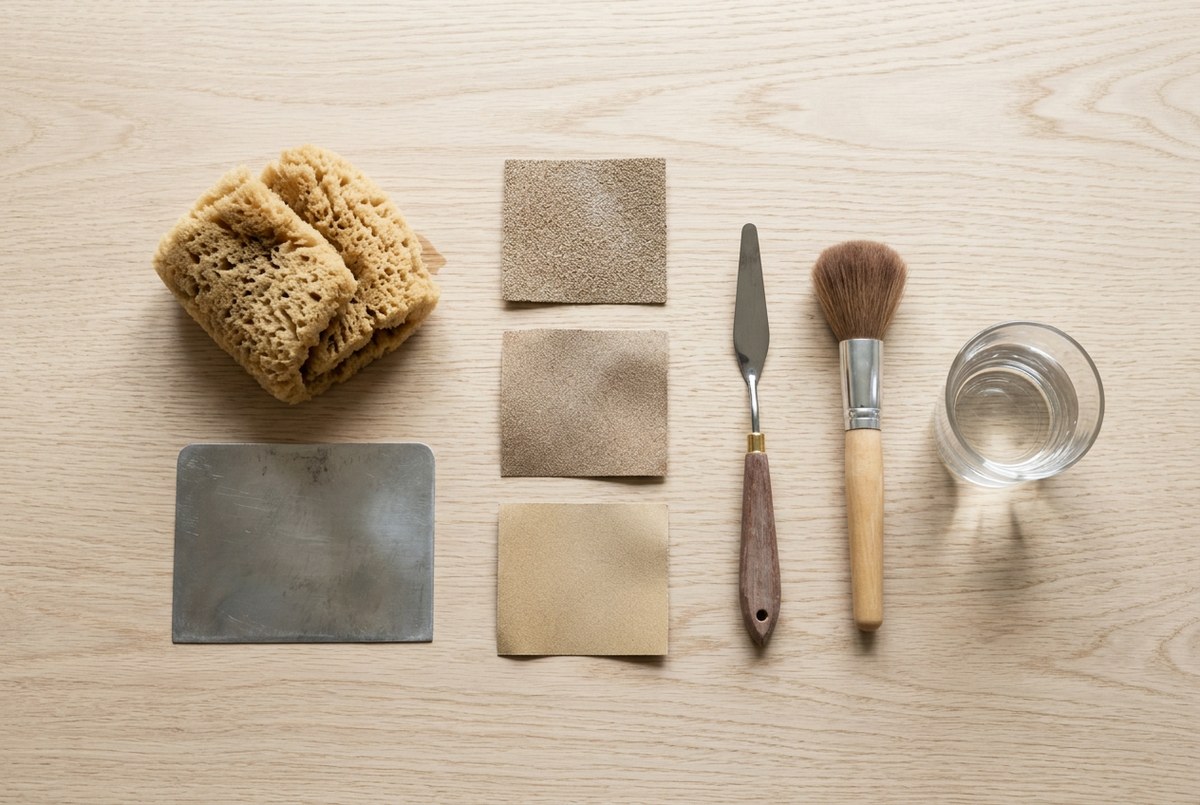
Very little here is specialist. The sponge is an ordinary kitchen one cut in half, and the scraper can be an old loyalty card with a straight edge.
The one thing worth having in three grades is the sandpaper. Working up through the grits properly is the difference between a smooth surface and a scratched one, and you cannot fake it with a single sheet.
2Sponge it while the clay is soft
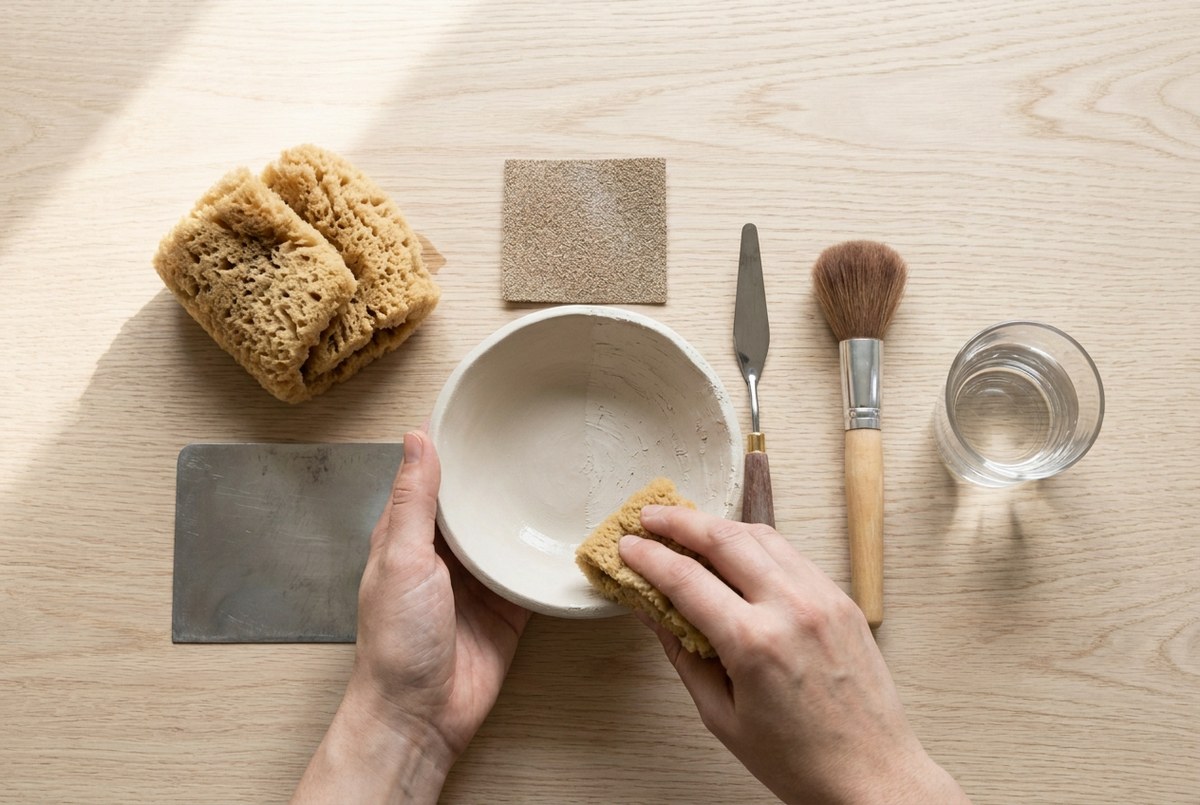
Wring the sponge out until it is barely damp, then wipe every surface, every edge and every join.
This is the whole technique. Soft clay moves under a damp sponge, so ridges flatten and joins disappear without any material being removed. Ten seconds of this saves ten minutes of sanding later, and gives a better result than the sanding would have.
Damp, not wet. A wet sponge lifts clay into a slurry and drags it around, which leaves the surface rougher than it started and puts far too much water into the outer skin.
Wipe in one direction with light pressure. Scrubbing back and forth just moves clay from one place to another.
3Scrape at leather-hard
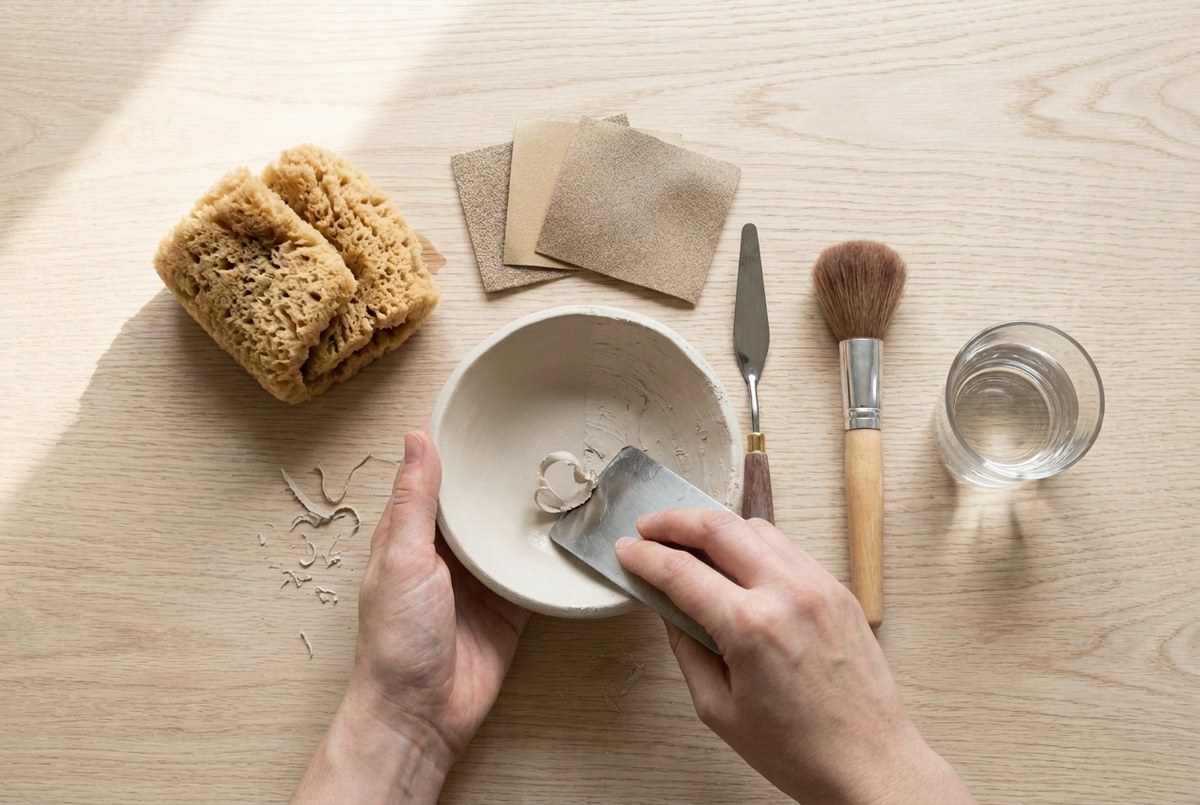
Wait until the clay is firm enough to hold its shape under pressure but still cool and slightly damp. That is leather-hard, usually several hours in.
Draw a flat edge across the surface at a shallow angle and it shears the high spots off cleanly, leaving a genuinely flat plane. The same stroke on soft clay just smears, and on dry clay it does nothing at all except scratch.
This step is optional on a small piece and close to essential on anything with a wide flat face, where the eye picks up unevenness immediately.
4Fill any pits with slip
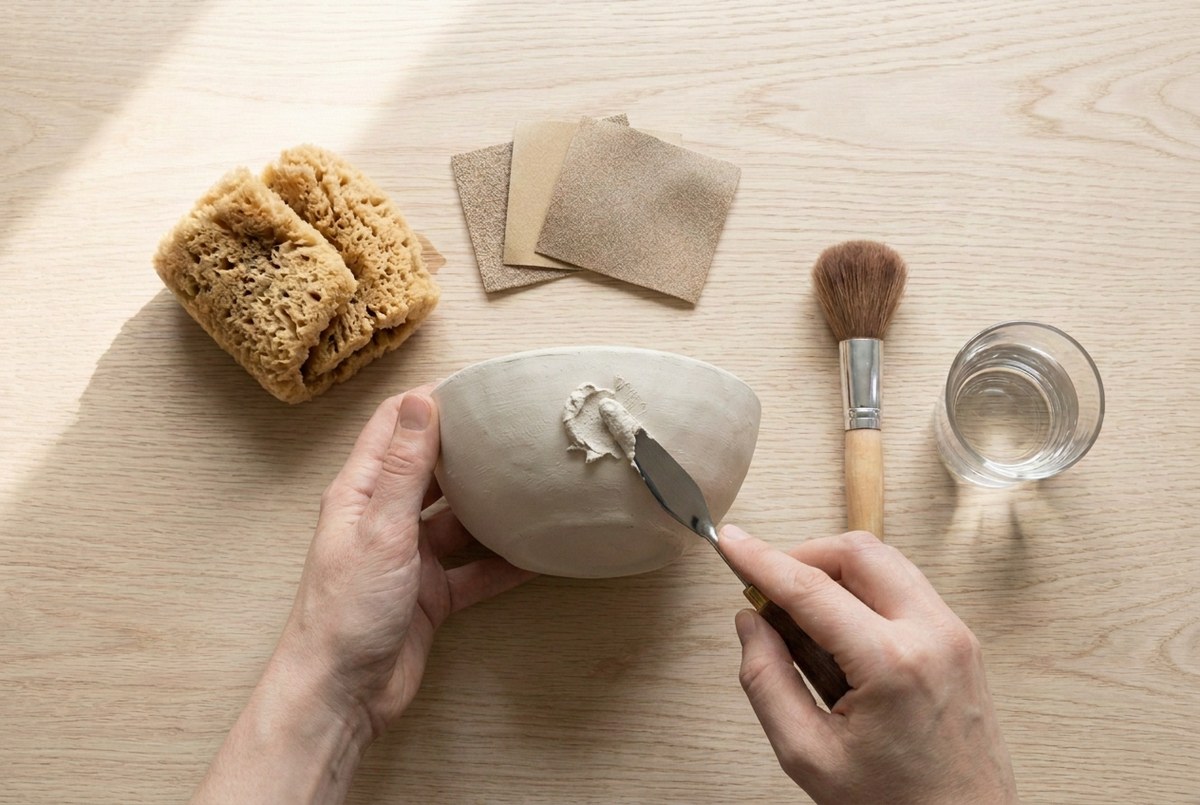
Mash a scrap of the same clay with a few drops of water until it is about the thickness of yoghurt, then press it into any dents, air pockets or gaps.
Use the same clay and nothing else. A paste made from the piece’s own material shrinks at the same rate and takes paint identically, which no tube filler will do.
Leave every fill standing slightly proud. It sinks as it dries, and anything finished flush while wet ends up as a shallow trench you then have to fill a second time.
5Let it dry completely
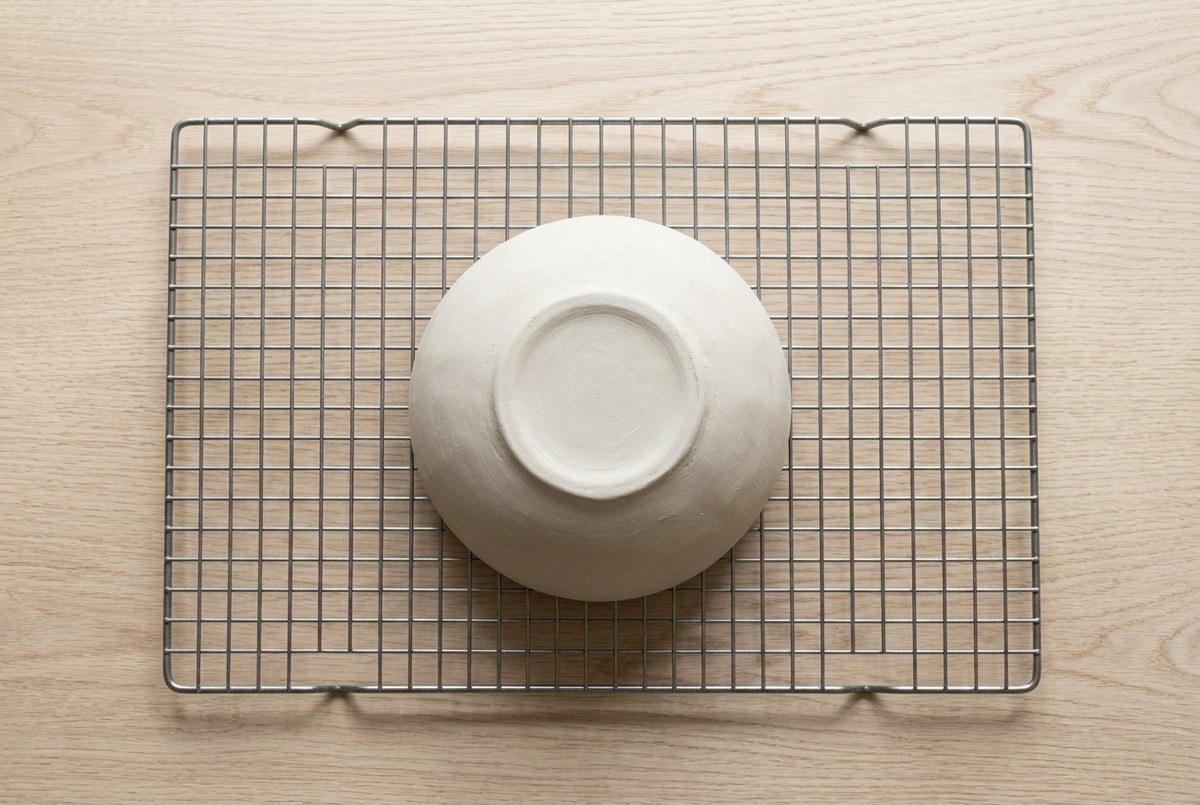
Two to three days, turned once a day so no face spends the whole cure pressed against a surface.
Sanding a piece that is still damp inside tears the surface rather than levelling it, and the torn areas soak up sealer differently afterwards. Check by holding it against your cheek: cool means water is still leaving.
Keep it away from any heat source. A radiator dries the outside against a wet core, which is how a perfectly smooth piece ends up cracked.
6Sand dry, through the grits

Medium first to level, then fine to finish. Work in small circles rather than straight lines, which stops you wearing a groove into any one spot.
Never skip a grade. Each grit only removes scratches a little deeper than its own, so fine paper laid straight over coarse marks polishes the ridges between the scratches and leaves the scratches exactly where they were. They show up under paint like nothing else.
And sand dry. Wet sanding is the single worst thing you can do to air dry clay: the water dissolves the surface into slip, which fills the low spots, dries as a soft chalky skin, and then flakes away under the sealer taking your finish with it. Whatever works for polymer clay does not apply here. The tools section has more on the grits worth owning.
Work over a bin or outside. The dust is fine and it gets everywhere.
7Dust off and seal
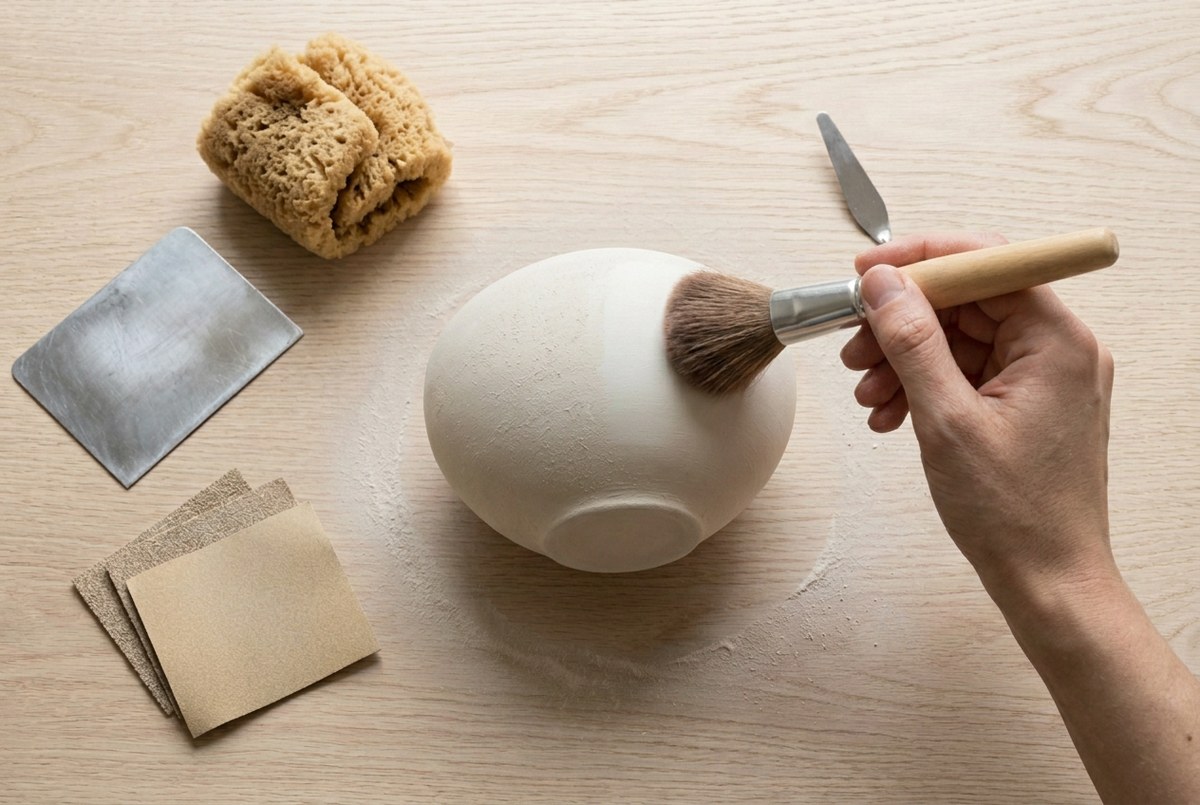
Brush every trace of dust away with a soft dry brush, into the rim and under the base.
Do not use a damp cloth. It turns the dust into a thin film of slip that dries as another soft skin, undoing the work you just did. Dry brush only.
Then seal in two thin coats. Sealer laid over remaining dust locks it in place and hazes the surface, which is a very annoying way to lose a good finish at the last step. Our finishing guides cover the sealing itself in detail.
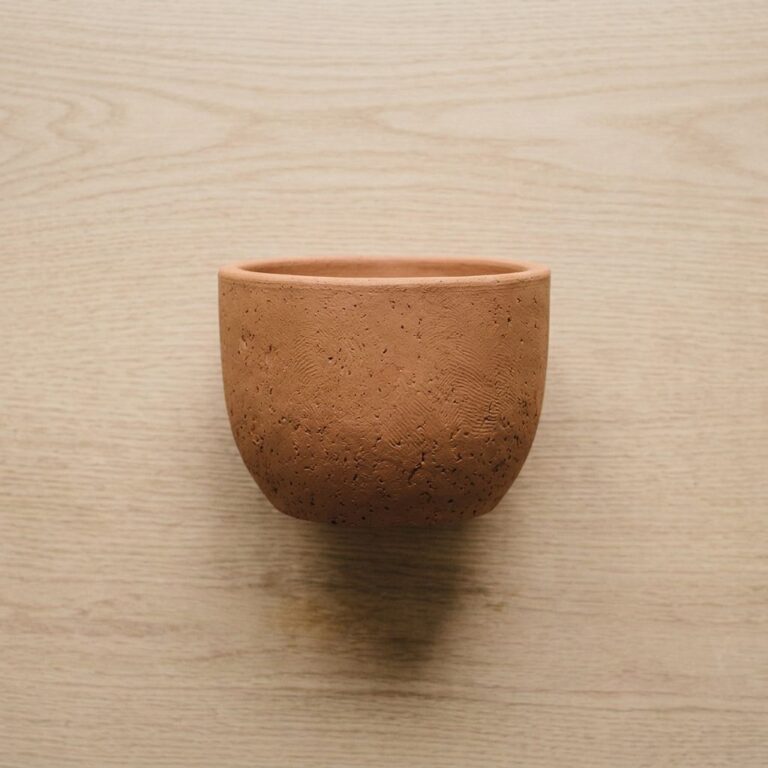
Two bowls from the same batch below, sanded two different ways.

If it goes wrong
| Problem | Likely cause | How to fix it |
|---|---|---|
| The surface went chalky and flaked off | It was wet sanded, which turns the top layer into slip that dries as a soft powdery skin | Sand that skin back to firm clay with fine paper, dust it off, and seal. Always sand air dry clay dry; the dust is the price of a surface that holds together. |
| Sanding left visible scratches | The grits were skipped, so fine paper was asked to remove marks left by coarse paper | Go back a grit and work up in order. Each grade only removes scratches slightly deeper than its own, and jumping two grades leaves marks that show under paint. |
| The sponge made it rougher instead of smoother | The sponge was too wet, so it lifted clay into a slurry and dragged it across the surface | Wring the sponge until it is barely damp. Wipe in one direction with light pressure rather than scrubbing, and rinse the sponge whenever it loads up with clay. |
| Fine cracks appeared after smoothing | Too much water was worked into the surface, so the outer skin swelled and then shrank against a drier core | Fill the cracks with a thick slip paste, dry fully, and sand flat. Work with less water next time; a damp sponge should leave a sheen, not a wet film. |
Why does air dry clay stay rough no matter how much you sand?
Because sanding is removing material from a surface that was never flat to begin with.
A ridge left by a tool is not a thin layer sitting on top of an even surface. It is a raised area with a low area beside it, and sanding takes the top off the ridge while barely touching the hollow. Keep going and you thin the wall rather than flattening the face.
The answer is to go back a stage rather than forward. Brush a thin layer of slip over the whole area, let it dry, and sand that flat. You are filling the low spots rather than chasing the high ones, and it works where hours of sanding will not.
On a piece that is still soft or leather-hard, the sponge and the scraper do the same job in a fraction of the time.
Does smoothing air dry clay weaken it?
Sponging and scraping do not. Both work with the clay rather than against it, and scraping at leather-hard actually compresses the surface slightly, which is mildly helpful.
Heavy sanding can, on a thin piece, simply because you are removing material from a wall that may only be a few millimetres thick to start with. If you find yourself sanding hard enough to worry about it, fill and re-sand instead of grinding away more clay.
Over-wetting is the real risk. Working a lot of water into a dry or half-dry surface swells the outer skin, which then shrinks against a drier core underneath and crazes into fine cracks. That is a structural problem rather than a cosmetic one, and it is why the sponge is wrung out until it is barely damp rather than merely damp.
Frequently asked questions
How do you smooth air dry clay without sanding?
Work it while the clay is still soft. A barely damp sponge wiped over every surface and edge takes out tool marks and joins as you go, and a scrape at leather-hard shears off anything the sponge left. Done properly, a finished piece needs almost no sanding at all.
Can you wet sand air dry clay?
No, and it is one of the more common pieces of bad advice online. Wet sanding works on polymer clay and on fired ceramics, but air dry clay dissolves. The water turns the surface into slip that fills the low spots and dries as a soft chalky skin that flakes off under sealer.
What grit sandpaper for air dry clay?
Medium around 180 grit to level, then fine at 320 or above to finish. There is rarely any reason to go coarser; coarse paper tears a dry surface rather than cutting it, and the scratches it leaves take longer to remove than the ridge you were chasing.
How do you fix a rough air dry clay surface?
If it is still damp, sponge it. If it is leather-hard, scrape it. If it is fully dry, brush on a thin layer of slip made from the same clay, let that dry, and sand it back level. Slip is the only filler that shrinks at the same rate as the piece itself.
Save this for later