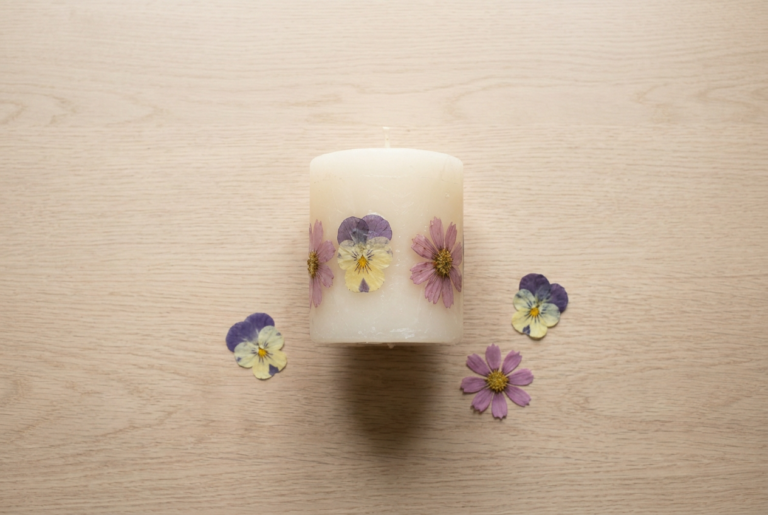
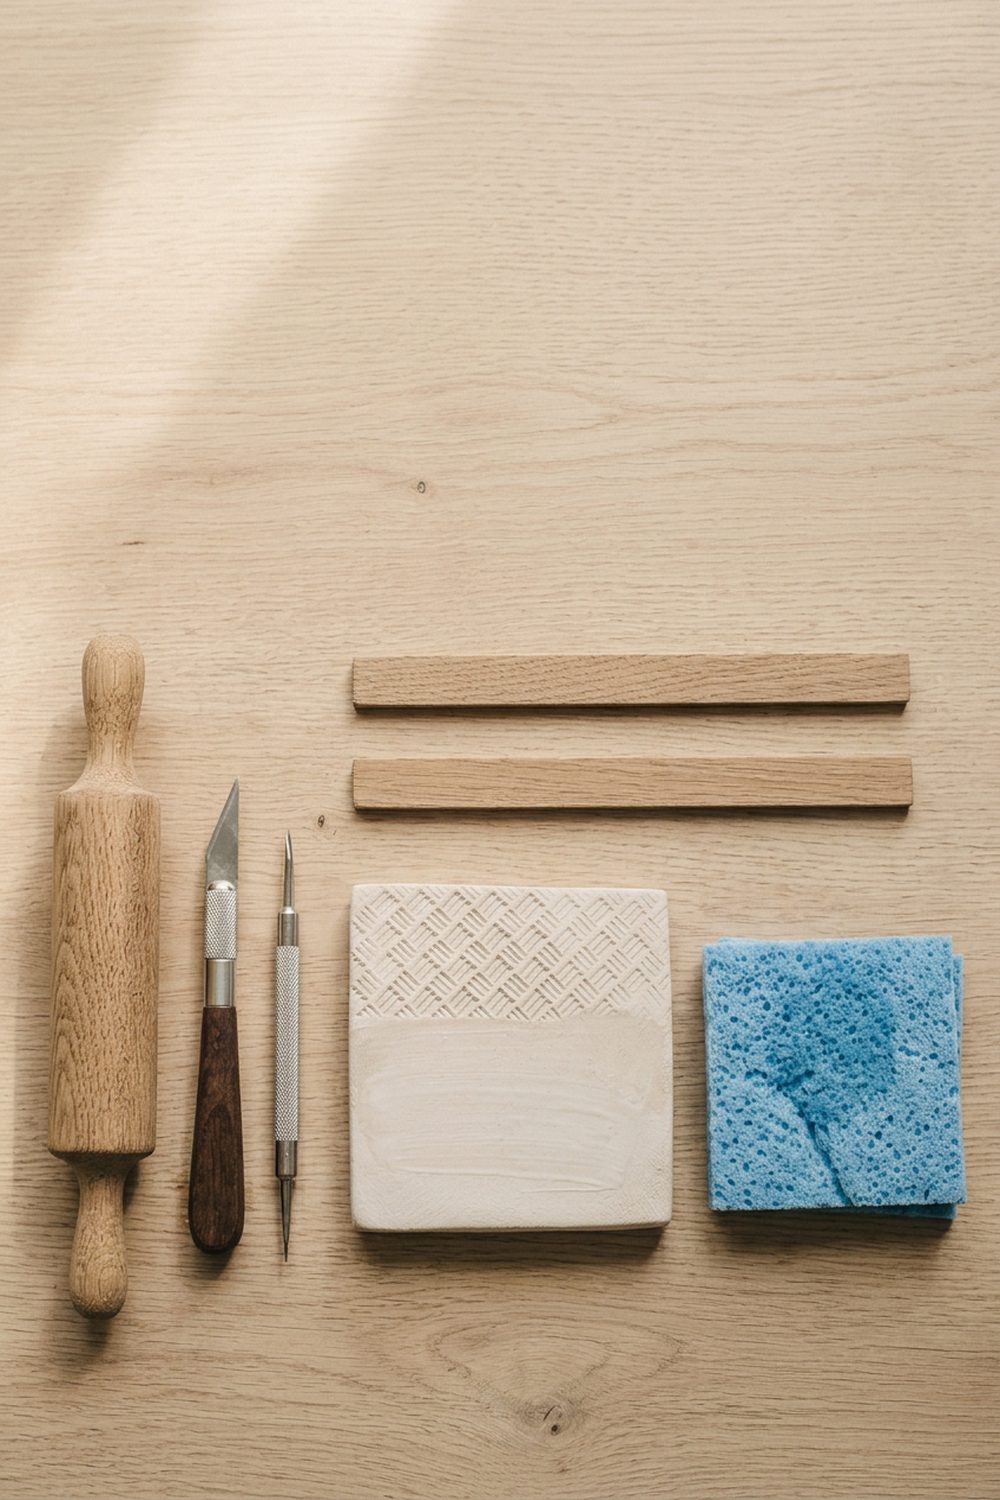
The air dry clay tools worth owning are a rolling pin, two thickness guides, a craft knife, a scoring tool, a damp sponge and fine sandpaper. Everything else has a kitchen substitute. Thickness guides matter most, because uneven thickness is what cracks a piece.
Craft shops sell air dry clay tool sets with thirty pieces in them. You will use four, and two of those you already own.
The list below is what actually earns its place, worked through by making one simple coaster so each tool appears doing the job it is for rather than sitting in a photograph of a kit. Where a kitchen drawer does the same job, that is noted.
For the material itself rather than the kit, the air dry clay hub is the place to start.
Materials
- 500g air dry clay
- A little water, for slip
- Matt acrylic sealer
Tools
- Rolling pin, or a wine bottle
- Two 1cm guide strips
- Craft knife with spare blades
- Scoring tool, or a fork
- Damp sponge
- Sandpaper in medium and fine grits
- A pointed modelling tool (optional)
- Soft flat brush, kept for sealing only
The coaster takes about half an hour to make and three days to dry, but the point here is the kit rather than the project.
Which air dry clay tools do you actually need?
A rolling pin, two thickness guides, a craft knife, a scoring tool, a damp sponge and fine sandpaper. Everything past that is a convenience.
1The starter kit, laid out
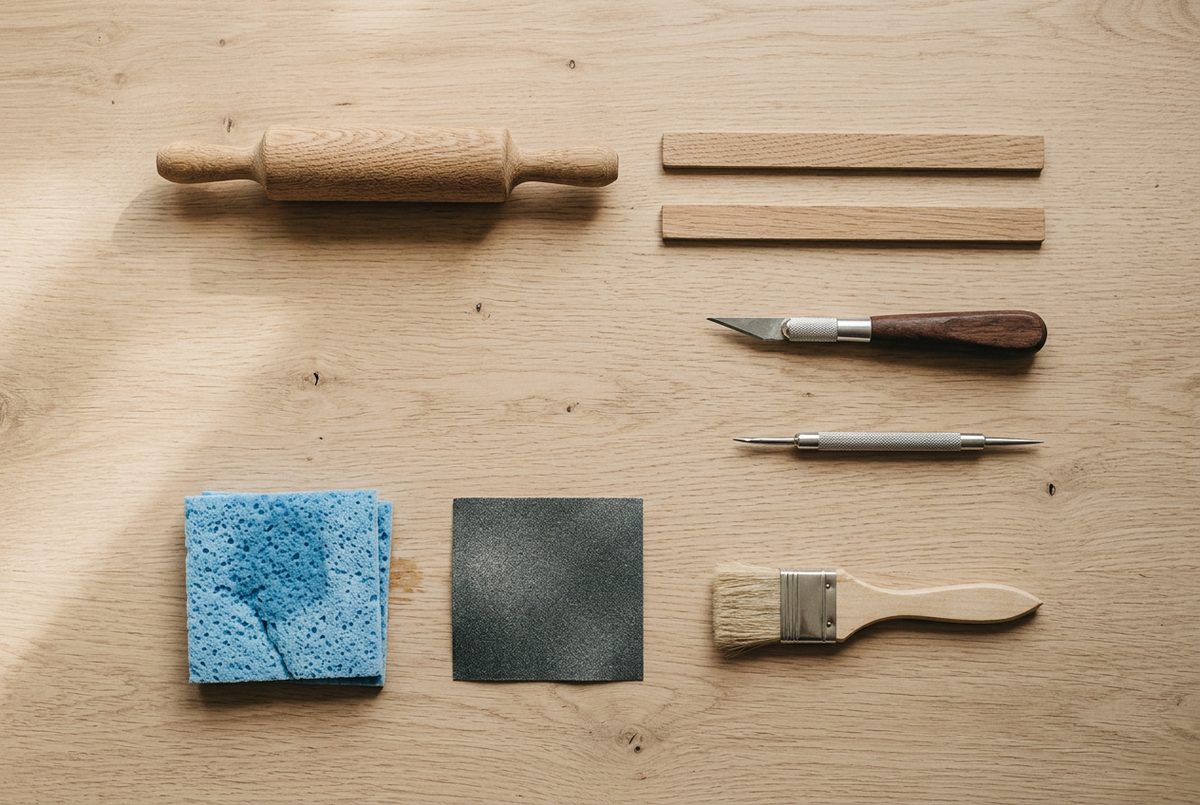
Seven items, and three of them are almost certainly in the house already. Nothing here is specialist and nothing is expensive.
Buy the cheapest version of each to start. The only one worth spending on eventually is the craft knife, because a blunt blade drags clay rather than cutting it and no amount of technique compensates.
2Rolling pin and thickness guides
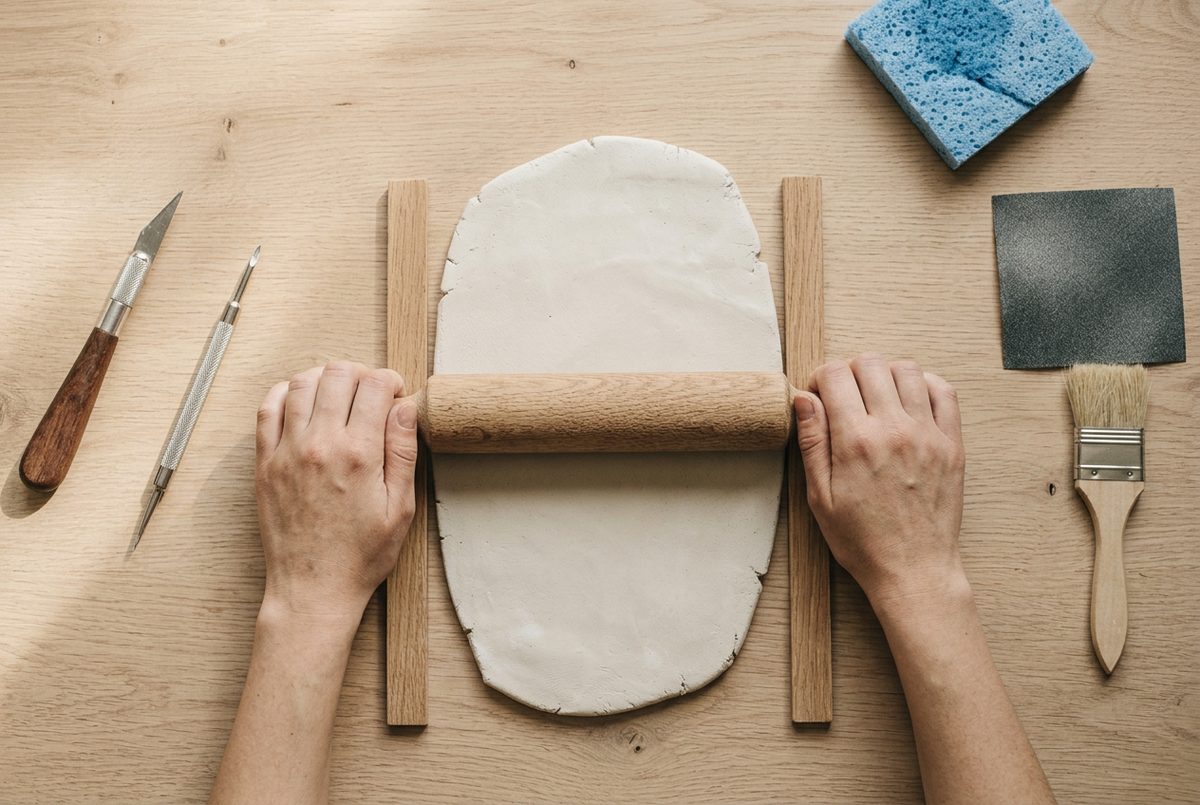
The guides are the most important thing on this page and the thing almost every beginner skips. Two strips of equal thickness either side of the clay, pin riding on both, and the slab comes out the same depth everywhere.
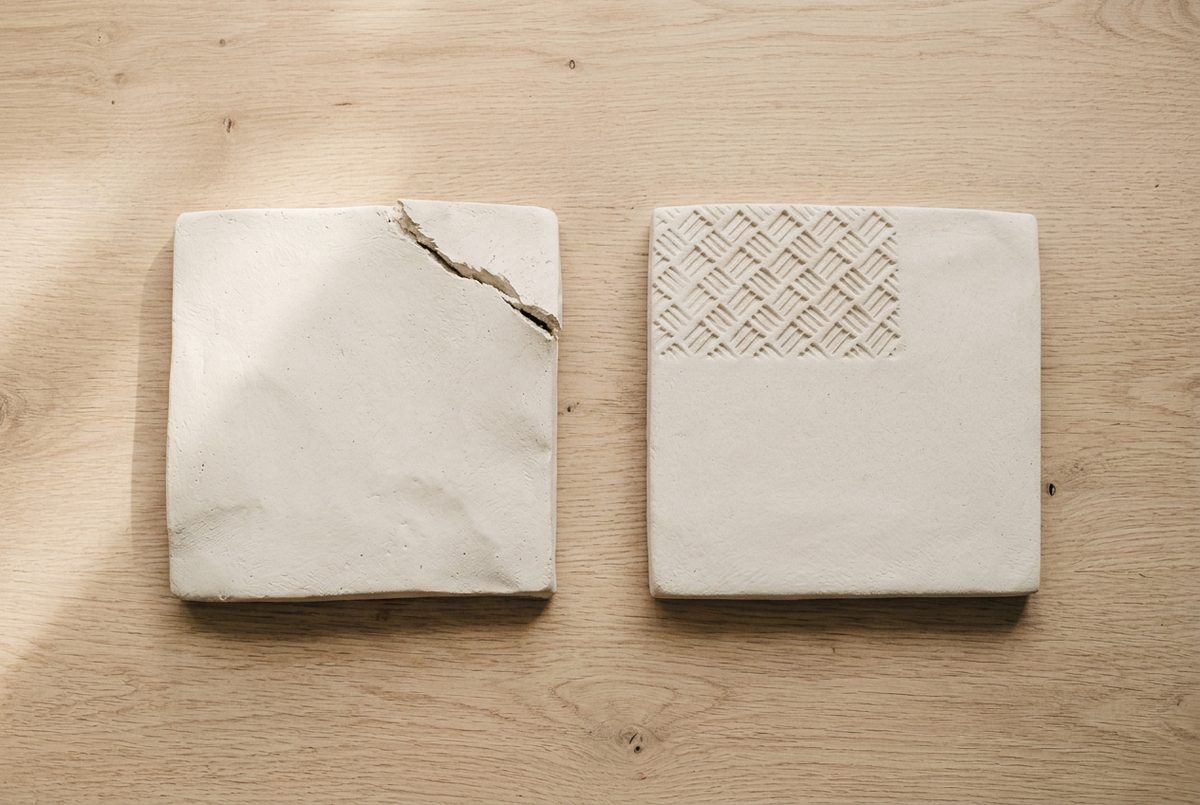
That matters because uneven thickness is the main cause of cracking. A thick part holds water longer and pulls against a thin part that has already shrunk.
A wine bottle works instead of a rolling pin. Two rulers, two lolly sticks or two lengths of thin batten work instead of guides. There is no reason to buy either.
3Craft knife and a paper template
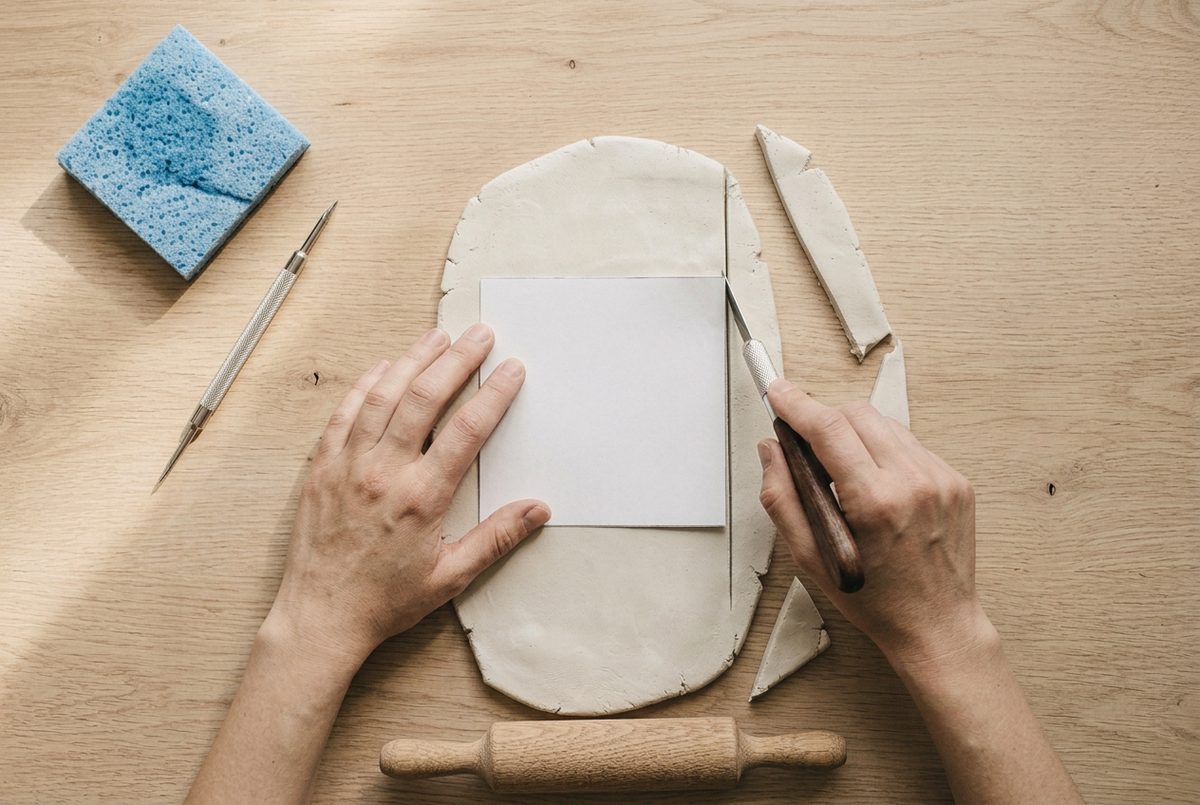
A sharp craft knife and a paper template beat any cutter for anything that is not a standard shape. You get a clean vertical edge and you can make the shape whatever you want.
Cut in one continuous stroke where you can. Stopping and restarting leaves a step in the edge that shows after sanding.
Change the blade far more often than feels reasonable. Clay dulls a blade quickly, and a dull blade compresses the edge as it cuts, which leaves a rounded-over line rather than a crisp one.
4The scoring tool
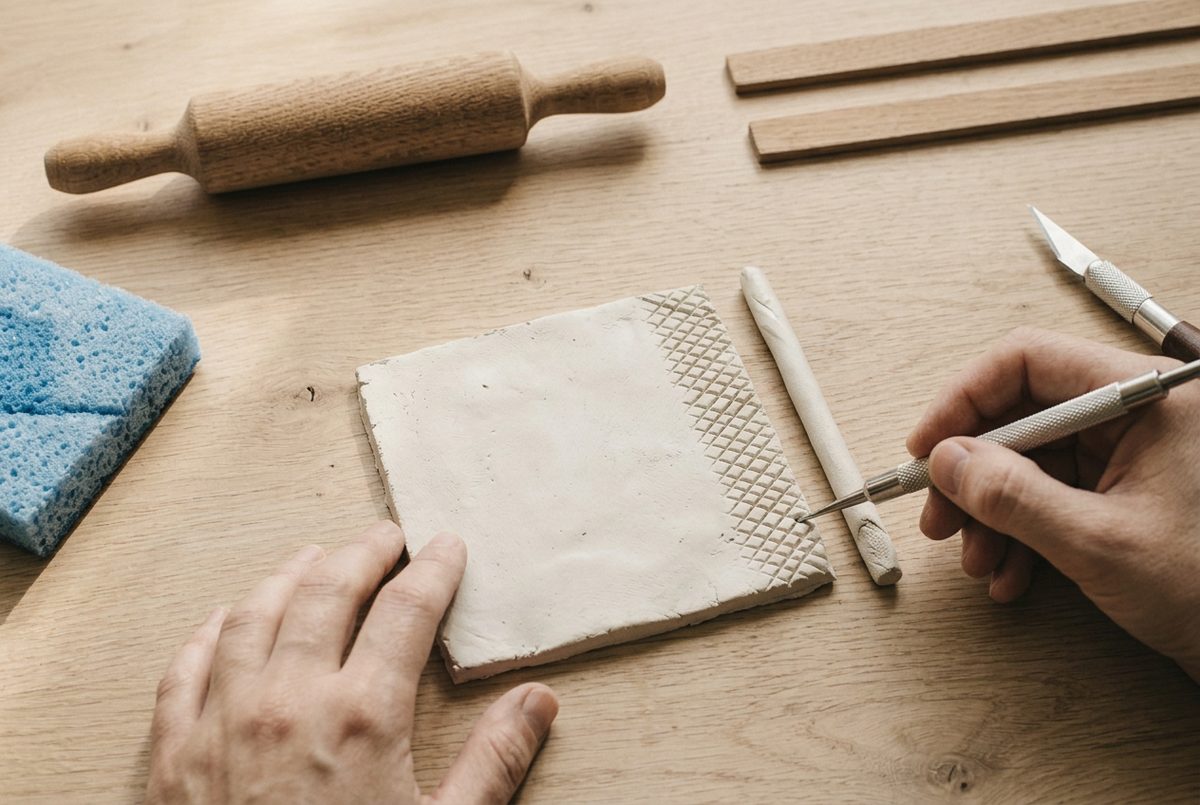
Any time two pieces of clay have to become one piece, both faces get cross-hatched and wetted first. Without it they are resting against each other, not joined, and they separate as the piece shrinks.
A dedicated scoring tool costs very little, but a fork does it, and so does the point of a compass or an old toothbrush. What matters is that the marks are a real millimetre deep rather than a scratch.
5The damp sponge
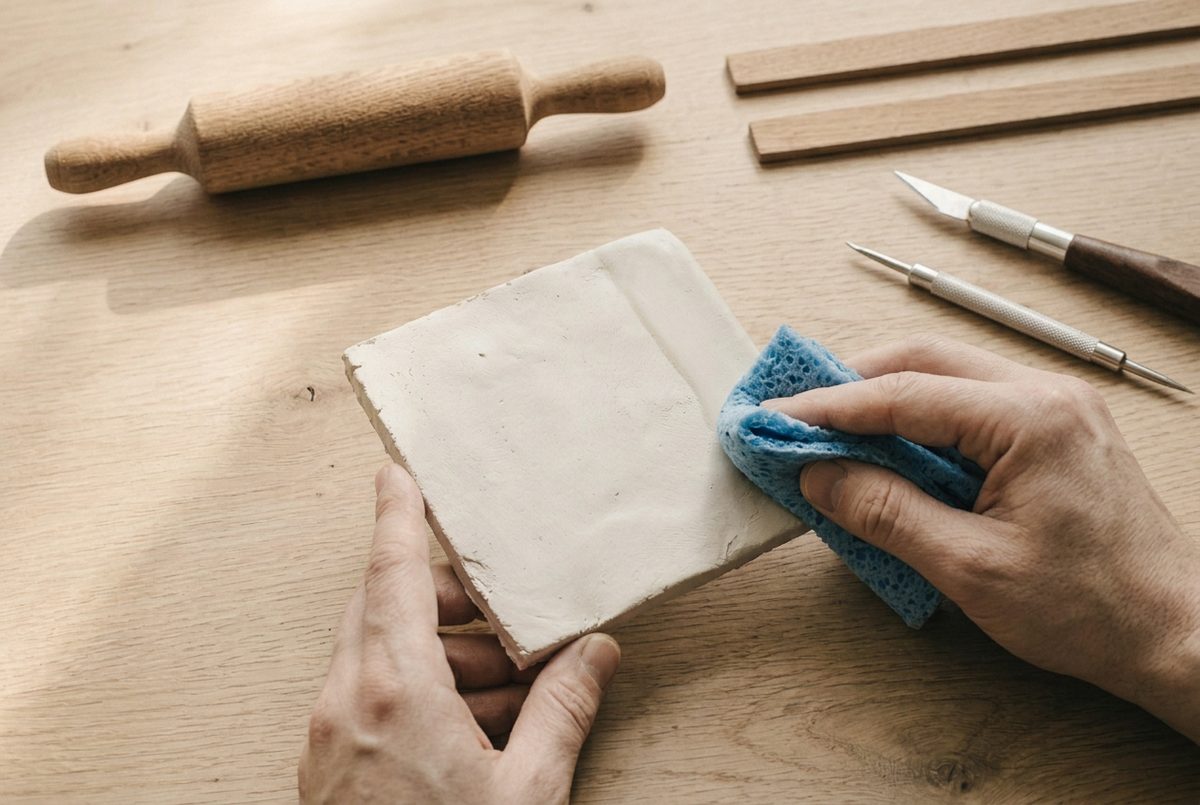
This is the one that does the most for how a finished piece looks. Work a damp sponge over every surface and edge while the clay is still soft and you will barely need to sand later.
Damp, not wet. A dripping sponge softens the surface into slip, which dries as a chalky skin that then flakes off under sealer.
Any household sponge works. Cut a new one in half so you have a clean side for finishing and a rougher side for cleaning up as you go.
6A modelling tool for detail
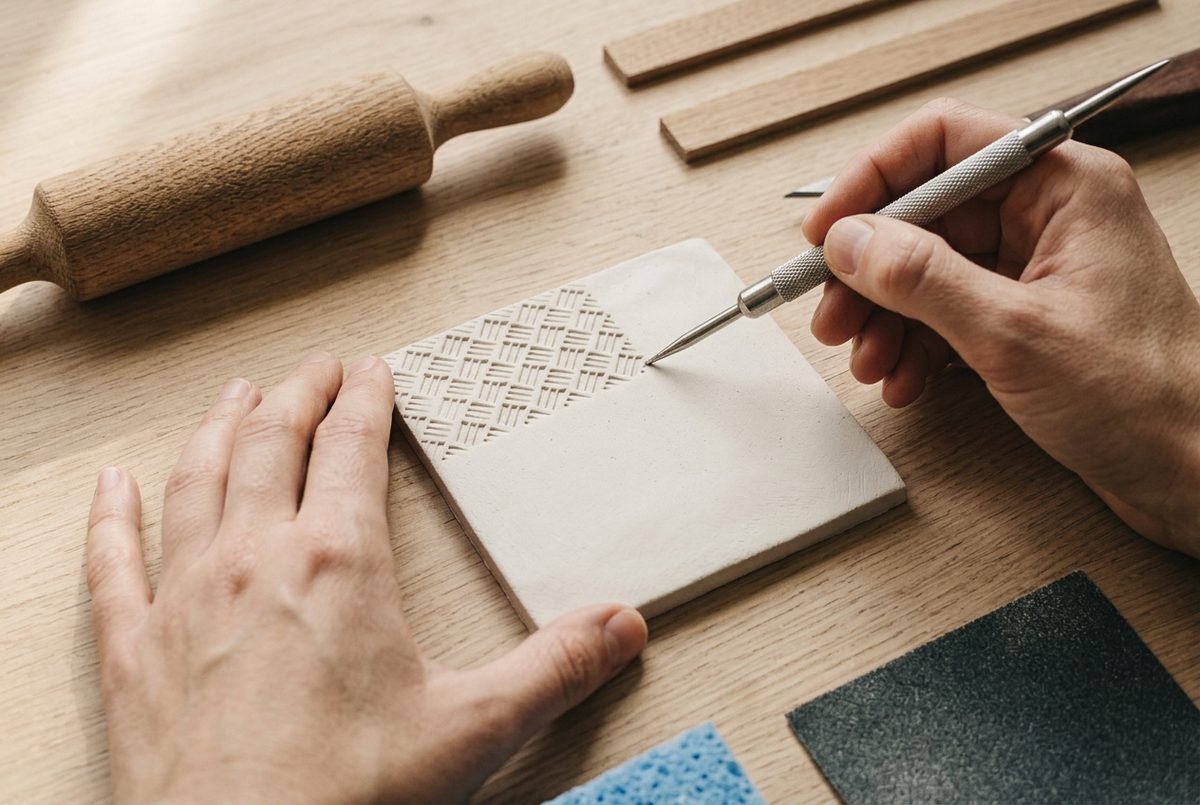
The one genuinely optional item. A pointed or ball-ended modelling tool lets you press detail into a surface, undercut an edge, or clean up a corner a sponge cannot reach.
Before buying a set, look at what is already around. A chopstick, a knitting needle, the end of a paintbrush and a skewer between them cover most of what a thirty-piece set offers, and each gives a slightly different mark.
7Sandpaper, once it is dry
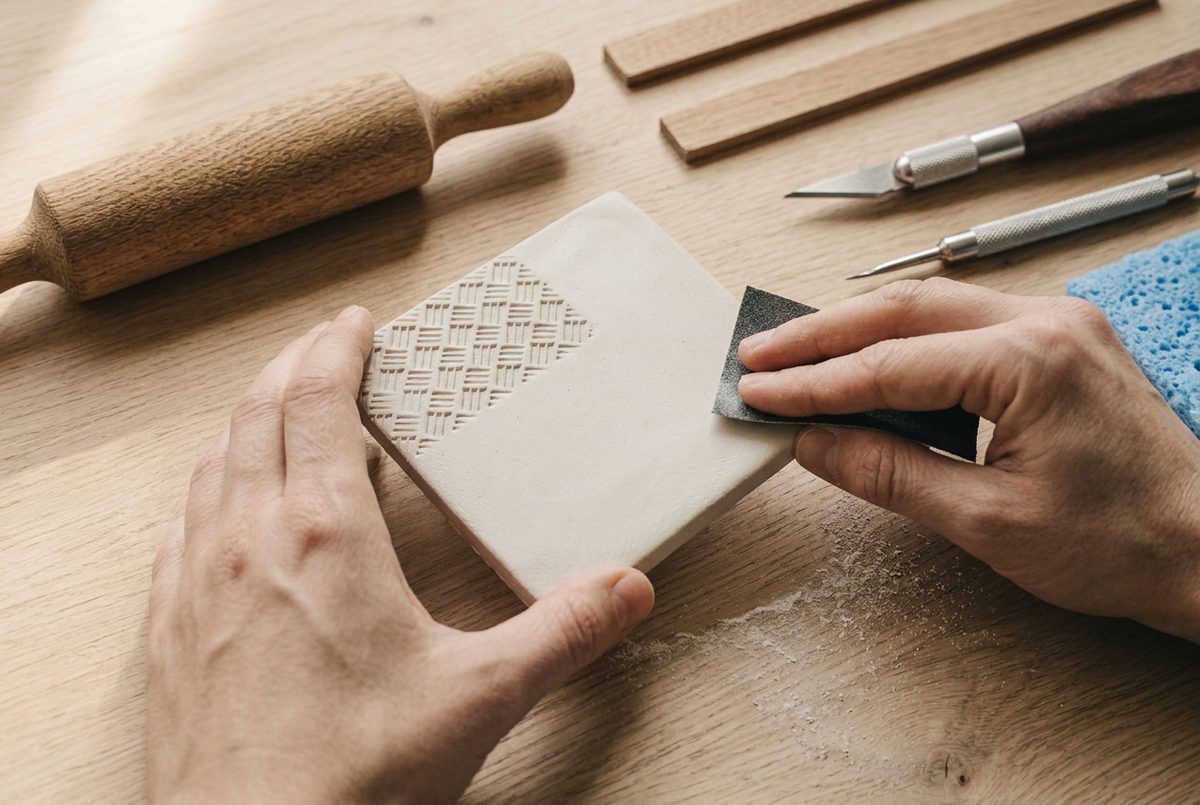
Medium and fine is enough. Coarse paper tears the surface of a dry piece rather than levelling it, and the scratches show through paint.
Sand dry, never wet. Wet sanding air dry clay turns the surface to slip, which fills the low spots and dries as a soft skin that the sealer then locks in place.
Work outside or over a bin. The dust is fine, it travels, and it settles on every other surface in the room including the piece you are about to seal.
8A soft brush for sealing
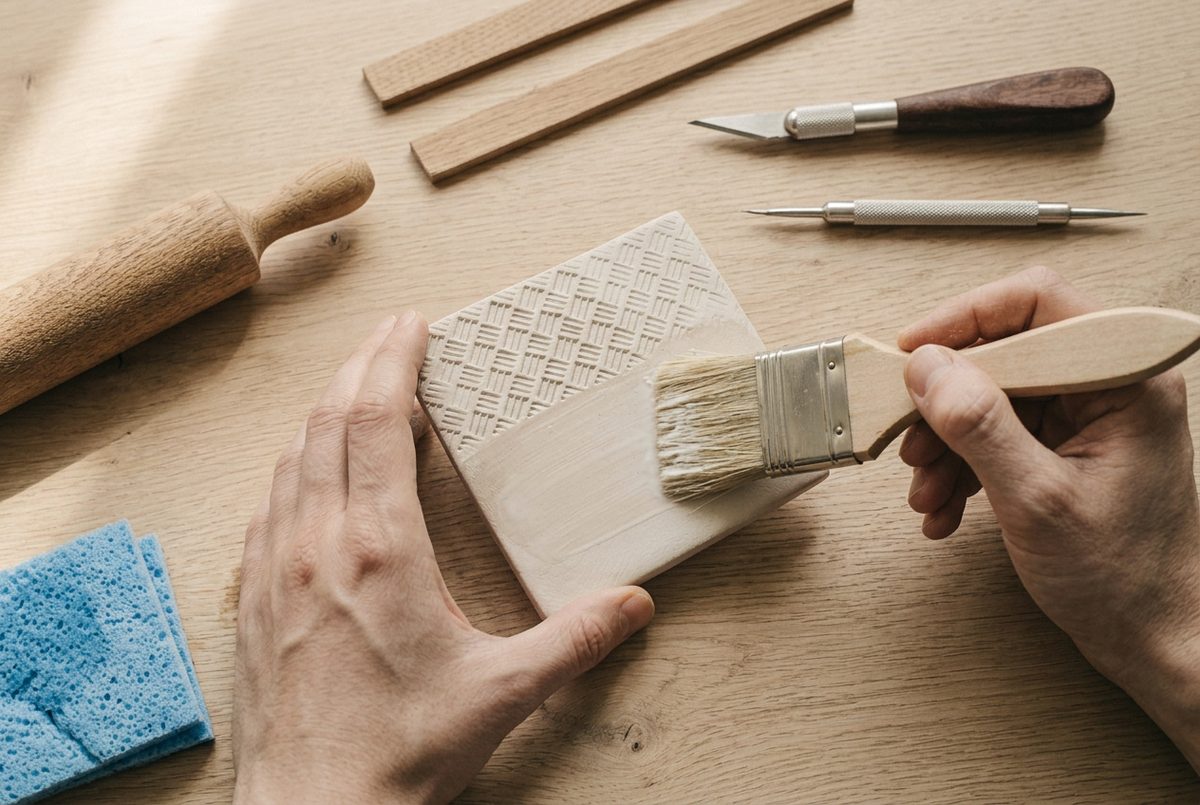
A soft flat brush, and keep it for sealing only. A brush that has had acrylic paint in it holds pigment in the ferrule and drags a faint colour into a clear coat.
Wash it in water immediately after each coat. Acrylic sealer that dries in a brush does not come out, and that is how most people end up sealing with a stiff brush that leaves ridges. The finishing guides cover the sealing process itself.
Two coasters below, one rolled between guide strips and one rolled by eye.
If it goes wrong
| Problem | Likely cause | How to fix it |
|---|---|---|
| The slab comes out thicker at one end | Rolling by eye without guide strips, or the pin riding on only one of them | Use two strips of identical thickness and keep the pin in contact with both. Turn the slab a quarter turn every few passes so it spreads evenly. |
| The cut edges are rounded rather than sharp | A dull craft knife blade, which compresses the clay ahead of itself instead of slicing | Change the blade. Clay blunts a blade far faster than paper does, and there is no technique that makes a dull one cut a crisp vertical edge. |
| The surface went chalky and flaked under the sealer | Over-wetting with the sponge, or wet sanding, both of which turn the surface into slip that dries as a soft skin | Sand that skin back to firm clay, dust it off, and reseal. Work with a damp rather than wet sponge, and always sand dry. |
| The sealer coat has visible ridges in it | A stiff brush, usually one that has had acrylic paint or sealer dry in it previously | Sand the ridges back with very fine paper and recoat with a soft clean brush. Wash the brush in water straight after every coat, not at the end of the session. |
What you can skip
Clay extruders, texture rollers and silicone shaping tips all do real jobs, and none of those jobs come up in a first year of making dishes, pots and ornaments.
Turntables are genuinely useful for anything sculptural and completely unnecessary for flat work. A cheap kitchen lazy susan is the same object.
Pottery ribs are for wheel work. On hand-built air dry clay a damp sponge does the same smoothing better, because clay that is soft enough to shape is too soft for a rigid rib.
Skip anything sold as a “clay cutter set” of small metal shapes. They are cookie cutters, and the cookie cutters in the kitchen drawer are usually made of thicker steel and cut more cleanly. There is more on this in the tools section as we add specific comparisons.
Do you need special tools for air dry clay?
No. You need a way to roll it flat and evenly, a way to cut it cleanly, a way to join two pieces, and a way to smooth it. Those are four jobs, and the kitchen covers three of them.
The one thing genuinely worth buying is a sharp craft knife with spare blades, because nothing in a kitchen drawer cuts soft clay without dragging. A paring knife compresses the edge, and scissors are useless on anything thicker than a few millimetres.
The one thing worth making rather than buying is a pair of thickness guides. Two identical strips of wood, cut to whatever depth you work at most. That single item prevents more cracked pieces than every other tool on this page combined, and there is more on why in the troubleshooting section.
Frequently asked questions
Do you need special tools for air dry clay?
No. You need a way to roll it evenly, cut it cleanly, join two pieces and smooth it. The kitchen covers three of those. The only item worth buying outright is a sharp craft knife, because nothing in a kitchen drawer cuts soft clay without dragging.
What can I use instead of clay tools?
A wine bottle for a rolling pin, two rulers for thickness guides, a fork for scoring, a household sponge for smoothing, and a chopstick or skewer for detail. Cookie cutters from the kitchen are usually thicker steel than craft clay cutters and cut better.
What are thickness guides and do I need them?
Two strips of equal depth laid either side of the clay so the rolling pin rides on both. They are the single most useful item on the list, because uneven thickness is the main cause of cracking, and you can make a pair from any two identical strips of wood.
Are thirty-piece clay tool sets worth buying?
Not for hand-built work. Most of the pieces are for wheel throwing or fine sculpting, and a first year of dishes, pots and ornaments uses four or five tools total. Buy individual items as a specific job comes up instead.
Save this for later