

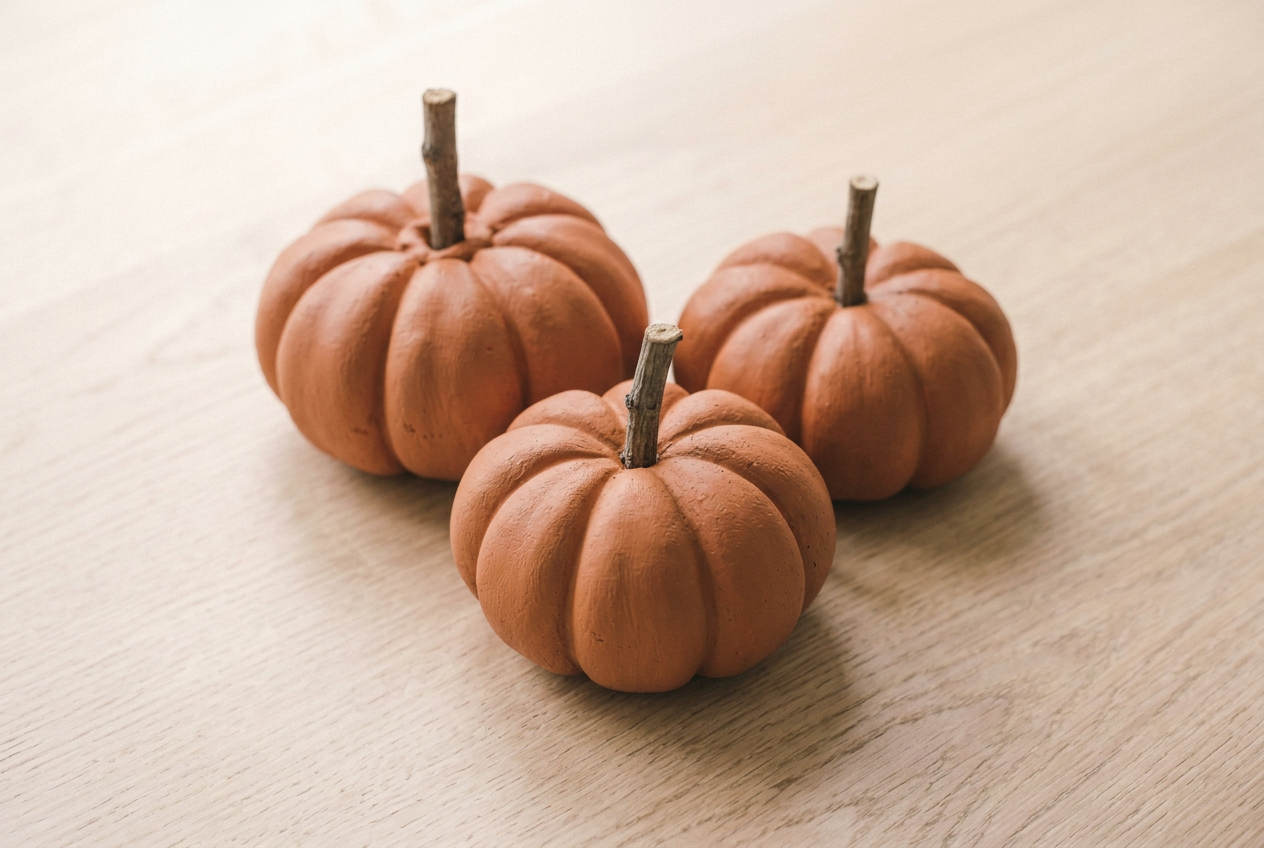
A clay pumpkin is a ball of clay flattened on a board to give it a true base, ribbed with twine while soft, and finished with a real twig pushed in before it dries. Flattening the base first is what stops the finished piece rocking on a shelf.
Most clay pumpkins come out looking right and sitting wrong. They rock on the shelf, and no amount of painting fixes it.
The cause is nearly always the same: the ball was shaped in the air, in both palms, and then set down to dry on whatever surface was nearest. A ball shaped in the air has no flat anywhere on it.
The halloween hub has the rest of the decorations. This one is worth starting a week before it is needed, because the drying is the slow part and cannot be hurried.
Materials
- 400g air dry clay
- A short twig or a cinnamon stick for the stem
- A little water
- Matt acrylic paint in burnt orange
- Matt acrylic sealer
Tools
- A flat wooden board or a chopping board
- Natural kitchen twine, about 40cm
- Wooden skewer
- Damp sponge
- Sandpaper in medium and fine grits
- A flat soft paintbrush
Forty minutes of work spread over three days of drying.
How do you make a clay pumpkin that does not rock?
Press the ball flat against a board before you do anything else, rib it with twine while it is soft, push the stem in before the clay stiffens, and dry it slowly on its side as well as its base.
1Set out what you need
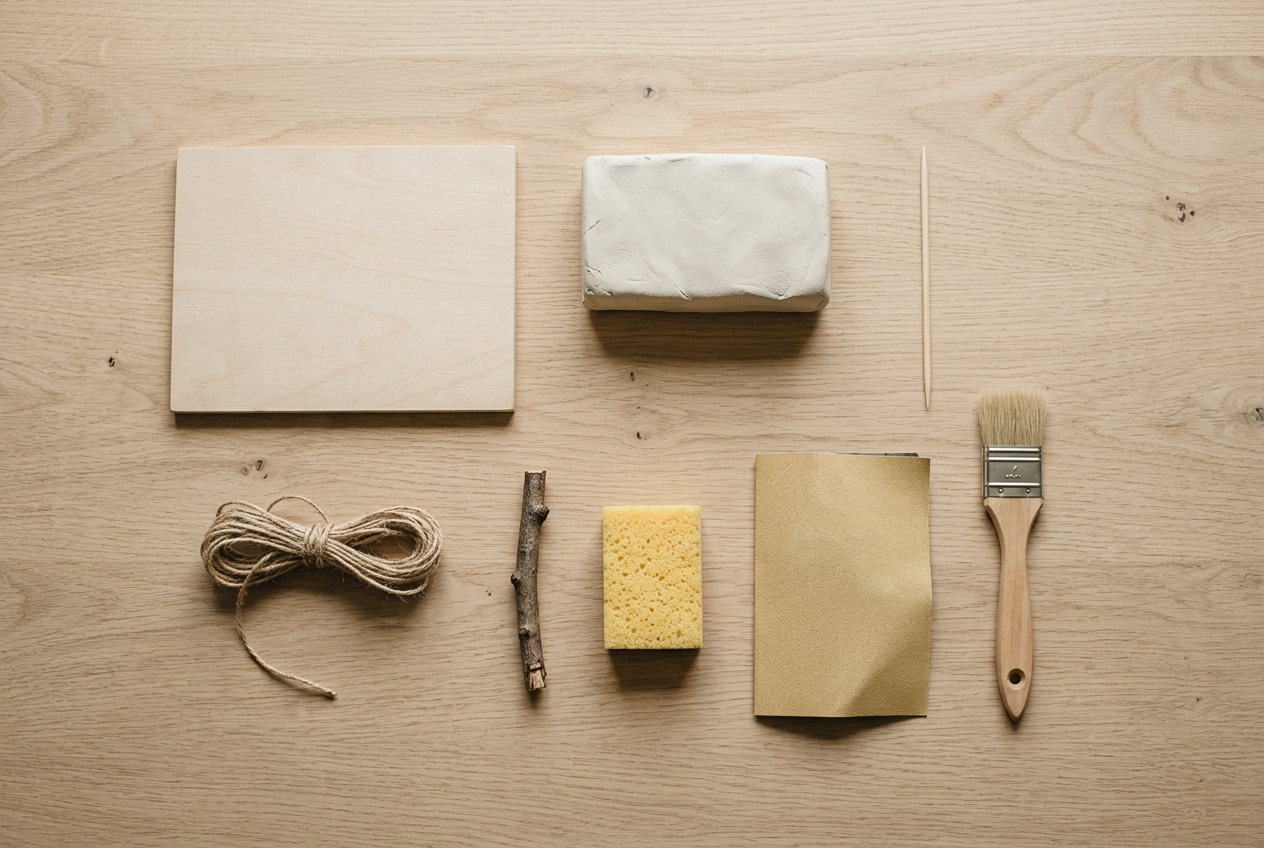
Everything here is a kitchen item apart from the clay and the paint.
The board matters most. It is what gives the finished piece a base that sits true, and it is the one item people skip.
Choose the twig before you start rather than after. A stem that is too thin reads as a stalk of grass, and one thicker than a pencil overwhelms a pumpkin this size.
2Roll one even ball
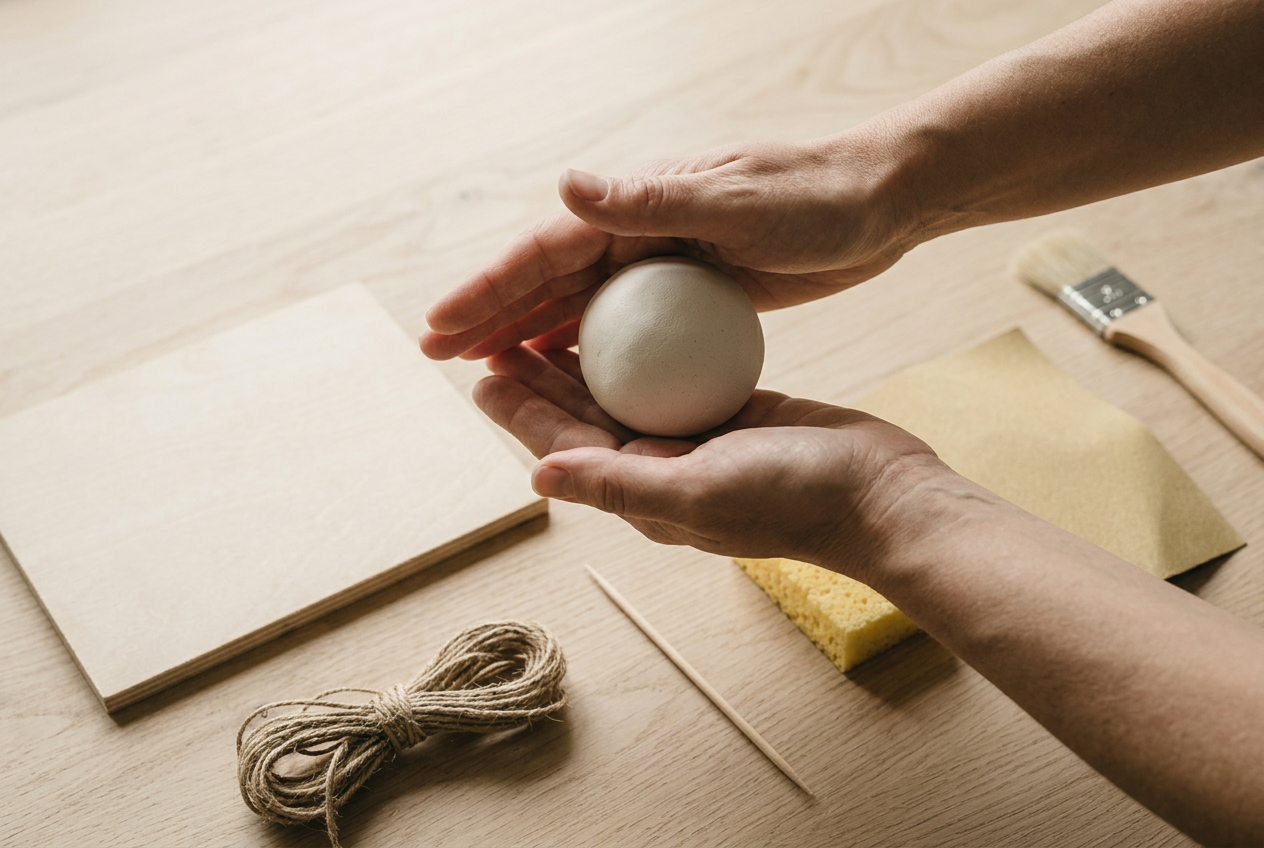
Roll the whole 400g into one ball, working it until there is no seam anywhere on the surface.
A seam left in at this stage does not stay hidden. It opens into a crack three days later, usually across the widest part where the clay is under most tension.
Keep the hands lightly damp rather than wet. Wet clay flows and loses the shape; dry clay tears.
3Flatten the base on the board

Press the ball straight down onto the board and hold it there for a few seconds. Do not rock it or twist it, which makes a base that is flat in one direction only.
This is the whole argument of the article. A base pressed against something genuinely flat sits still; a base rounded in the air never does, and sanding one flat after it has dried is slow, dusty work that thins the wall where it is already weakest.
The pumpkin should now be slightly wider than it is tall. Real ones are, and a clay one shaped as a sphere reads as an apple.
4Press the ribs with twine
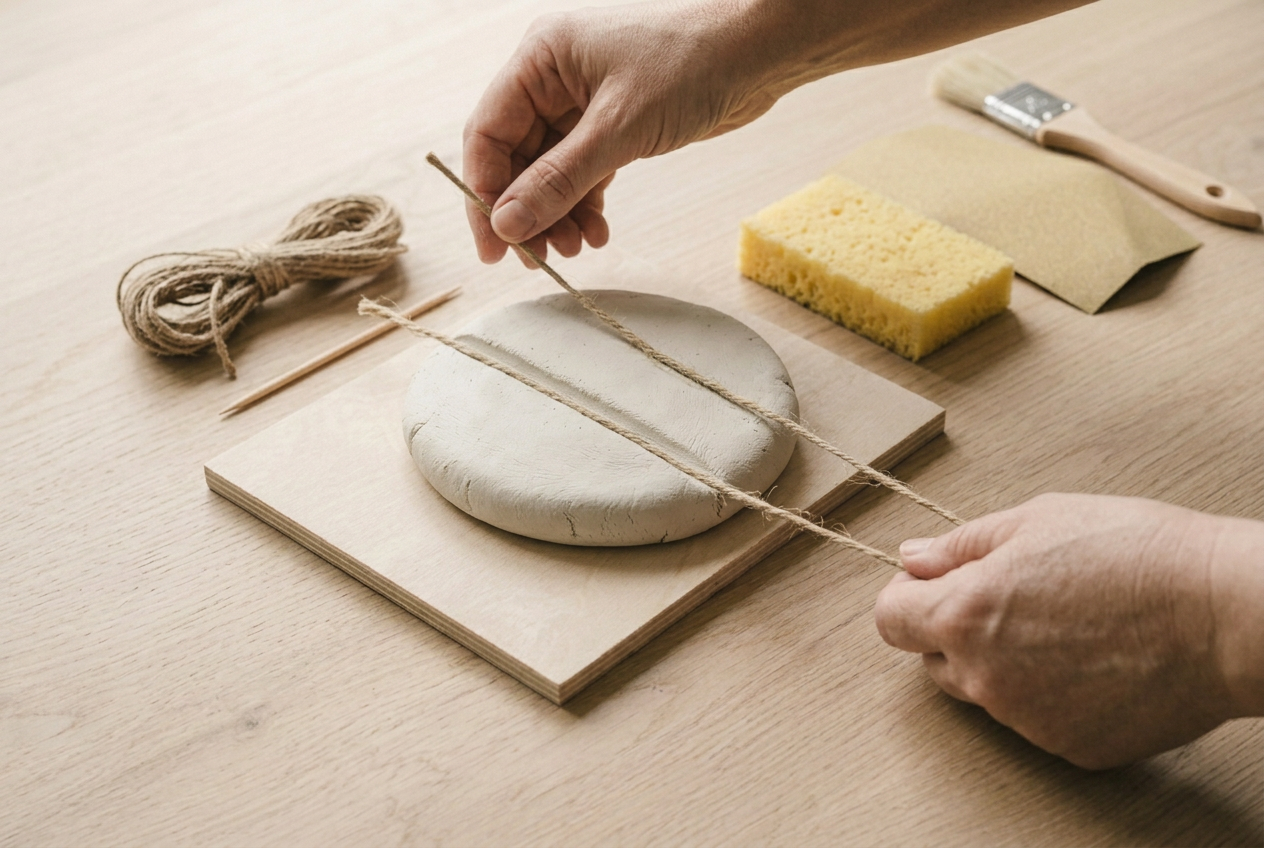
Lay the twine over the top, down the side, under the base and back up. Pull it gently taut so it sinks into the clay rather than sliding across it.
Six evenly spaced passes is the number. Four make it look like a bun, and ten make it look like a melon.
Work opposite sides in pairs rather than going around in one direction. Going around pushes the clay ahead of the twine and the last rib always ends up crowded.
5Push the stem in while it is soft
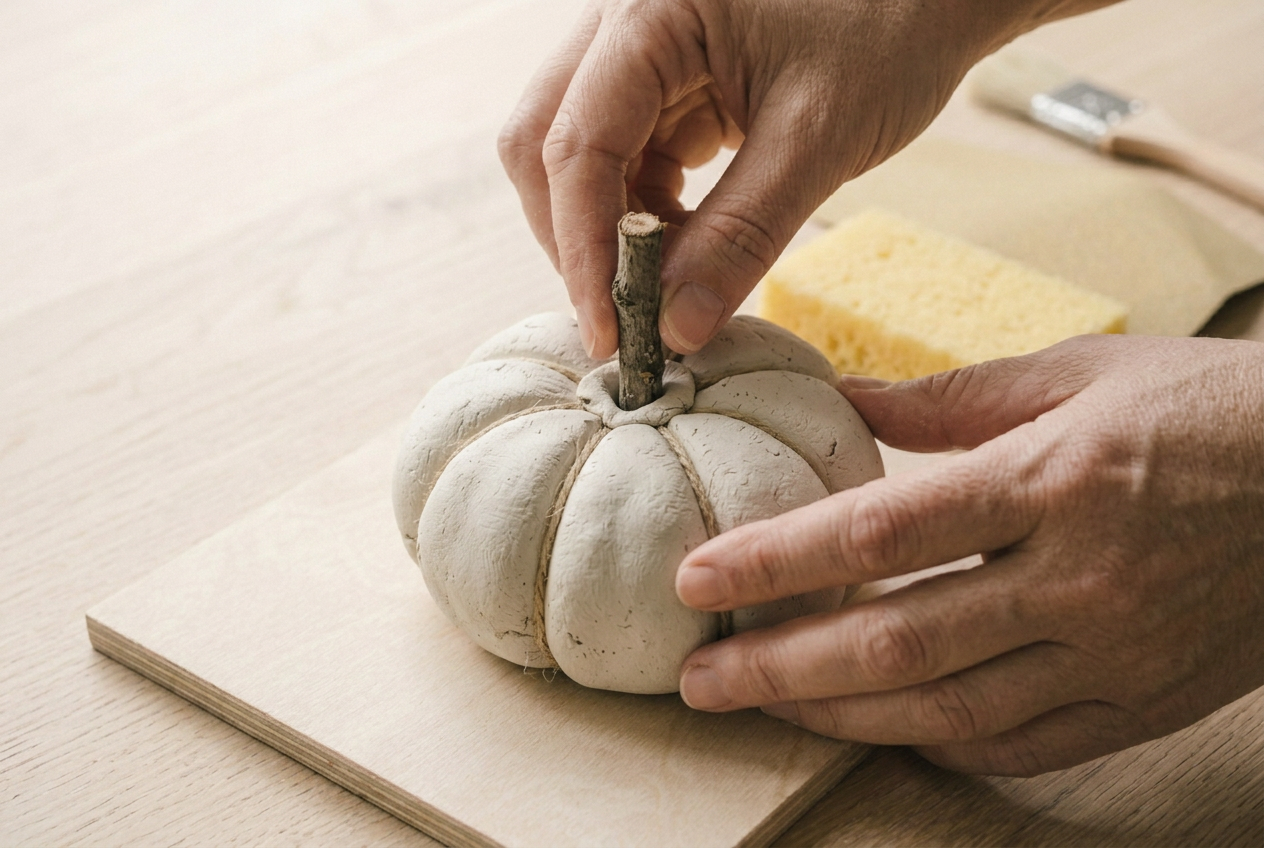
Push the twig into the dimple at the top, deep enough that about a third of its length is buried.
Timing is the thing that matters. Pushed in now, the soft clay closes around the bark and grips it as it shrinks. Pushed in tomorrow, it will never hold, because there is nothing left to move.
Press the clay gently up around the base of the stem with a fingertip to close any gap. A gap there fills with dust and reads as a mistake.
6Dry slowly, then paint and seal
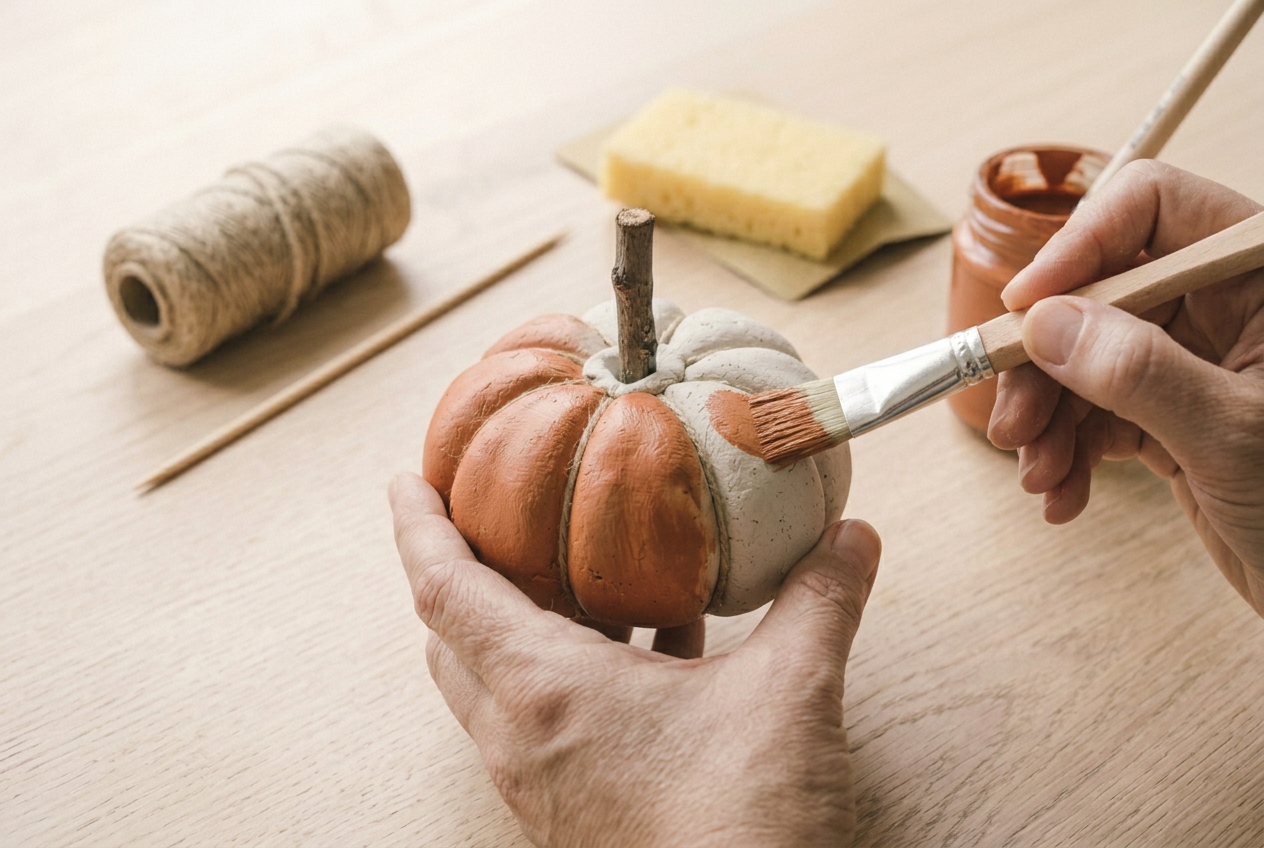
Dry at room temperature for three days. Turn the pumpkin onto its side once a day so the base loses moisture at something like the same rate as the top.
Then two thin coats of matt burnt orange rather than one thick one. Let the ribs stay slightly darker than the ridges; that shadow is what makes the shape read from across a room.
Seal every face including the base. The painting air dry clay guide covers the primer question, and why air dry clay cracks covers what to do if the drying goes wrong.
If it goes wrong
| Problem | Likely cause | How to fix it |
|---|---|---|
| The finished pumpkin rocks on the shelf | The base was never flattened against a board, or it dried sitting on a soft cloth that let it bulge | Sand the base flat on a sheet of sandpaper laid grit-up on the table, moving the pumpkin in small circles. Seal the sanded area again afterwards. |
| The stem fell out once the clay was dry | It was pushed in after the clay had stiffened, so the clay closed around it without gripping | Take it out, put a blob of strong PVA in the hole and push it back. Next time the stem goes in while the clay still takes a fingerprint. |
| A crack opened around the base | The top dried while the base sat flat on the table and stayed damp, so the two shrank at different rates | Fill with a paste of the same clay and water, let it dry, then sand. Turn the pumpkin daily while drying to prevent it. |
| The ribs faded away as it dried | The twine was pressed too lightly, or the clay was too wet and flowed back | Deepen the lines with the skewer while the clay is leather-hard. Press the twine until it sits properly into the surface, not just across it. |
Can you make a whole group of clay pumpkins at once?
Yes, and a group looks considerably better than one.
Make them in three sizes rather than three identical shapes, and vary the rib count slightly between them. Uniformity is what makes a set read as manufactured.
Dry them with space between them on the same board. Pumpkins crowded together dry unevenly on the sides that face each other, and those are the ones that crack.
Paint them in two or three closely related oranges rather than one colour straight from the bottle. The top 10 halloween clay ideas roundup shows what a mixed group looks like alongside the other shapes.
Frequently asked questions
How long does a clay pumpkin take to dry?
Three days at room temperature for a 400g pumpkin, turned once a day. Thicker pieces take longer, and a solid ball this size should never be rushed on a radiator, which cracks it.
Can a clay pumpkin go outside?
Only on a covered porch, and only if it is sealed on every face including the base. Air dry clay softens in damp, so anything standing in real weather needs an exterior varnish and bringing in when it rains.
Should the pumpkin be hollow?
Not at this size. A 400g solid ball dries through in three days. Anything larger than about 12cm across is worth building hollow over a crumpled paper core, which dries faster and weighs less.
What paint works best on a clay pumpkin?
Matt acrylic, in two thin coats rather than one thick one. Gloss reads as plastic on a shape this round, and a single heavy coat lifts as the last of the moisture leaves the clay.



